Dremel out ready to go and made sure to cover the worktop from all that plastic dust.
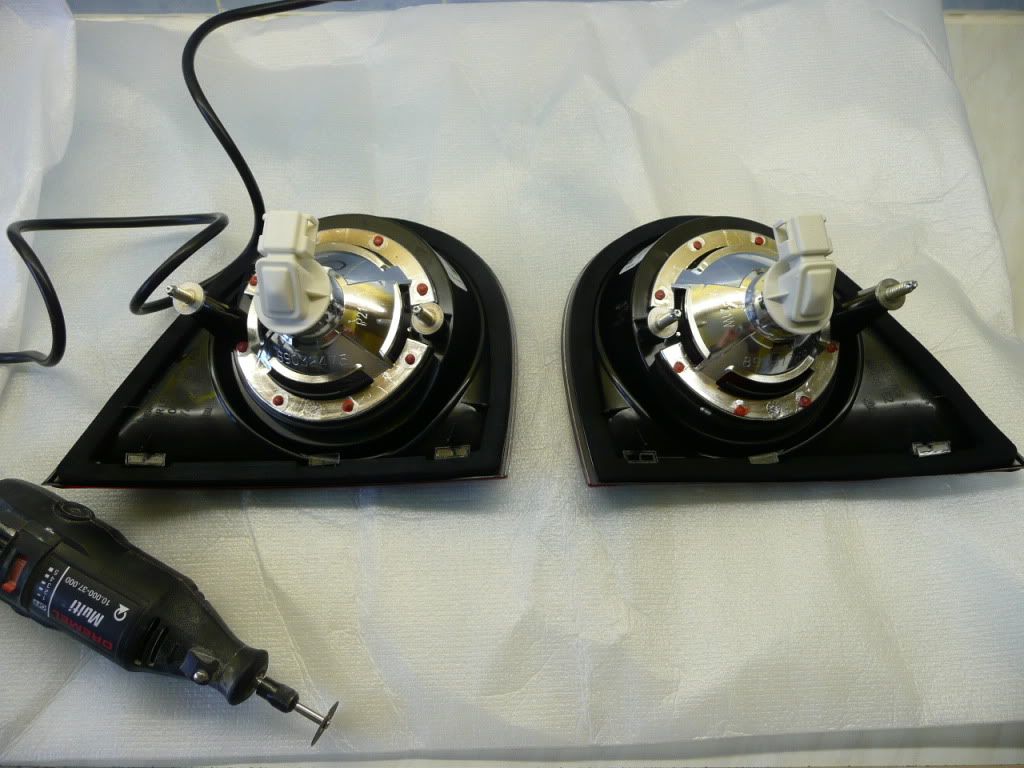
A view of the rear of the light and how it has melted plastic studs keeping the inners together.

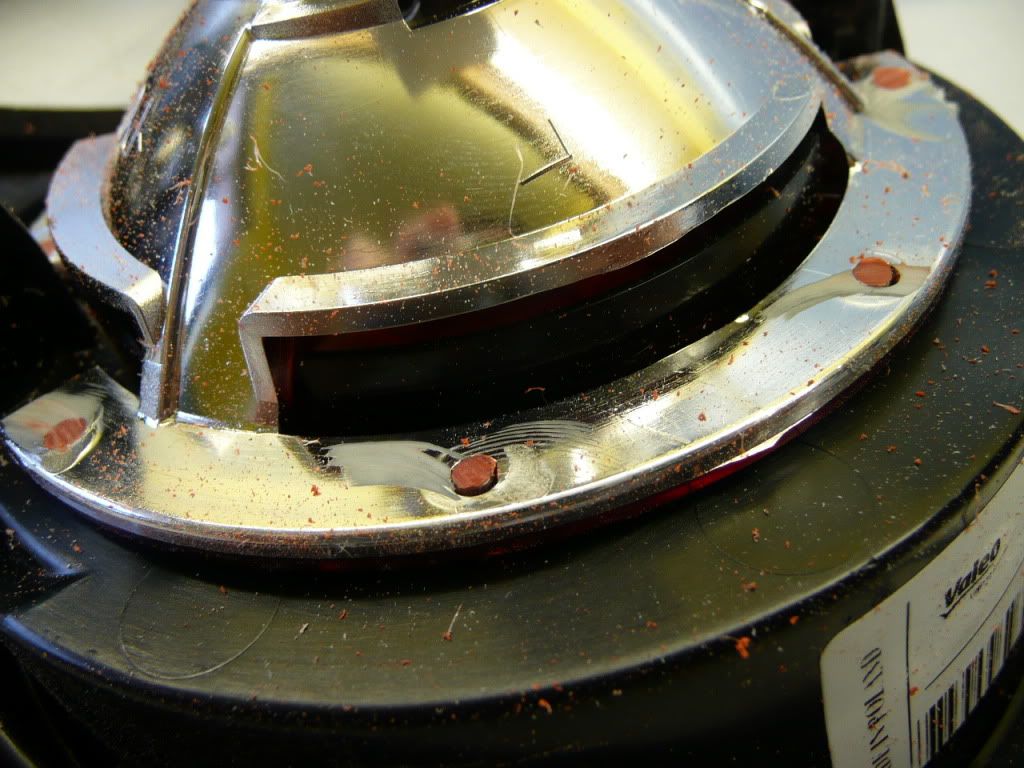
After taking the tops off the plastic studs with the Dremel.
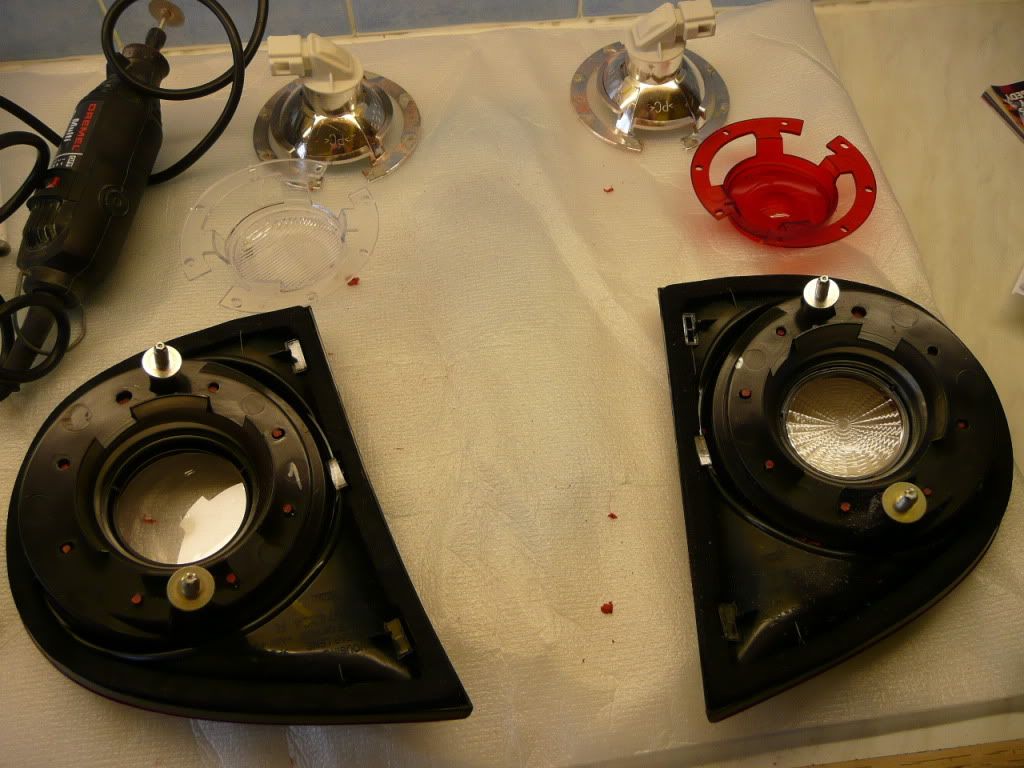
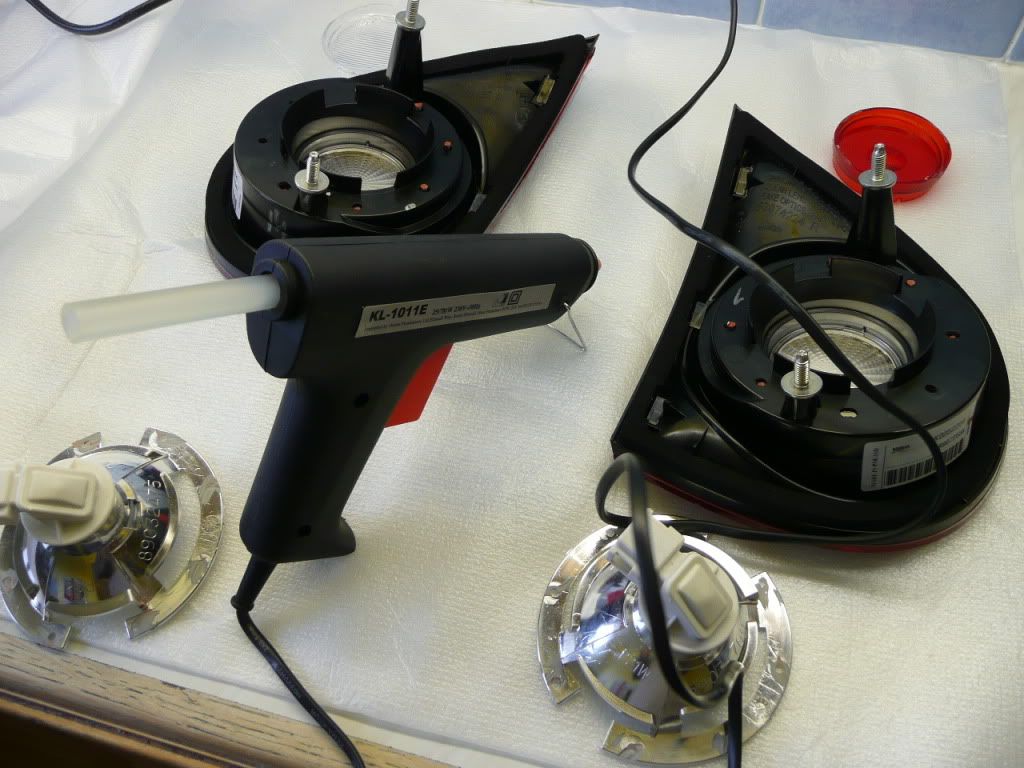
The two inner lights disassembled and ready for the next stage...cleaning up all the plastic dust is a good thing to get out of the way here as it gets everywhere and you don't want any in the inside of the light housings.

The reverse and fog light casings are dremelled to remove the outer sections. This is done because the plastic studs will not poke through to the bulb housing after dremelling and they need to stand proud when re-assembled to give the glue purchase.

The parts all ready to swap over and re-assemble.

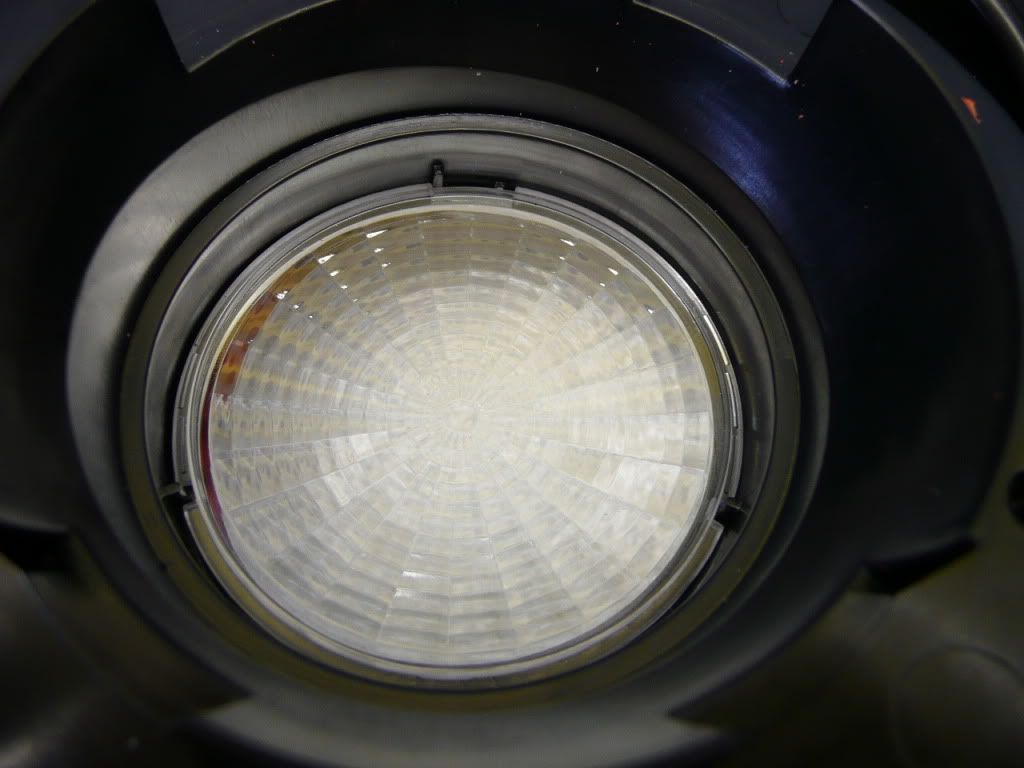
First bit going back in.
I used a hot glue gun to stick everything together. Another member gave me a warning about using superglue as over time it "fogs" the lenses to give a milky appearance. The glue gun should ensure everything stays where it should be without any "milking"
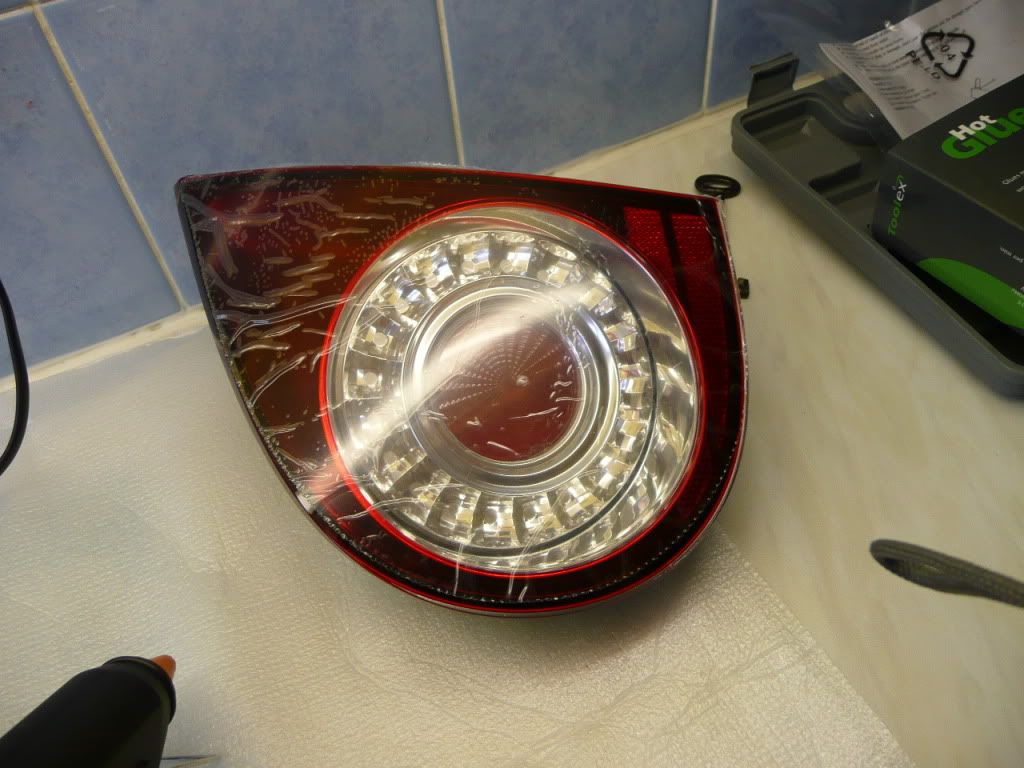
Clear outer lens in place.

Red inner lens in place on the SAME light cluster.
This last picture is key. It is very awkward to fit the plastic studs back in place as they are loose inside the light housing and a tight fit in the bulb housing holes. To get around this I dremelled out the Bulb housing holes with a small reaming fitting. I then turned the light housing upside down, so that the plastic studs dropped down from the light housing and popped the bulb housing back into place with the studs sitting proud of the bulb housing. I then hot glued the studs to the bulb housing and left them to set.

