here's what happened on Tuesday then....
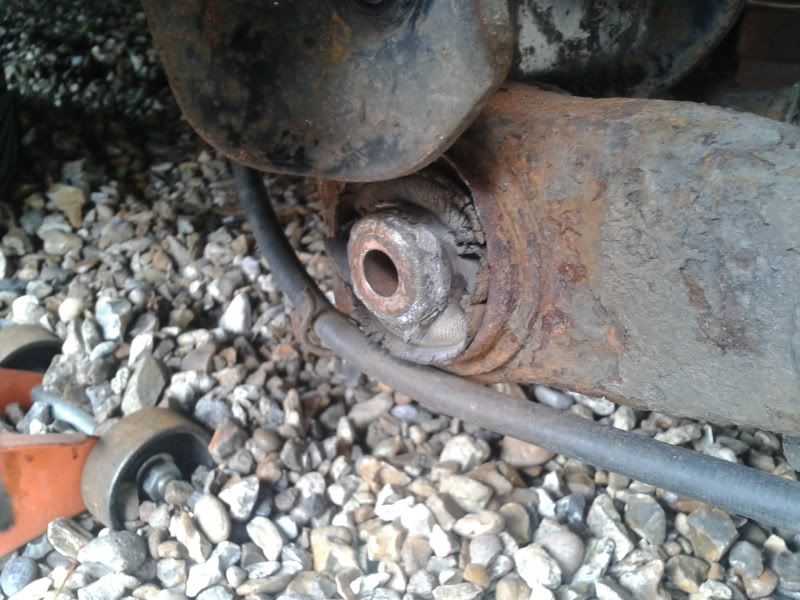
started off like this, looking pretty worn and perished
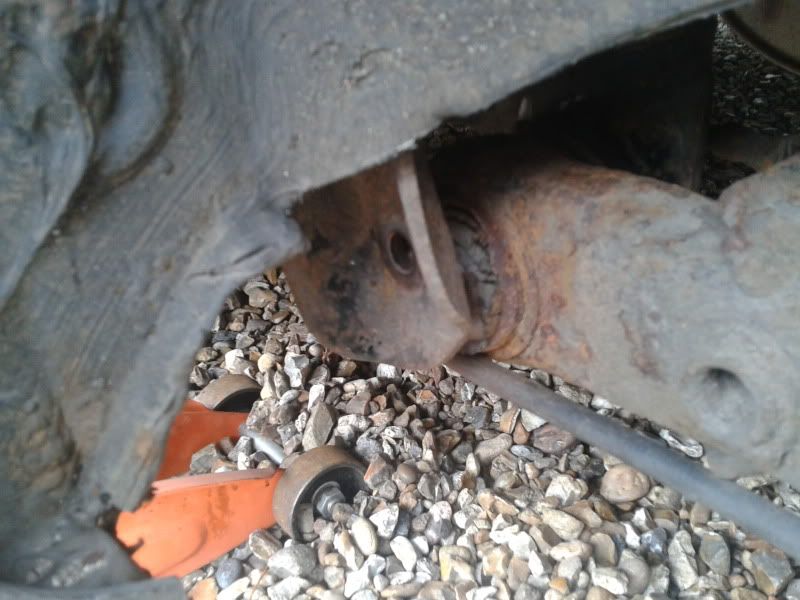
dropped the beam
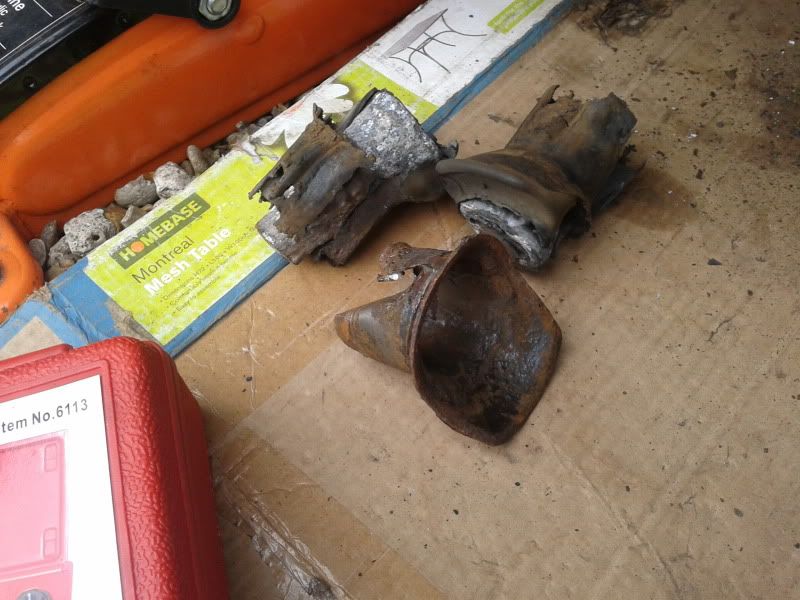
decided to drill the rubber through rather than burn it out and it came out quite easy, drilled through in 4 or 5 different places then prised the middle out with a screw driver
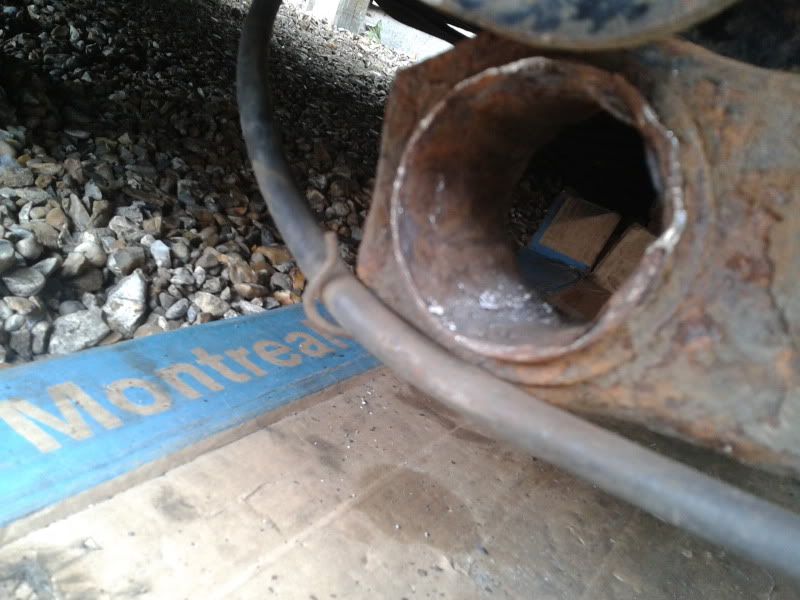
Now comes the fun part. Getting the metal sleeve out is a royal pain in the arse an took the best part of 2 hours of hammering chiseling cutting and lots and lots of swearing!
The other side I did the day before came out a lot easier than this side but was still a big job
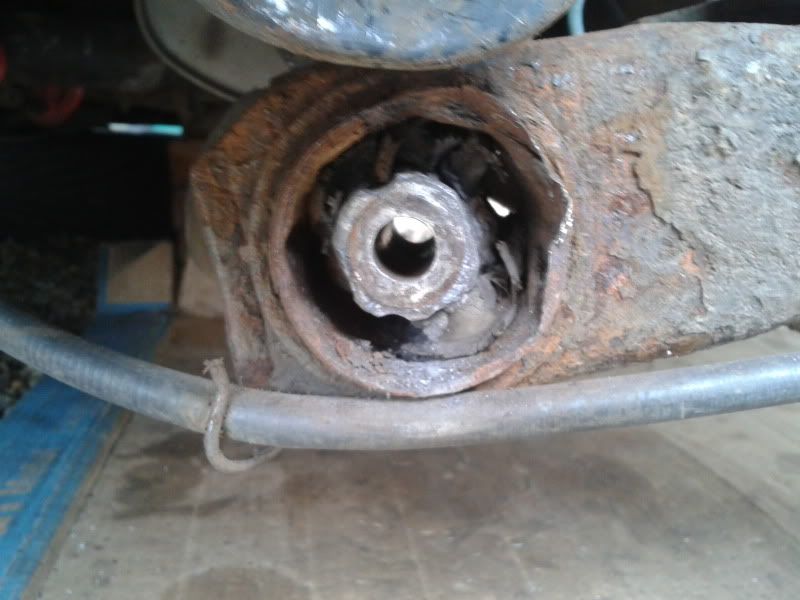
Started by cutting a groove in the sleeve then chiseling along the cut about halfway and finishing off with a hammer. This is what I did to get the driver side one out no problem, took around 35-40 minuites. Passenger side was a different story! the sleeve had somehow for lack of technical terms expanded in the beam so I couldn't cut it without also cutting the beam. I didnt know this which is why it took so long to get it out. I cut as much as I could then when chiseling along the cut failed to show any results I resorted to brute force

This is how it looke with a lip hammered into it before cutting
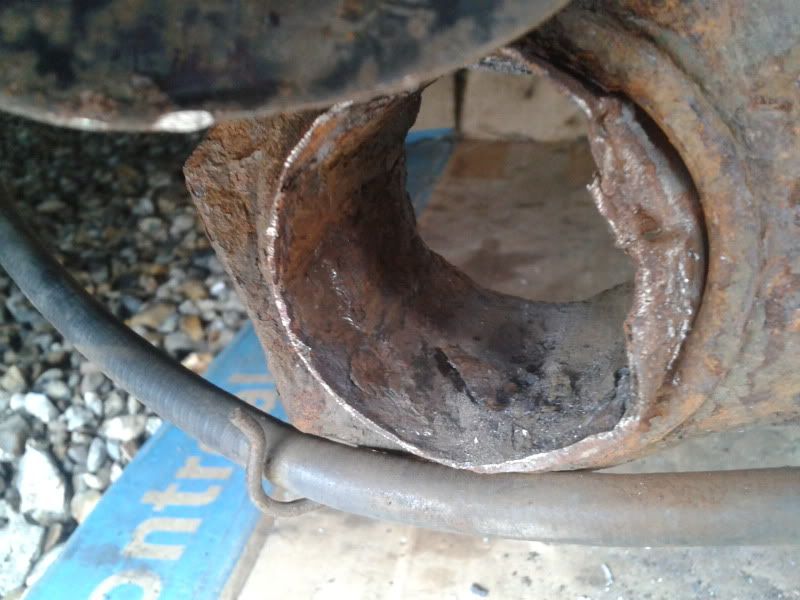
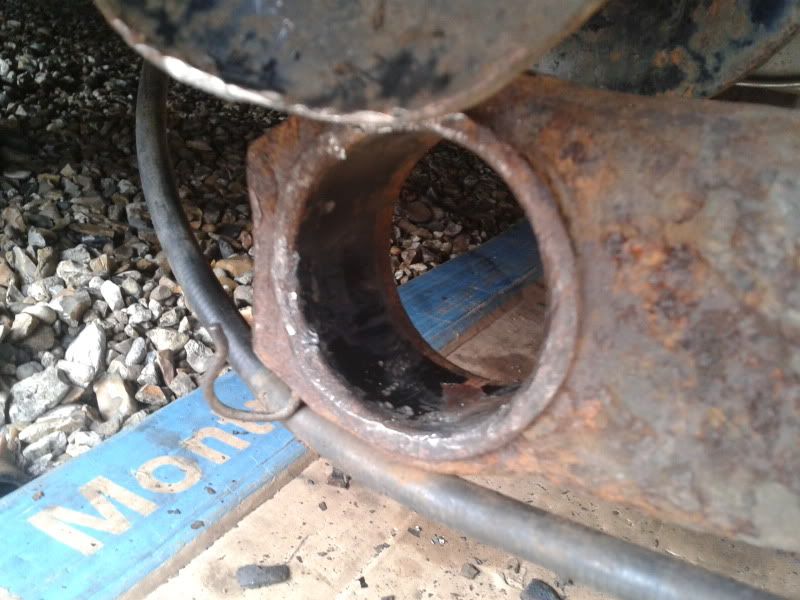
After a good hour of smashing it with a hammer it finally came out and I was left with this nice hole and a pile of scrap metal and perished rubber
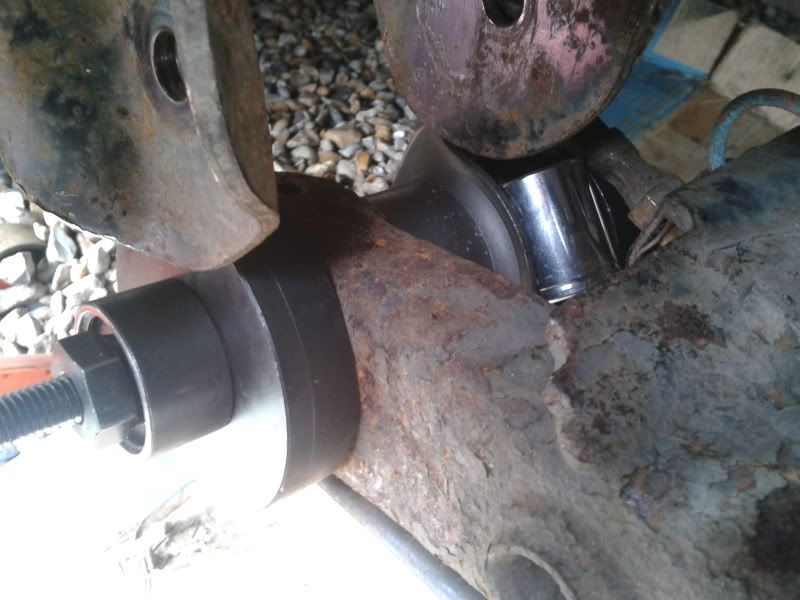
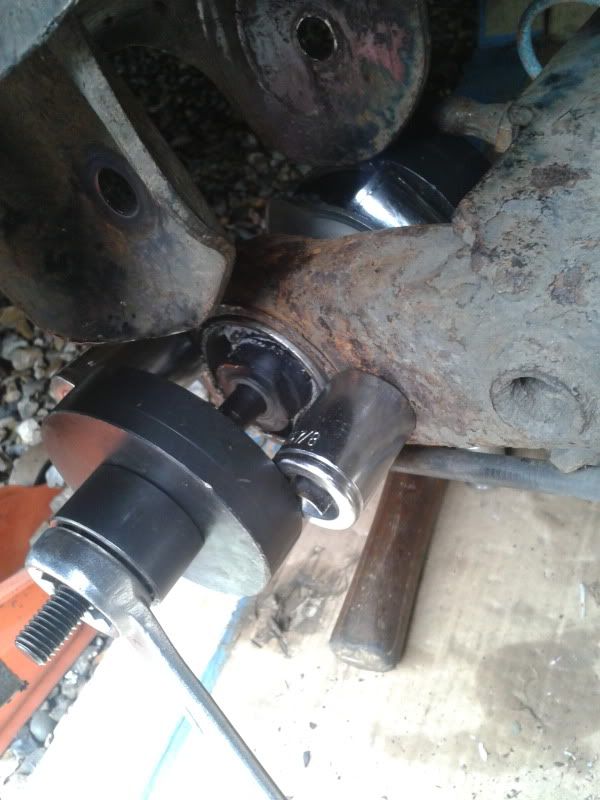
Putting the new ones in was surprisingly easy with the tool, I just had to use various sockets so the tool sat flush against the bush and the pressure was applied to the metal case rather than the rubber when I tightened it up. Also on the last part I had to add 2 sockets to the other side as the thread on the tool runs out before the bush is all the way in.
and thats it! no pics of the finished product as I was running late for work, but its pretty simple stuff just jack the beam back into place and f**k about with it until the bolt holes line up
I now have a non squeaking rear beam

