Author Topic: Guide to repainting yer red stripe..  (Read 2083 times)

Offline Benrevs

  • I live here
  • *****
  • Posts: 790
Guide to repainting yer red stripe..
« on: 17 October 2008, 18:17 »
I did this before on my other grille, and have just done it on another so I thought id do a write-up while I was at it. Excuse the phone pics and the odd grille!  Some people think its far too much effort to spray the stripe back on and end up brushing it, this guide will hopefully show just how easy it is...

What you will need:   

Masking tape,
Wet an dry (400 or 600),
Plastic primer,
De-greaser of some sort,
Tornado red paint and patience!

On my last one I used two-pack paint and etch primer but can be done just aswell with the normal halfords plastic primer and paint.

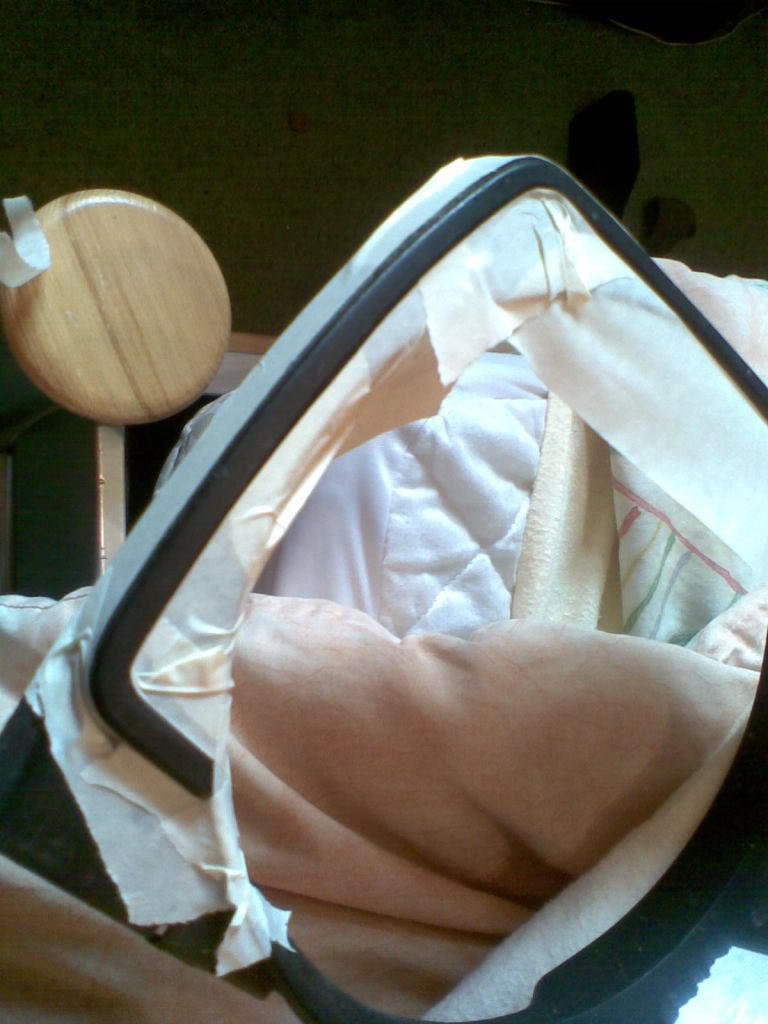
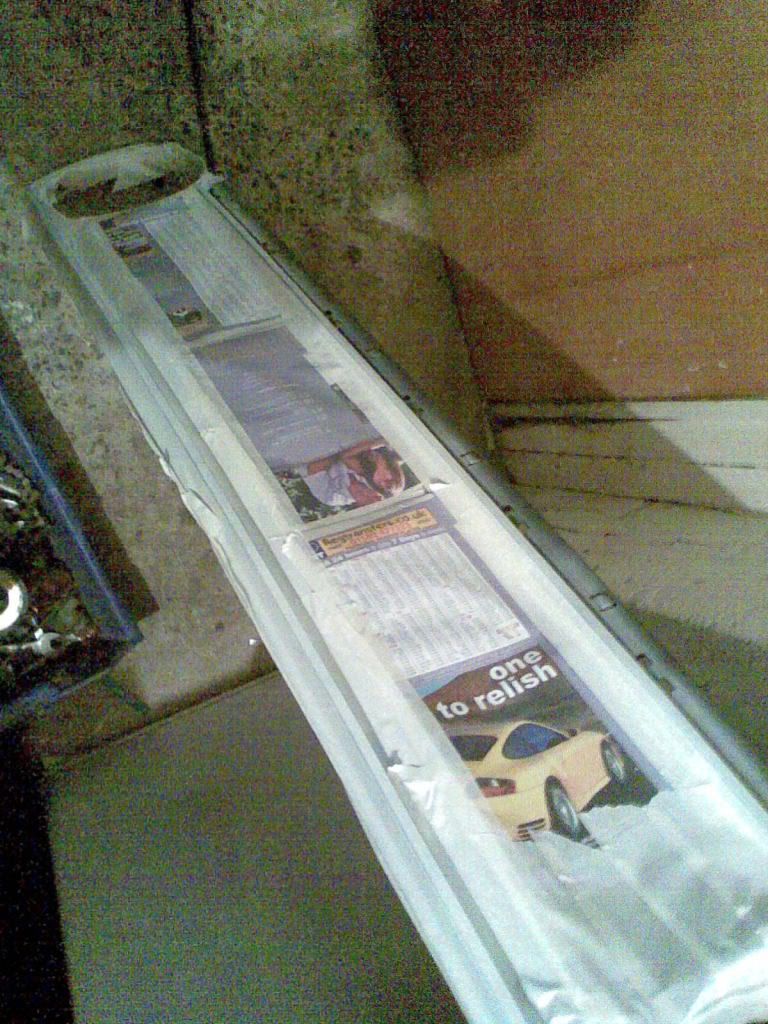
I started by masking the stripe off. There is usually a distinct mark, not right on the edge but just under it that you can follow with the tape.
Make sure all the edges of the tape are pressed down or the paint will leak underneath.  This does take a while and can be a bit fiddly but perseverance prevails!  Once this is done you will need to cover the rest that doesnt want paint with whatever you can find. Just make sure there are no gaps because paint with get through any little hole!.


Then grab your abrasive and key the stripe being carefull not to bugger up your masking lines.  You can use 400 or 600 for this, when using aerosol paint id use the 600 as these paints tend to be a bit thin.
Once its keyed clean it down with some type of solvent degreaser or surface cleaner.

Then dust a light coat of plastic primer over it to give the full coat a good base to bond to.


Leave this for a minute then go for the full coat, make sure its even and dont load so much on that it runs.
The primer dries quite quickly so half an hour should see it ready.  You wont need to rub it down in between coats as it hasnt got to be immaculate and the plastic primer is thin and dries smooth anyway.


Then do a similar thing with the red, dust a bit on and leave for a minute.  You want to try and do the gloss coat in one hit.   start at one end, work your way around and keep the can the same distance as with the speed.  By the time you get back to the beginning the paint should have tacked up enough to go round it again... this time you are aiming for a finish, get it on nice and thick but dont overload it!


When doing things with loads of maskin lines on it I tend to de-mask it before the paint has fully dried(not due to impatience!) this is because if its rock 'ard it can pull your red line off.  I waited around arf hour on this here grille.


There ya go then, a great way to freshen up your stripe or put on a not existant one!
Its not pink btw... it just looks pink!

     Happy dubbin, Ben. :smiley:


Offline Dolly

  • I live here
  • *****
  • Posts: 721
Re: Guide to repainting yer red stripe..
« Reply #1 on: 17 October 2008, 18:53 »
nice mesh  :huh: . but good guide i ended up buying a brand new spanker. but i do have an old Gti grill lying around which could do with a new red stripe.

Offline Jay

  • Forum addict
  • *
  • Posts: 4,416
  • balding fat cvnt
Re: Guide to repainting yer red stripe..
« Reply #2 on: 17 October 2008, 19:02 »
How about a guide on how to do that mesh grille ?  :smug:

I think it looks really good, especially with the top slat still there.
Passat B5.5 2.3 V5 170, with all the extras.

Want some online storage? Click here to sign up for a Dropbox account.

But for the purest engine experience, displacement has no replacement. All other methods are simply attempts to artificially recreate the benefits of displacement.

Offline Mr Blue

  • Forum addict
  • *
  • Posts: 6,133
Re: Guide to repainting yer red stripe..
« Reply #3 on: 17 October 2008, 19:09 »
nice guide

I did mine exactly like that then went back to original.


:)

Offline Benrevs

  • I live here
  • *****
  • Posts: 790
Re: Guide to repainting yer red stripe..
« Reply #4 on: 17 October 2008, 19:09 »
I did put it on and it looks ok as far as mesh goes, its for my mates motor anyways.
  Id have to make another one just to do a write-up!!  If he changes his mind you can ave it for a 10 spot!

Offline Jay

  • Forum addict
  • *
  • Posts: 4,416
  • balding fat cvnt
Re: Guide to repainting yer red stripe..
« Reply #5 on: 17 October 2008, 19:13 »
I've got a spare grille that no one wants so I've decided to do something like that to it just for fun  :grin:

Just need a rough guide on how to do it or at least how to get the mesh to stay in place and not come off when booting it.
Passat B5.5 2.3 V5 170, with all the extras.

Want some online storage? Click here to sign up for a Dropbox account.

But for the purest engine experience, displacement has no replacement. All other methods are simply attempts to artificially recreate the benefits of displacement.

Offline Benrevs

  • I live here
  • *****
  • Posts: 790
Re: Guide to repainting yer red stripe..
« Reply #6 on: 17 October 2008, 19:24 »
Lol   Ok heres a few pics of the back..


 I used black tiger seal..  you can use any plastic compatible bonder or p40 glass fibre paste... just rough up the area so it sticks.:wink:  The hard bit is covering where the slats were originally.


I will expect something funky!!

Offline Jay

  • Forum addict
  • *
  • Posts: 4,416
  • balding fat cvnt
Re: Guide to repainting yer red stripe..
« Reply #7 on: 17 October 2008, 19:54 »
No more nails exterior should do the trick shouldn't it or is Tiger Seal stronger?

I was thinking of doing a mesh grille with an off centre VW badge  :smug: or maybe a centre VW badge.
I think with an off centre VW badge it would have to be the smaller one from the rear of MK2's.
Passat B5.5 2.3 V5 170, with all the extras.

Want some online storage? Click here to sign up for a Dropbox account.

But for the purest engine experience, displacement has no replacement. All other methods are simply attempts to artificially recreate the benefits of displacement.

Offline Conker

  • I live here
  • *****
  • Posts: 1,999
Re: Guide to repainting yer red stripe..
« Reply #8 on: 17 October 2008, 22:14 »
I thought you had to leave it longer than that after your primer coat? (I'm prob wrong).

Also, could you lacquer it too?


Offline Benrevs

  • I live here
  • *****
  • Posts: 790
Yo
« Reply #9 on: 17 October 2008, 22:52 »
Well the halfrauds stuff dries really quick and u dont need to put much on so doesnt take long. You could laquer it but as its such a small surface it would leave a high paint line and could look quite shoddy. The colour has a fair gloss to it anyways. We used to mix laquer in with black to give crazy depth... Looked awesome on a huge raised up hi-lux!