mother f***ing stupid piece of ****, god-damn p***ing me off, ****so, i was replacing the heater matrix after noticing a weird residue on the windscreen and a slight smoke coming out the dash vents. so i stripped the dash down and had the matrix out within 1.5 hrs. i had to grind off the lower 10mm stud because it had seized solid but most of the rest was smooth sailing.


 Tools Required: 10mm ratchet, flat blade screwdriver, posidrive screwdriver, wide grip pliers,
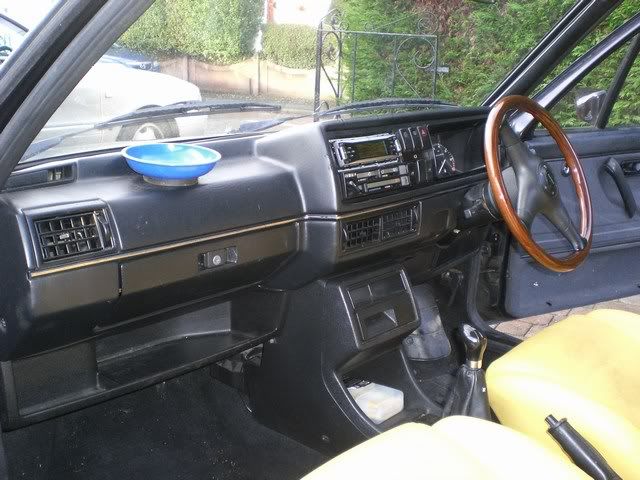
i started by removing both sides of the lower and centre dash, all screws are plainly visible. ignore the steering wheel, its temporary until i find a bargain momo off ebay!
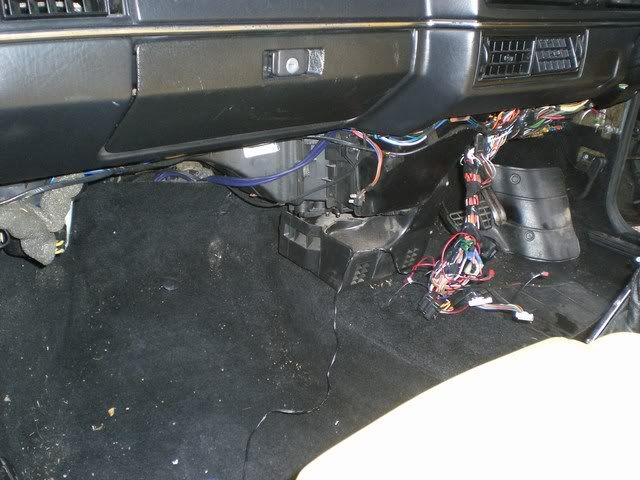
then pull the two levers for the heater controls off, they might be stiff, but just yank them off. then pull the selector for the fan speed. you then will be able to click off the bezel for the heater to reveal the screws behind, just go ahead and unscrew them. it does make it easier later on if you remove your stereo (if you have one).
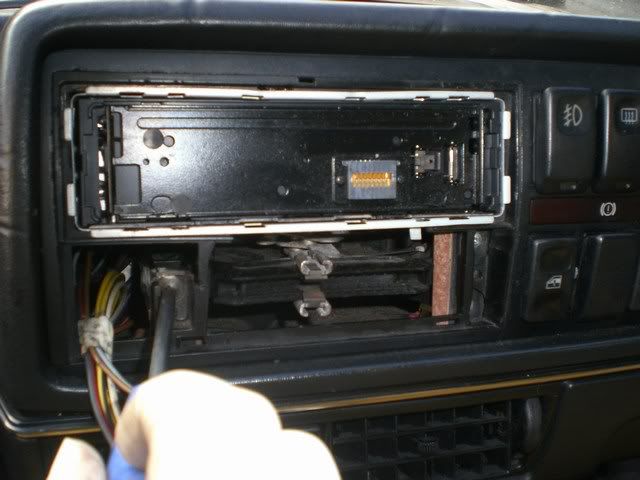
then remove the centre vents, this is really easily done. gently pry the side of the vent, as per below, then it will pop out one edge. then repeat on the other side of the vent. repeat this for the remaining vent. you now have access to the 2x screws that go through the vents into the dash, go ahead and remove these too.
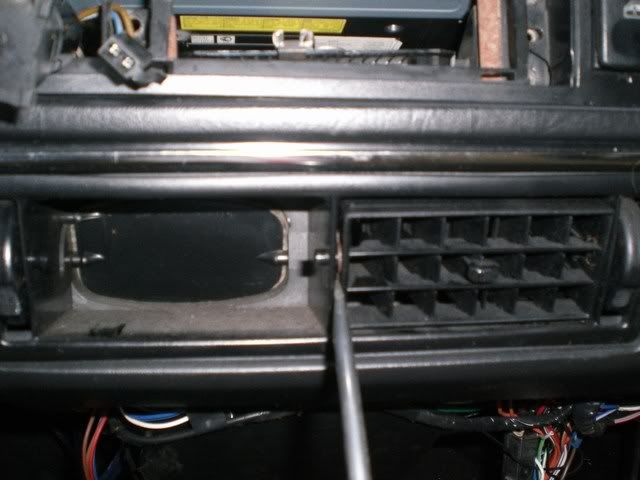
to the left of your driving feet there is a big plastic cover that keeps everything together, you can remove this by again, undoing the visible screws. now go ahead and remove the lower vent section (that blows on your feets), its pretty tough because its wedged between the exhaust tunnel and the fresh air box, remove the retaining screw on the drivers side then just yank away gently and it will come out.
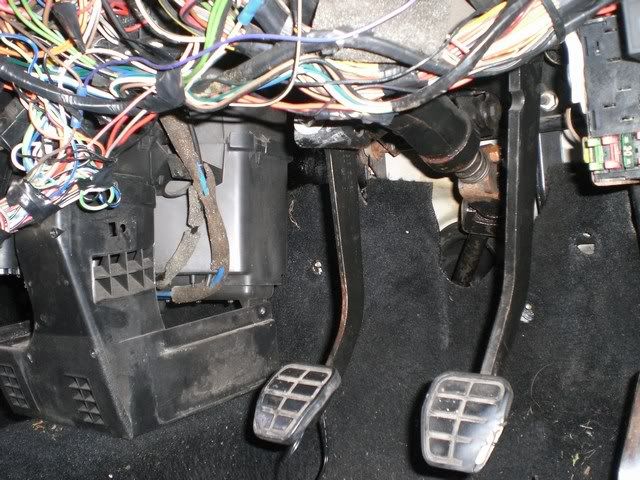
next up is tricky, you have to remove the pipe that goes to the face vents. this is a bit of a pig, and you will definately think you're doing it wrong, but just reach under the dash first and pry away (with your hands) the left and right vent connections. then you can begin to manipulate the pipe and pull it down, the middle vents have to squeeze between the dash and the fresh air box - its tough plastic, so dont worry. now, remove the two screws that hold the windscreen vent in place, one to the left, one to the right.
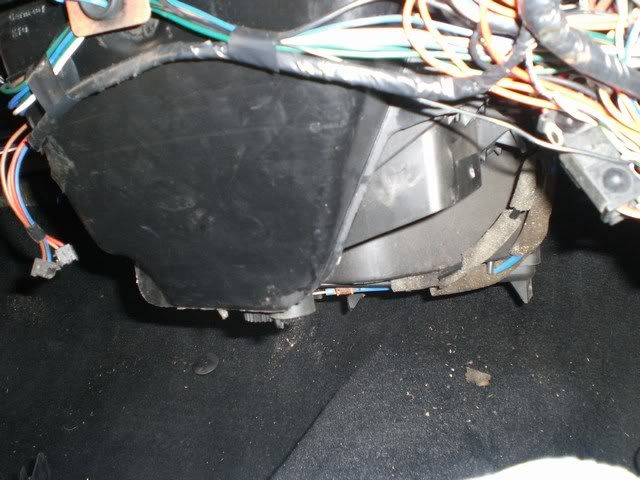
now you have exposed the fresh air box itself, congrats - go get some coffee and take a breather!
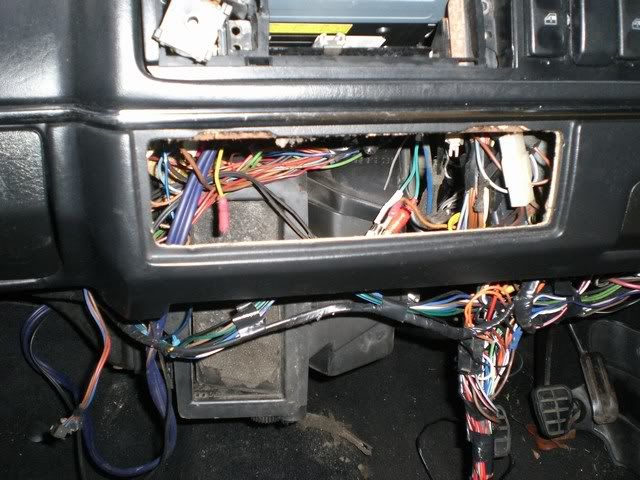
we're going to jump into the engine bay now, this bit is really easy and should only take a couple of minutes.
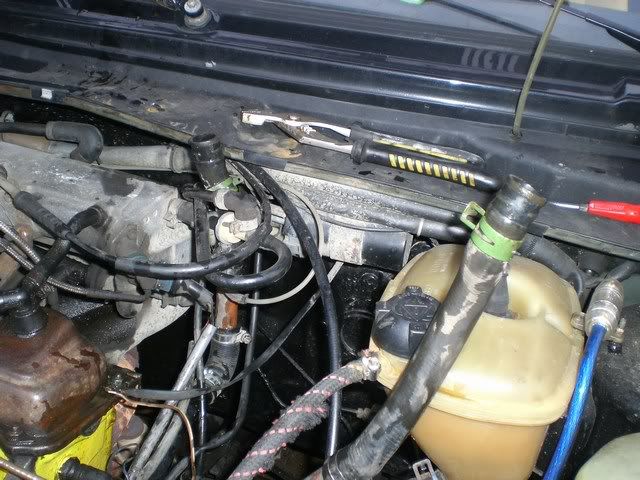
first remove the inlet and outlet pipes. grab your pliers and lean into the engine bay, reach your hands under all the wiring and ancillaries above the g/box and you have enough room to compress the hose clip and slide it backwards. repeat on the other pipe. remove the two host pipes by teasing them off the matrix, a little bit of antifreeze is going to leak out, but don't worry. prop the two hoses up in the engine bay to stop it leaking any more.
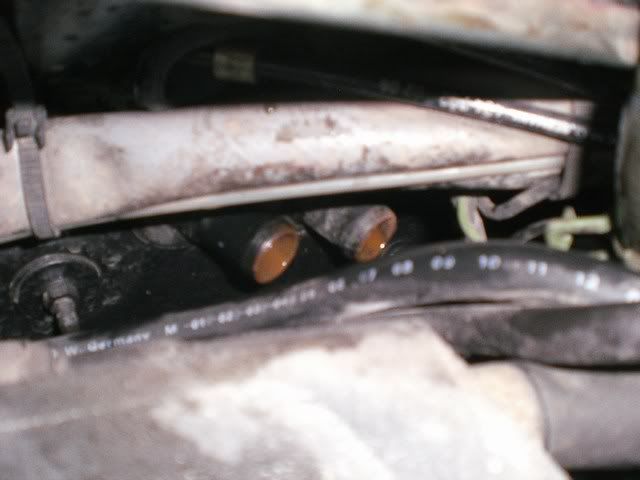
there is two 10mm retaining nuts that hold the matrix to the bulkhead, you can see one of them in the picture above, the other is about 12" lower down. i managed to remove the top one without bother, but the bottom one was seized and turning the nut was just mangling up the plastic on the fresh air box - i was getting nowhere, so i dremelled it off!
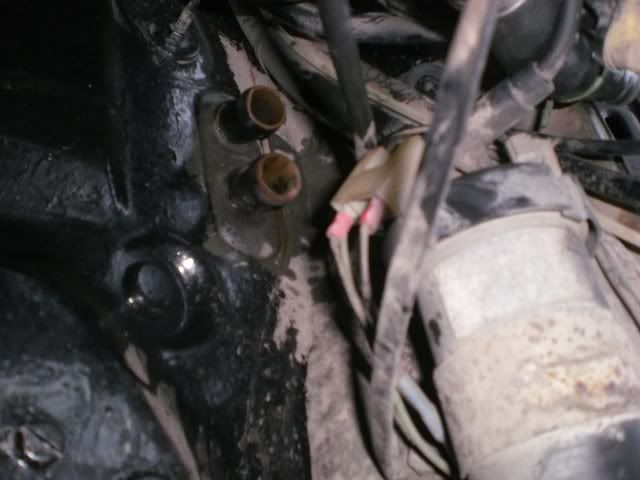
right, get back into the car now, there's only 5 metal retaining clips holding the matrix in place. these need to be pried off. removing the glovebox will *not* give you any better access, so don't bother - out of frustration i smashed mine to bits!
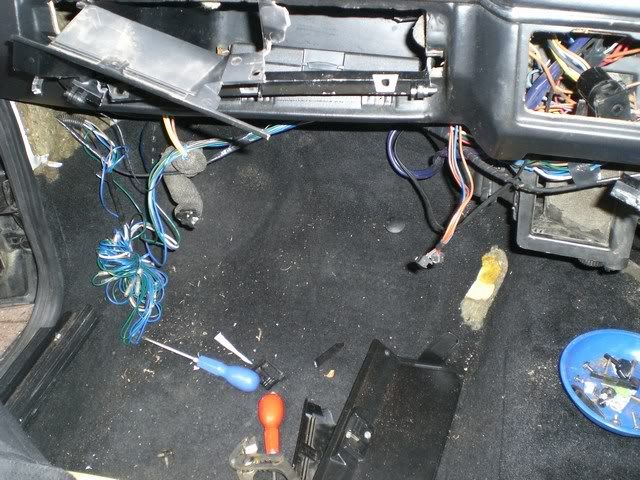
the metal clips are visible if you get level with the matrix, there is a pipe which runs from the blower to the matrix housing, where the pipe joins the matrix housing you'll see 2x metal clips, if you slip a flatblade screwdriver behind the right edge, you can flick it off. there is another underneath, which is quite easy to get to. there is another on top, which is tough to get to, i found putting my hand in the gap where the vents were i could get just enough leverage to flick it off. theres two left now, both on the back of the unit, if you reach underneath, you'll have to feel your way round - you can flick the lower one off, but the one at the top is nigh on impossible. i just wiggled the fresh air box until the clip pinged off.
now push the heater controls back and down to the right, because they are attached to the fresh air box, they're going to come out with it. pull the matrix forward and down, it will take a bit of effort to separate from the windscreen vent. try and keep it upright to prevent leaking in the car. once its out, just pull back the two retaining clips and lift the matrix out - easy peasy.
now on my car, my vent controls were busted, the gates were damaged and didn't work right, so i'm getting another from a scrapyard - yay, i get to repeat the whole process again !!! if the foam on the gates is mouldy take this opportunity to replace it with some self adhesive foam. when inserting the new matrix, remember to put the foam gasket off the old one (that goes over the inlet and outlet) onto the new one. drop the matrix into the fresh air box and installation is the reversal of removal.
but whilst you've got access to the gears, put some grease on it to make sure its smooth flowing!
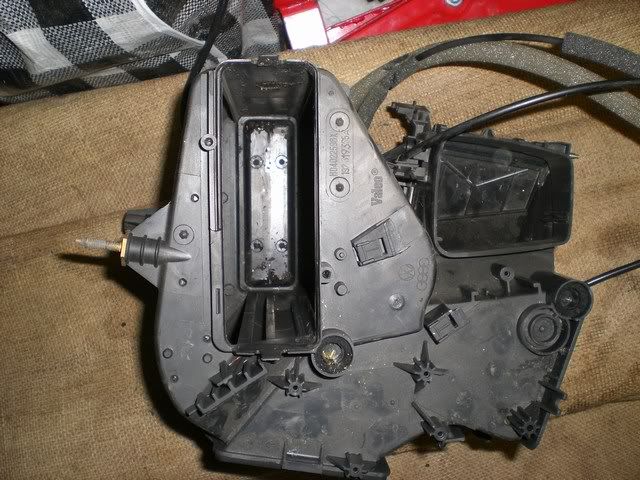
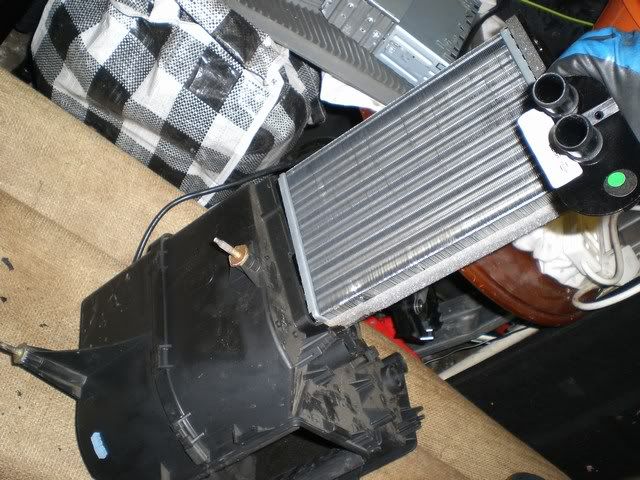
the guide isn't as comprehensive as i really wanted it to be, but i'm in a foul mood after having to replace the heater box as well. so i'm off to the scrap yard tommorow, and this is what i need.
Edit: so i refitted the fresh air box today and it was pretty straightforward.
first fit the windscreen vent pipe and screw it into place loosely, then grab the fresh air box and stick it in place. the only trick here is to line up the two studs, which to be honest, i managed first time. as soon as i lined the studs up and had the box snug in the windscreen vent i dipped under the bonnet and tightened up both studs and re-attached the hoses.
screw down and tighten the windscreen vent, then slide the feet blower section under the matrix and screw in the two screws on the drivers side.
first you need to position the controls in the right place, don't screw them down just yet as you'll want to get your hands in. this is the only bit i found tricky, getting the face vents pipe in place. you have to squeeze it up through the gap, i found putting the top right corner in first, then compressing the two face vents and pushing the left up. then when its roughly in place, position the drivers side vent tube, then locate the passenger side. this took me about 10 minutes and was a little fiddly - expect cut hands and arms! put the two 10mm nuts back on the pipe to secure it

now, fit the face vents holder you withdrew and screw in the 2 screws. then just push the vents back in place - no leverage needed.
now just test the blower, make sure there's no leaks and that the controls work ok. if so, screw in the controls, then screw in the centre console, and the driver and passenger lower dash sections.
easy peasy!
scrapyard check-listspeedo surround
electric windows centre console
heater matrix housinng
glovebox and door
interior boot trim
rear o/s seatbelt
3dr up and over seal
parcel shelf straps
pas resevoir bracket
sunroof interior panel
passenger door handle
ashtray draw
99 relay
weighted shift rod