Author Topic: Jon's 91' Mk2 ABF Digi GTI  (Read 83472 times)

Offline jmsheahan

  • I live here
  • *****
  • Posts: 1,147
Cheers chaps.

Another milestone tonight. 8v is now out. Seems this is becoming a regular sight  :rolleyes:

Engine bay looks pretty straight and rust free (even the battery tray seems ok) but we will see at the weekend when it's all cleaned back and degreased which I didn't get chance to do last time the engine came out.

Rubbish iPhone pics but tonights progress:


As I say a familiar sight from a few months back  :lipsrsealed:


Offline jmsheahan

  • I live here
  • *****
  • Posts: 1,147
Tiny bit of progress today. Plan was to get the ABF block stripped, degreased and painted. Problem being I have to do this outside as there is no room in garage. Nice and sunny this morning and no sooner had I pulled the engine out the heavens opened...and haven't stopped since! Managed to get the alternator and waterpump stripped off but not a lot else.

Focussed efforts back to the car and started to clean up the engine bay a little. Thankless task but the paint is coming up better than I thought it would which is great news! Very happy about that. Just a tiny bit of grot down by the subframe but should clean up fine. 2 hours work to get halfway around the bay though [xx(]

Before:


After:


Chassis rails are nice and rot free which is a bonus. Seems the factory underseal/wax has done a good job of protecting it.


50/50 shot:


Hopefully have better luck with the weather tomorrow.

Offline jmsheahan

  • I live here
  • *****
  • Posts: 1,147
Re: Jon's 91' Mk2 ABF Digi GTI
« Reply #182 on: 11 April 2012, 21:09 »
Fallen a little a bit behind with updating this thread so apologies for the mixed tenses  :grin:

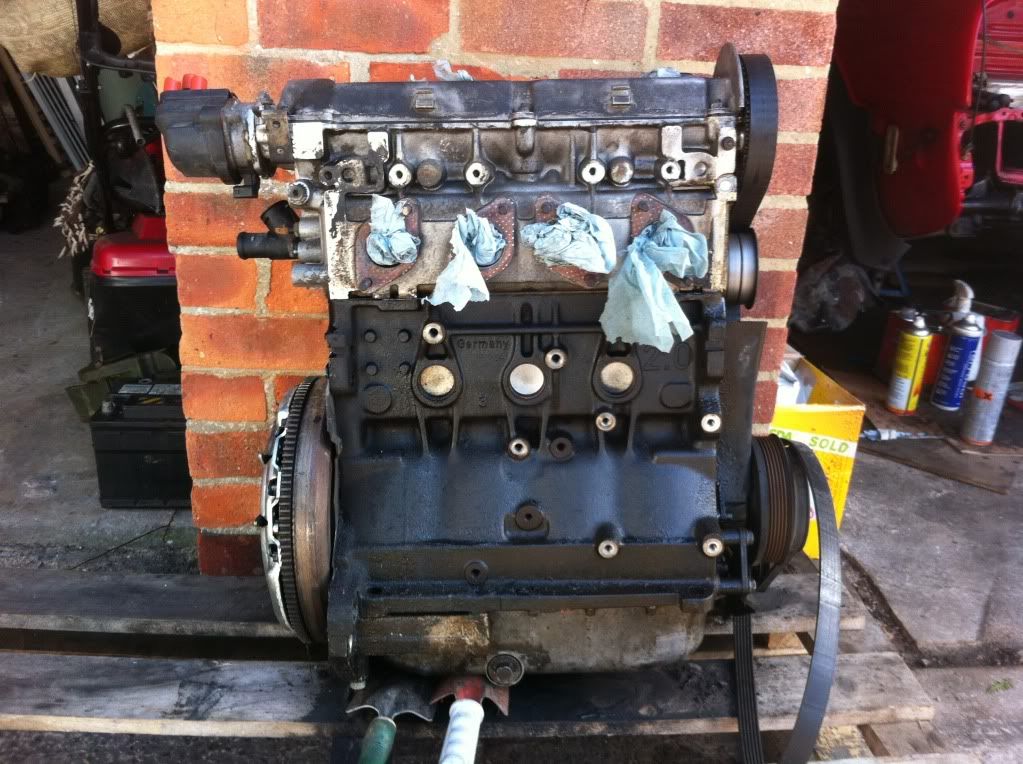
A little more progress over the weekend and tonight. Spent saturday scubbing the living daylights out of the ABF block. Previous owner mentioned the rocker cover gasket had been leaking which he replaced but the aftermath was just ridiculous. Took several hours to get the front of the block reasonably clean and grease free and even then it wasn't perfect. Got the back of the block to do next weekend.

Think I may have to start buying shares in Gunk and brake cleaner - used 2 large cans of gunk and 3 cans of brake cleaner so far. Gunk is good but it doesn't really go too far.

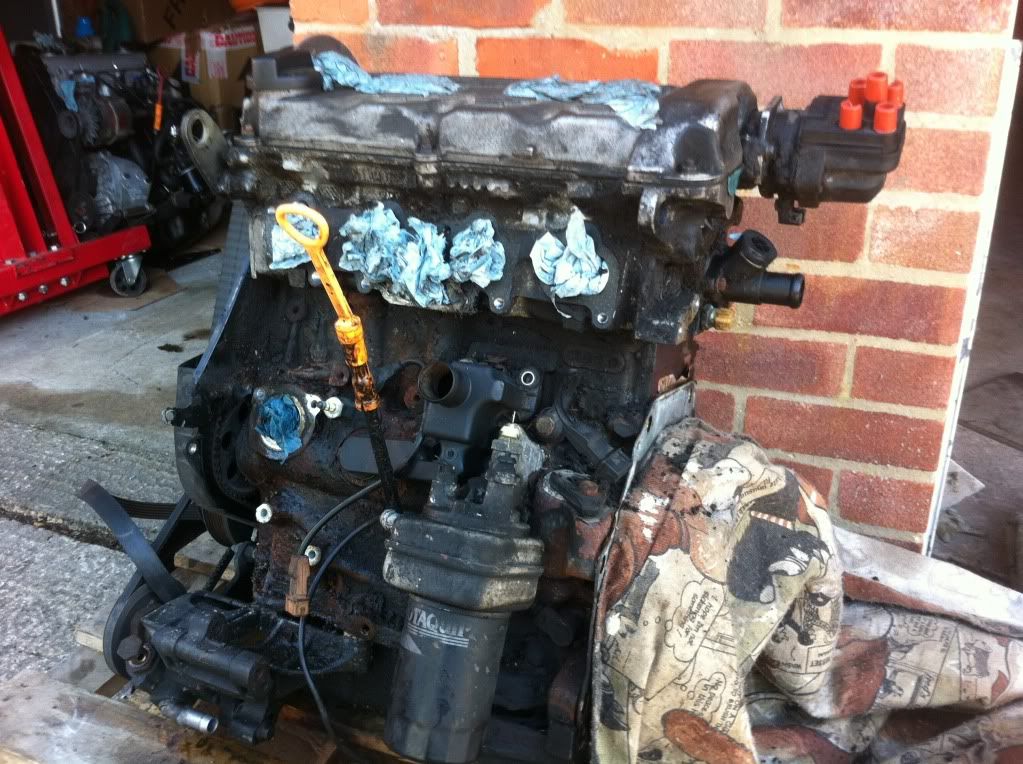
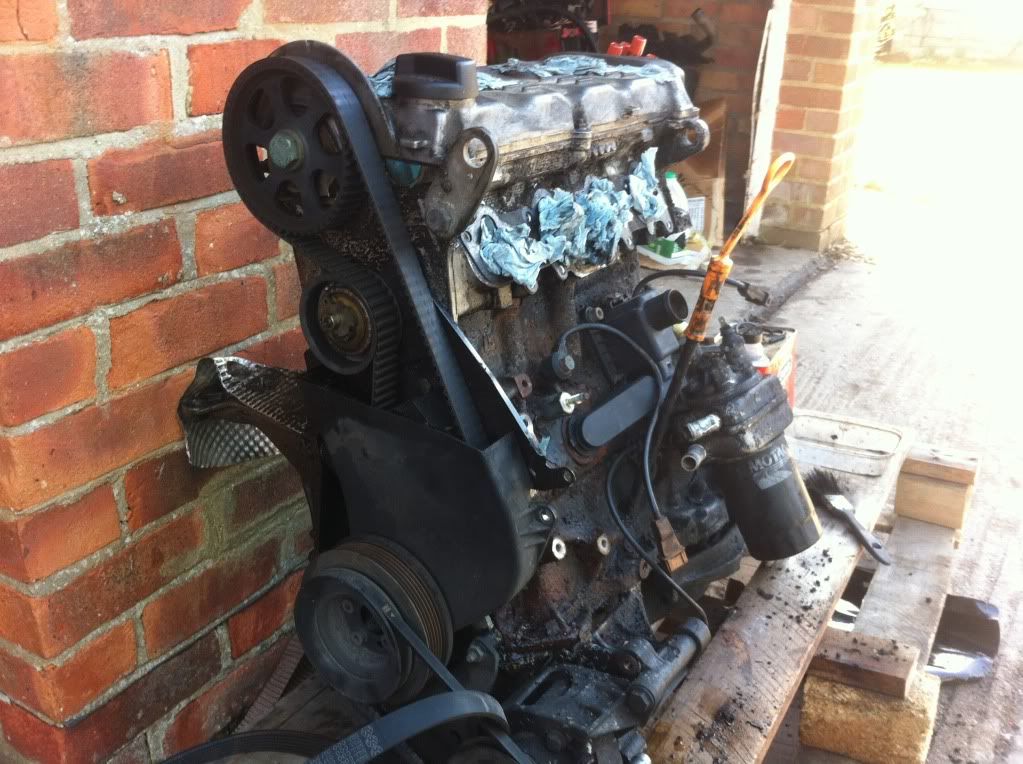
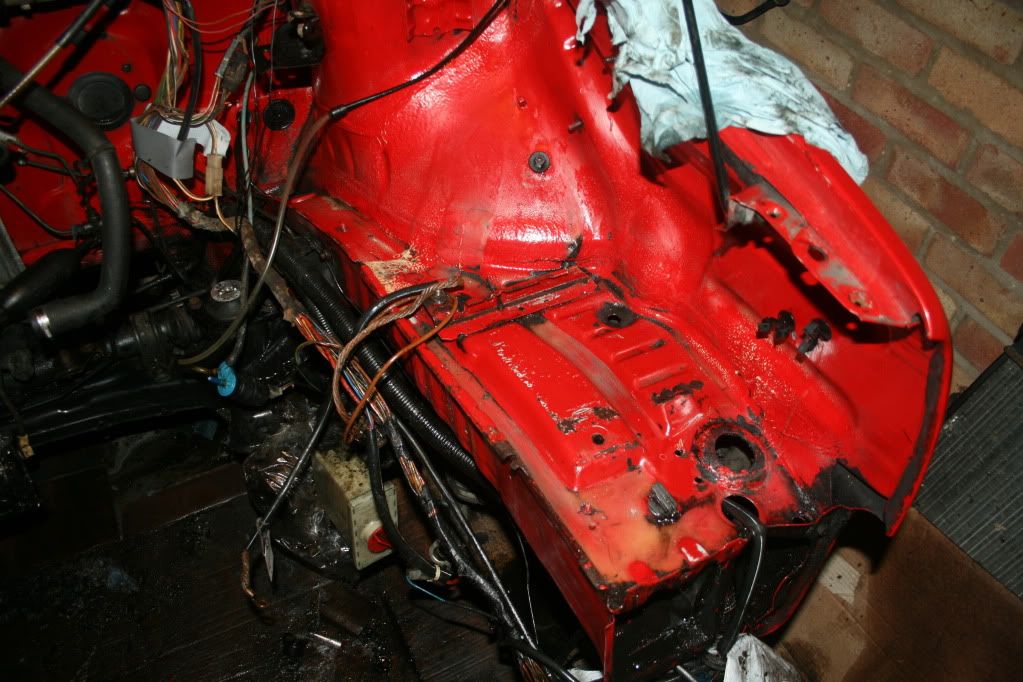
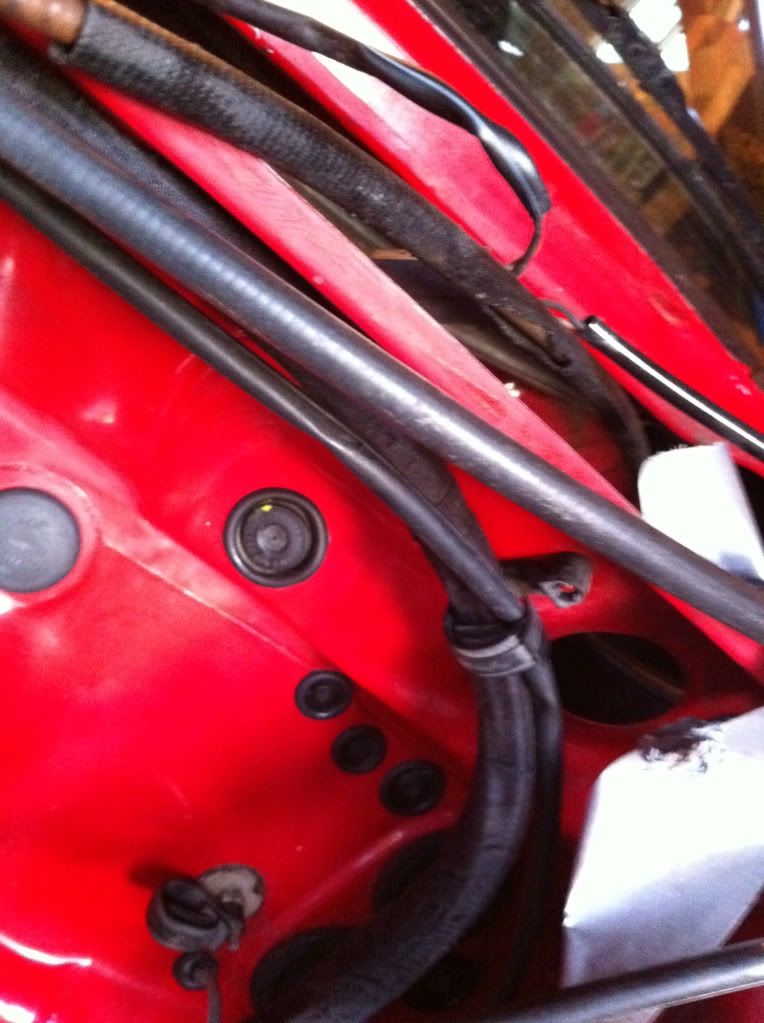
As I say the engine was a right mess. Quite poor condition and rusty with paint chipping off all over the shop:


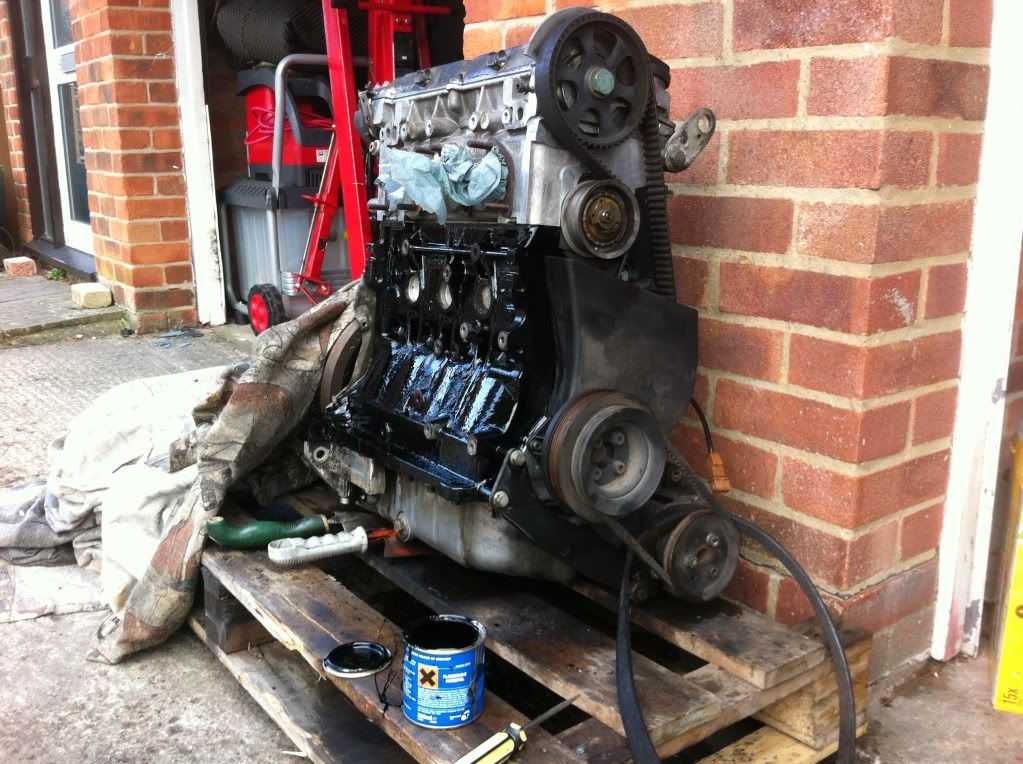
Plenty of elbow grease later and a lick of paint we have this:


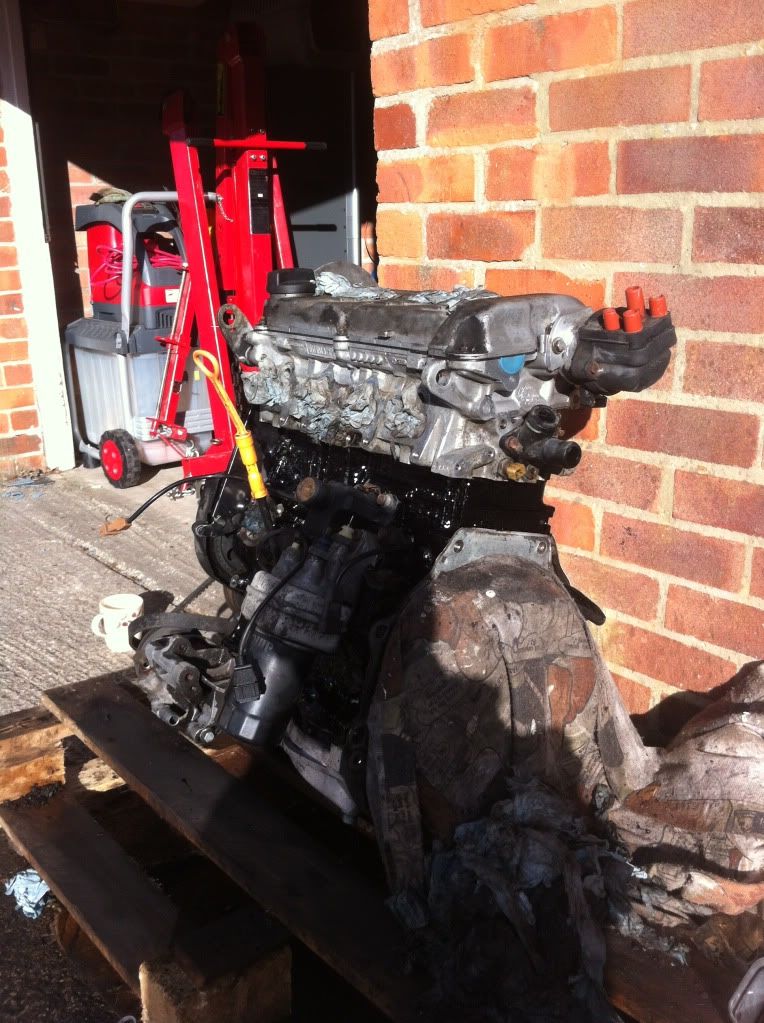
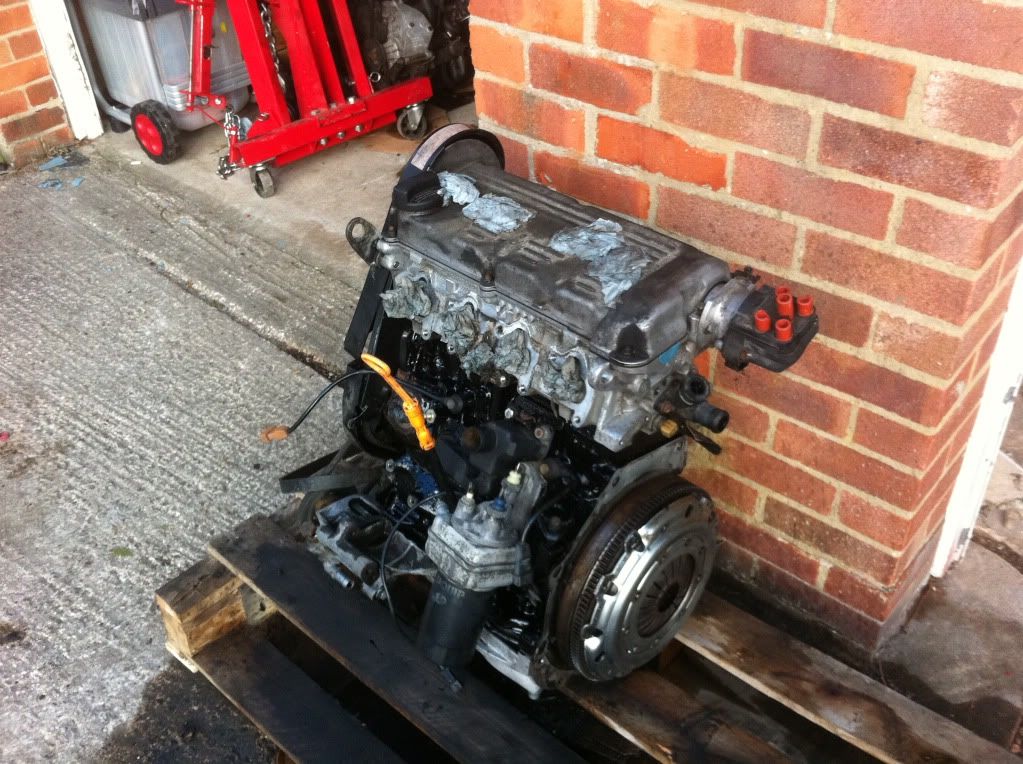
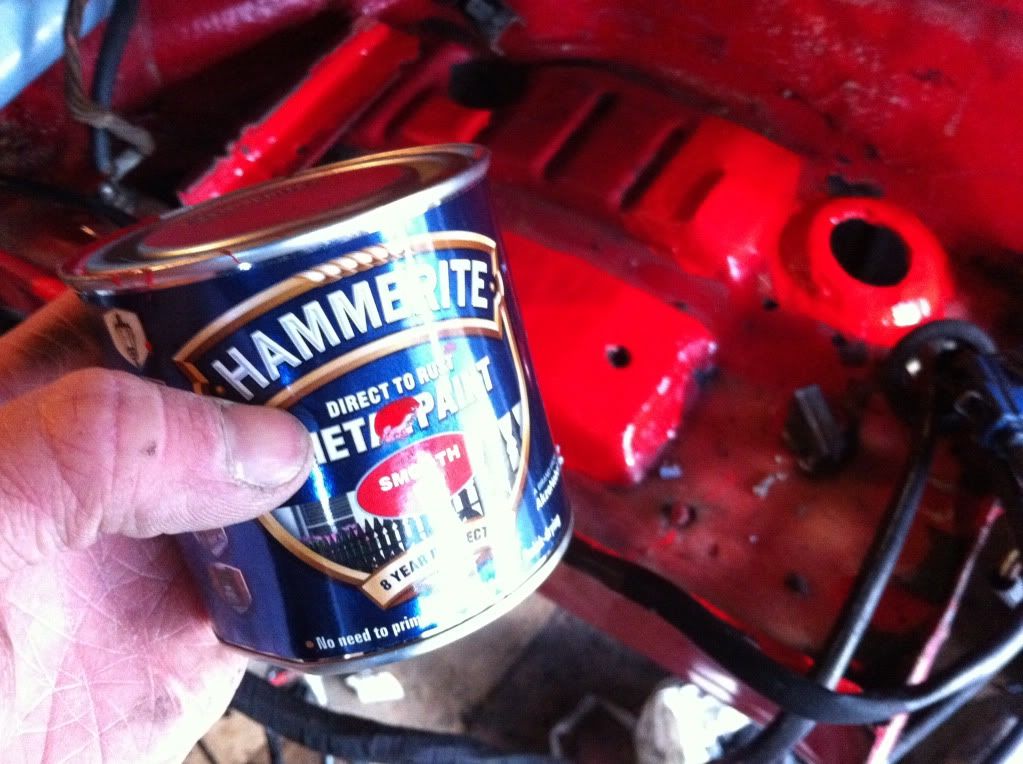
I have to say I'm very disappointed with the finish of the paint. I hate how glossy the finish is (this will die down as it gets dirty with any luck) and it just generally looks a bit crap with a kind of hammered finish. A bit disheartening after all the effort of cleaning. I'm very glad I didn't splash out on expensive POR15 enamel as it's virtually impossible to get the block immaculate without stripping the engine right down as well as being a little paranoid about dropping degreaser into the block. The satin finish from Halfords I used on the 2E block previously looks a lot nicer but is rubbish paint. Anyhow it is just an engine block and you'll barely see it anyway. The upside is it seems to have adhered well.

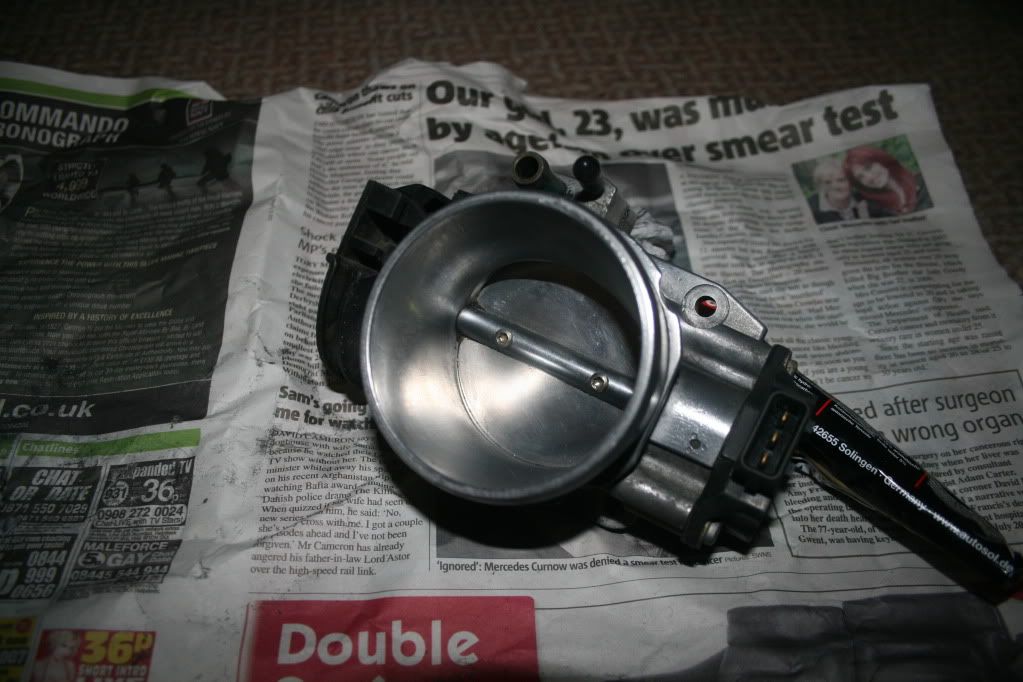
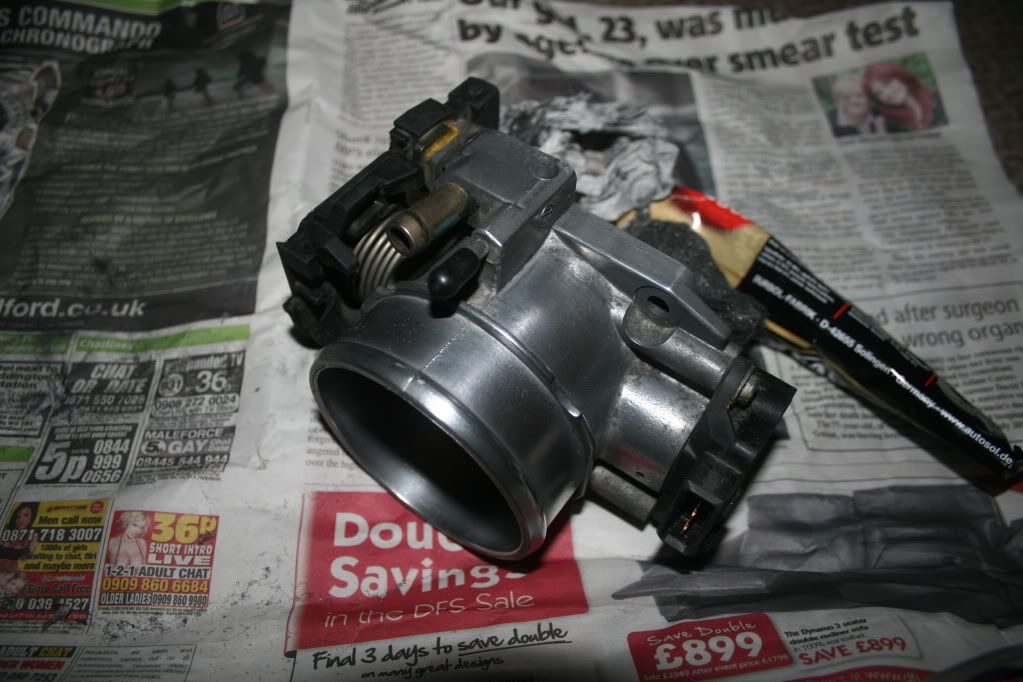
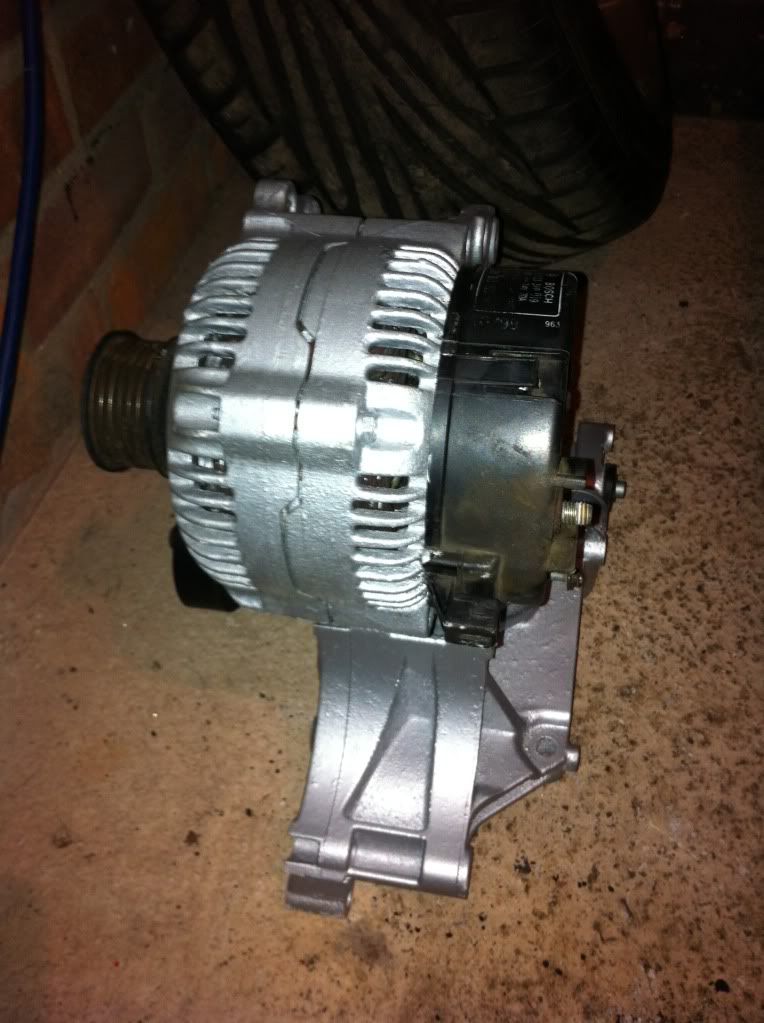
A bit peeved I cleaned up a few other parts, main one being the throttle body. Autosol brought it up like new.


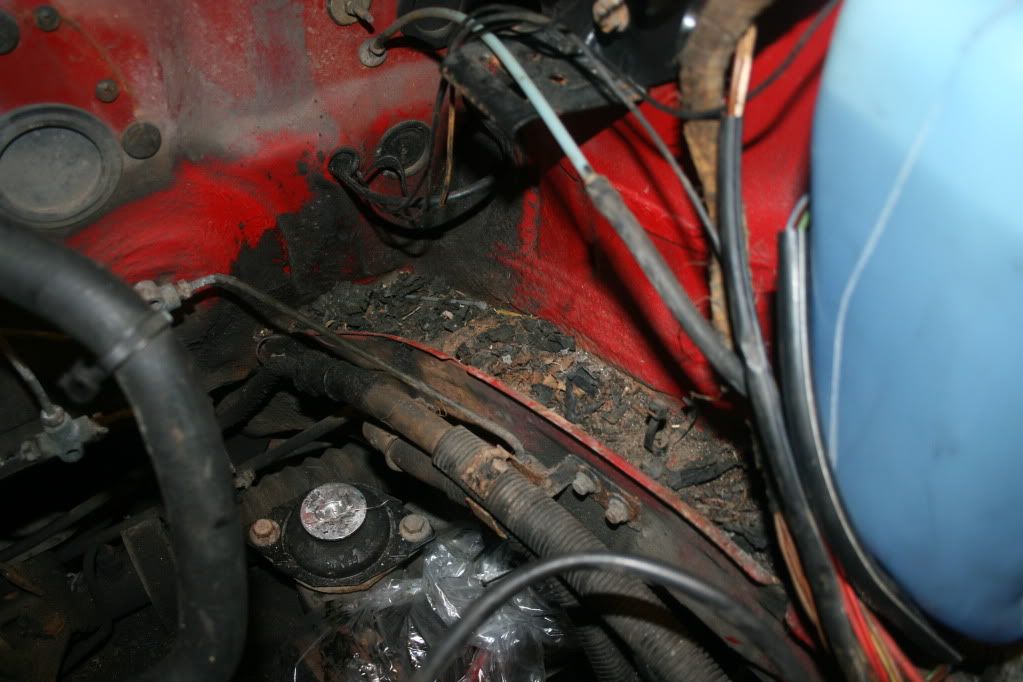
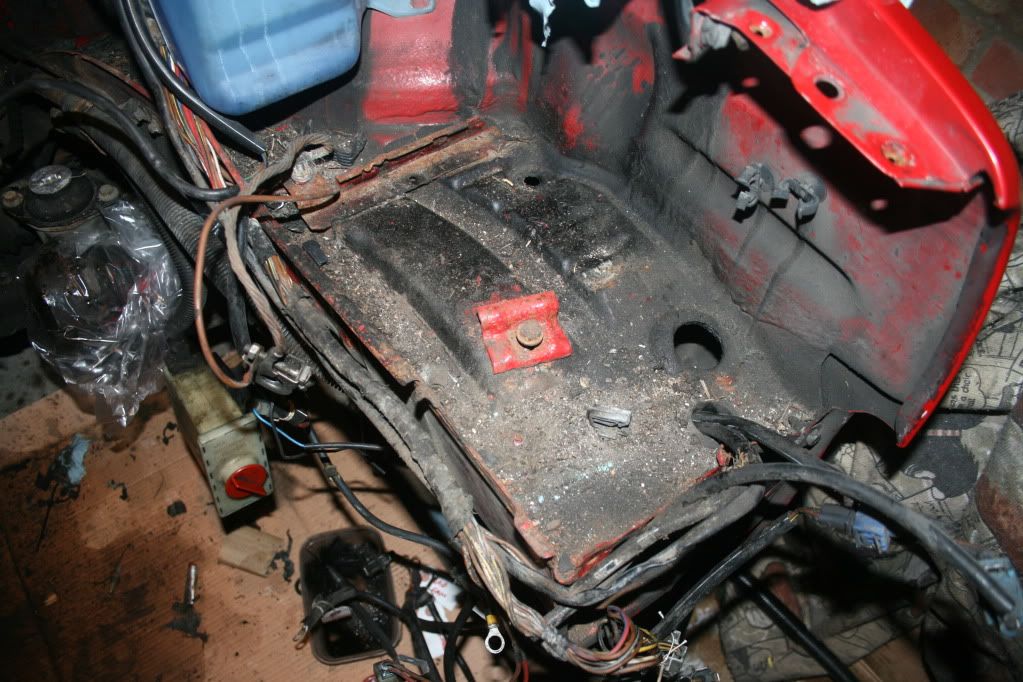
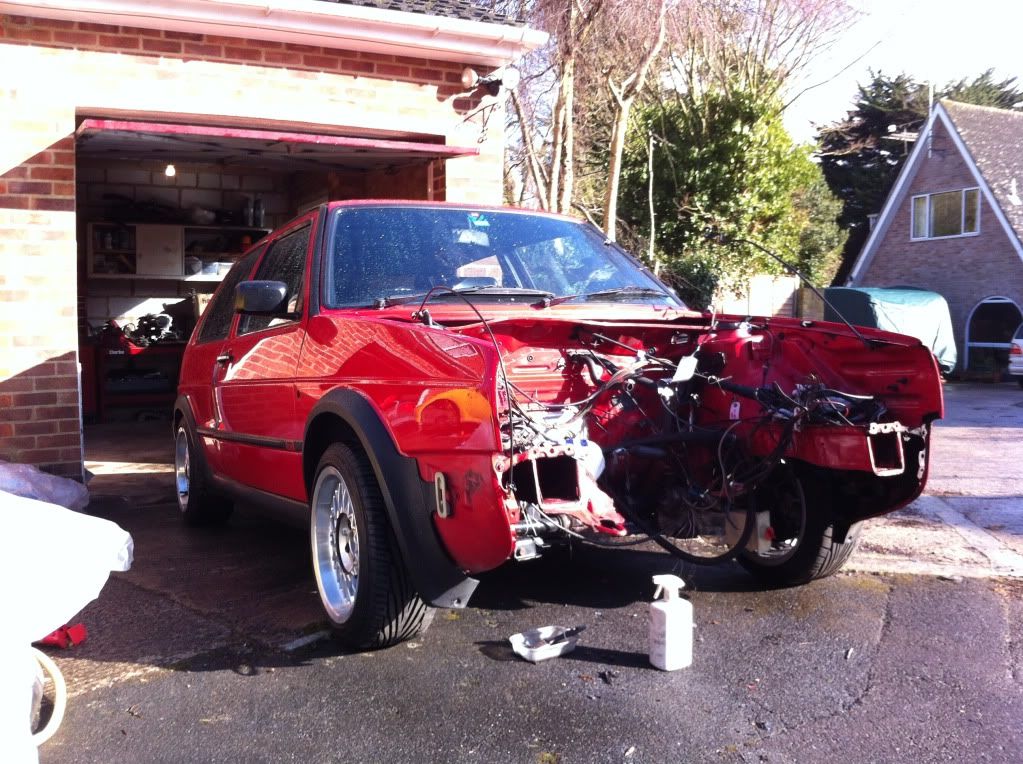
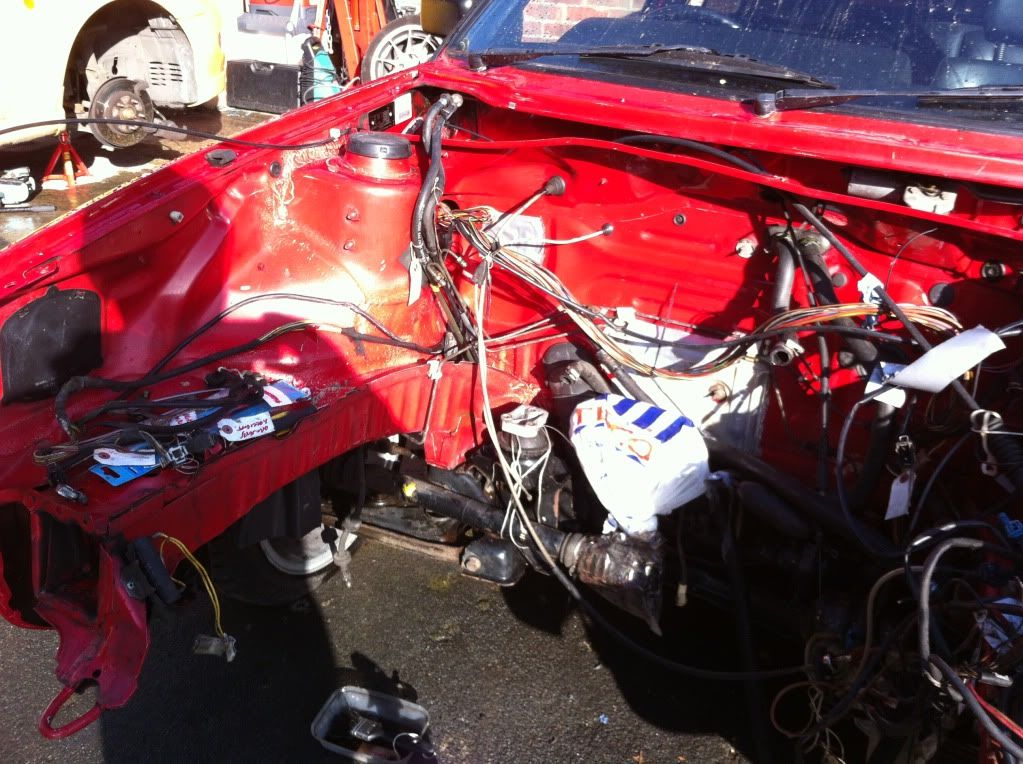
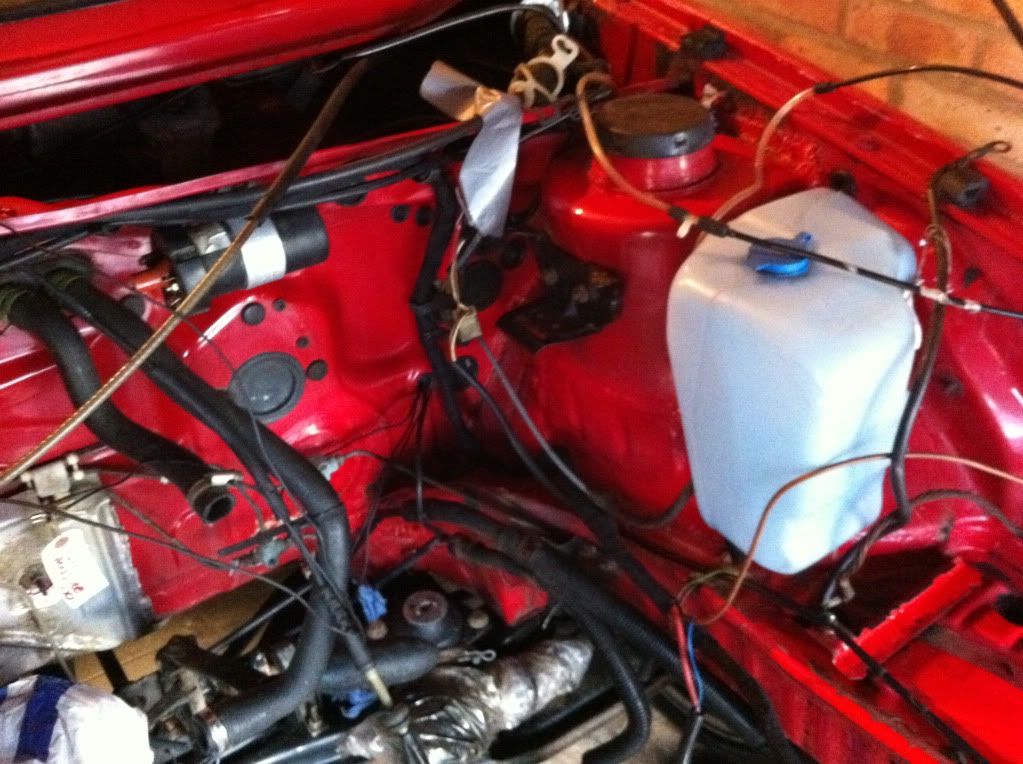
Finally tonights efforts have been continuing to clean up the bay. Ran out of degreaser but not bad for a first pass. The battery tray is excellent, I'm really happy with this as we all know this is a grot spot for mk2's. The whole bay has been waxoiled which I'm not sure if it's factory or whether a previous owner has done it. Either way it's all coming off and then I'll spray some fresh Dinitrol around when I'm done.


Wiring looms went off to RJ today so that's another thing ticked off. Need a couple of new hoses which have perished and also the wiring on what I think is the crank sensor looks a little iffy. Might have to replace it. Trouble is I'm getting to the stage where money has to be spent so progress might slow a little.

That's all for now.

----------------------------------


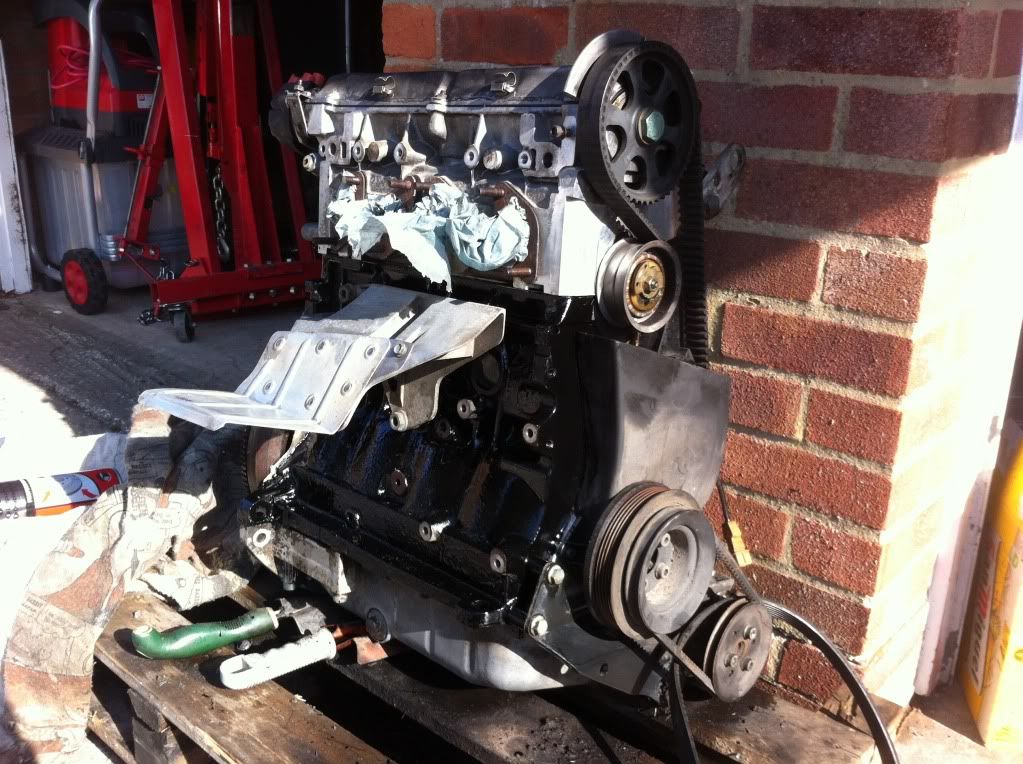
Finished cleaning up the engine and painted up the back of the block.

Before:


After:


Cleaned up the heat shields and bolted all of that back on:


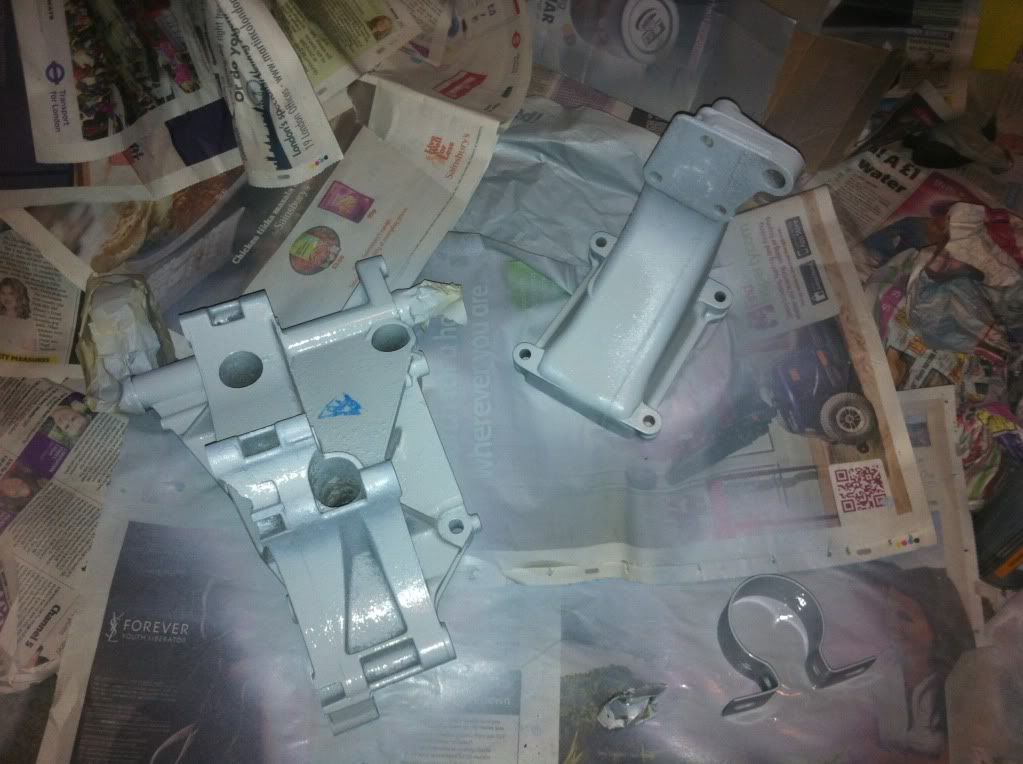
Clean, etch primed and painted brackets:


Had to re-cover what is left of the Seat so wrapped that up yesterday. Few last bits to remove and then I really need to get shot of it. Yes, the neighbours love me.


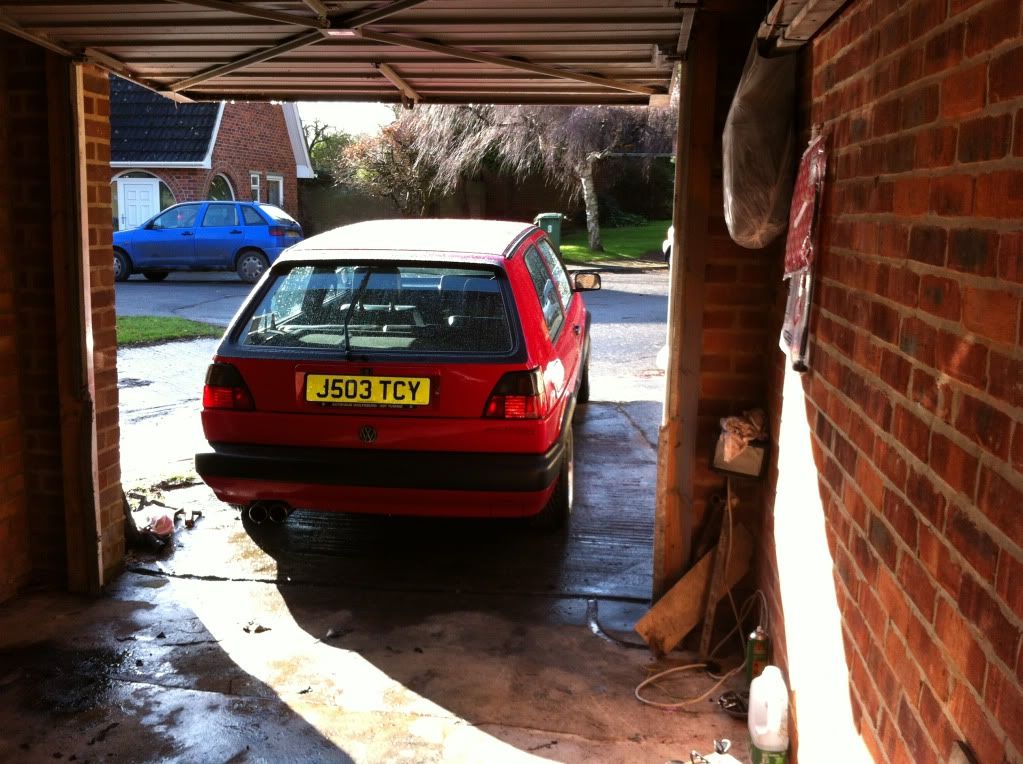
Brought the Golf out of hiding yesterday to give the bay a final rinse of with the jetwash. The bay has come up pretty well all things considered with very little rust. It's not mint by any means but certainly not bad for a 20 year old car.


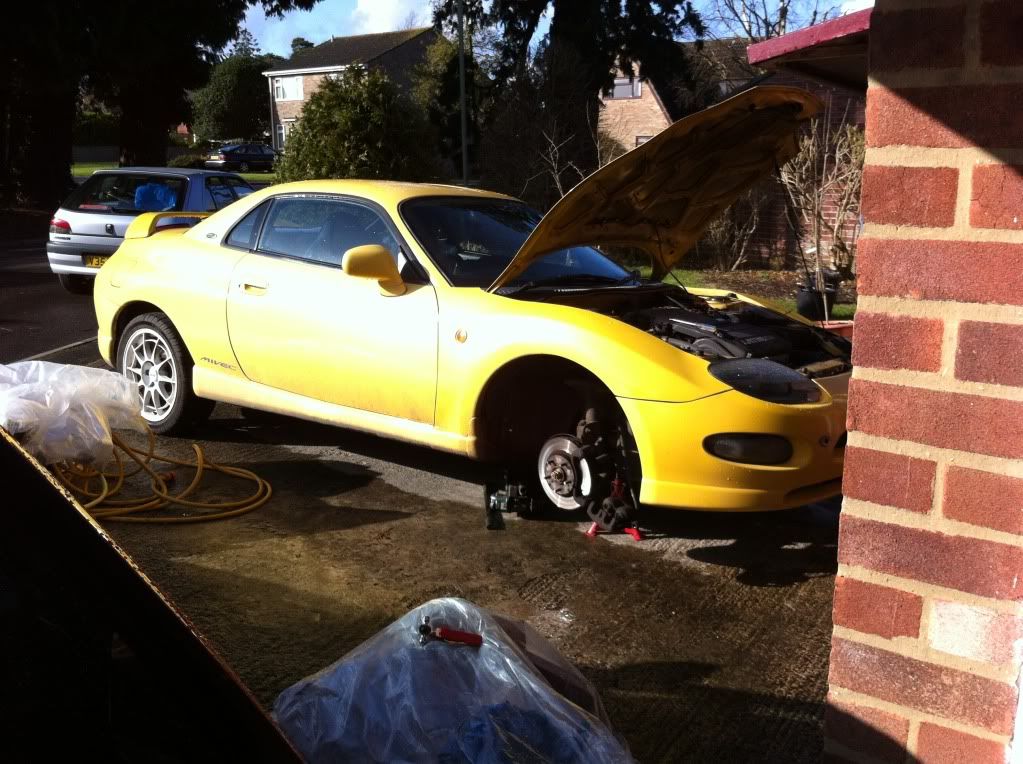
Stopped after that to help sort the brakes on my stepdads FTO. Not really my cup of tea but it makes a fantastic noise!


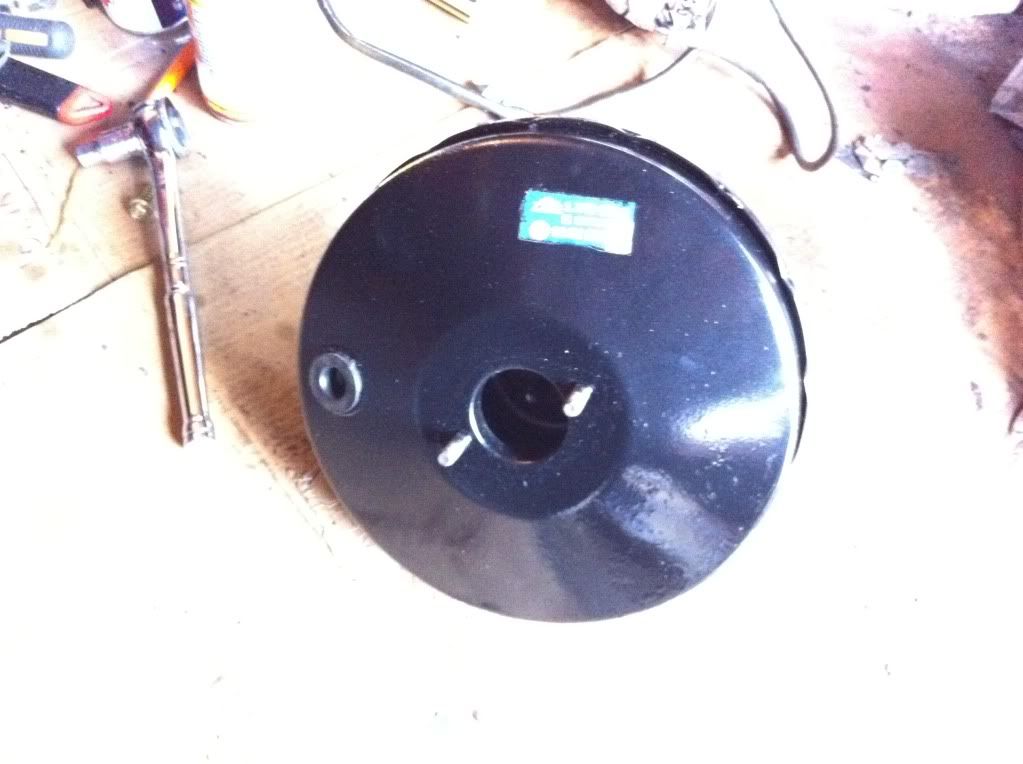
Cleaned up and painted the mk2 servo ready to go back on:


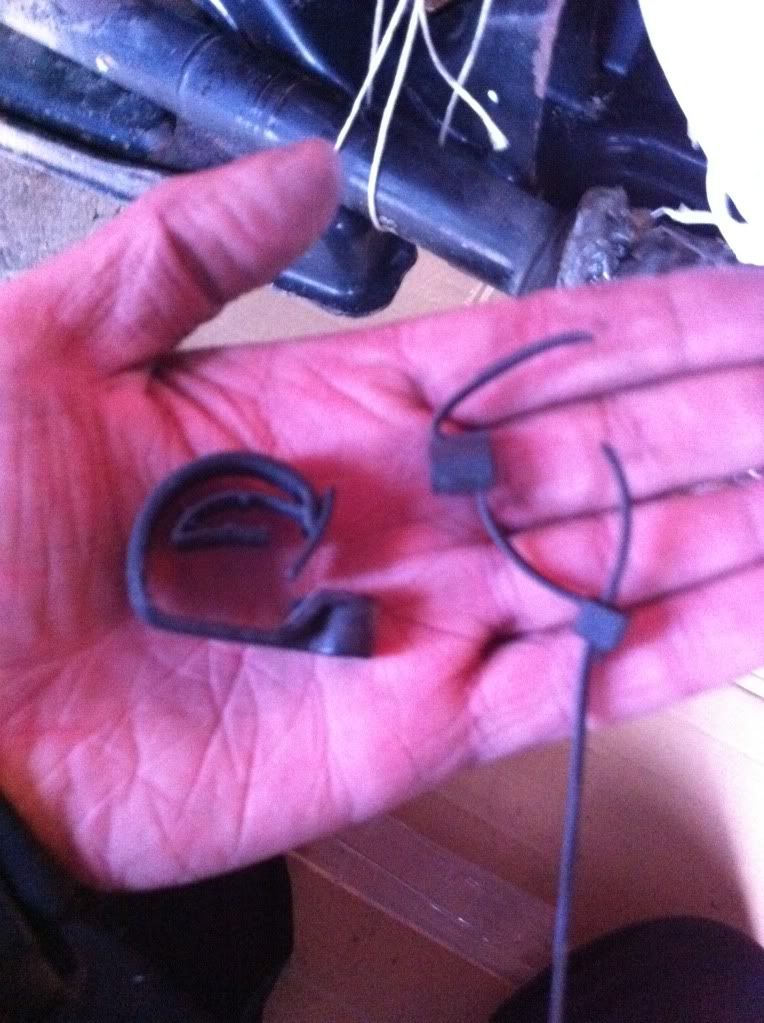
The mk2 wiring looms are help in with glorified zip ties which I cut off when removed initially. Decided to try and tidy it up a bit by robbing the ones off of the Ibiza which are a better design. Ibiza left, Golf right:


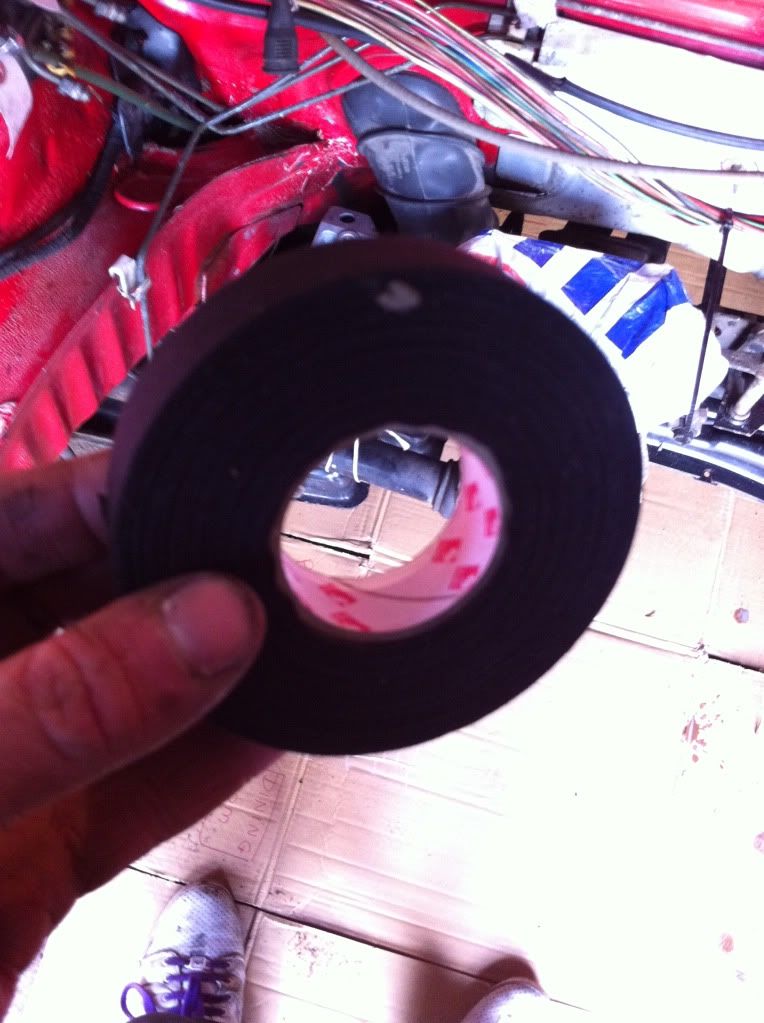
After a bit of discussion in the electrics section I got hold of some Raylon fabric loom tape recommended to me. Piece of cake to work with and looks pretty tidy and OEM once wrapped. Started with the drivers chassis rail and tidied up the routing. Not bother about running it through the legs as it's more hassle than it's worth in my opinion. Looks presentable and will be covered by the airbox anyway.


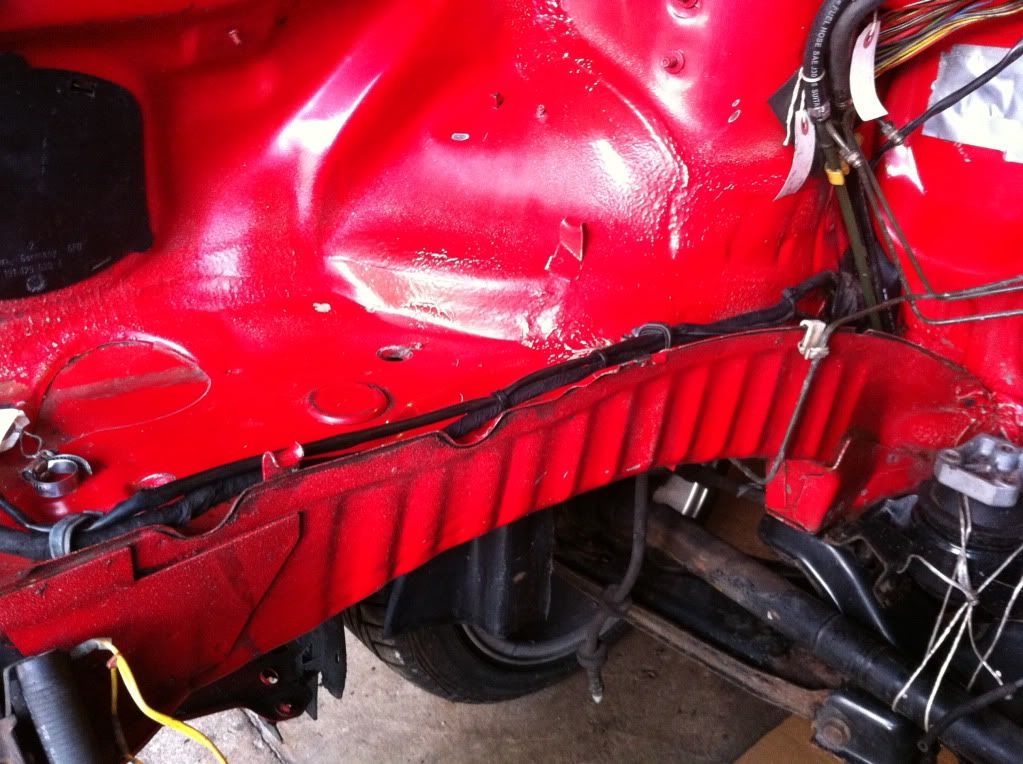
Can't remember if the lighting loom or engine loom fits along the top clips but have routed the lighting one for now:


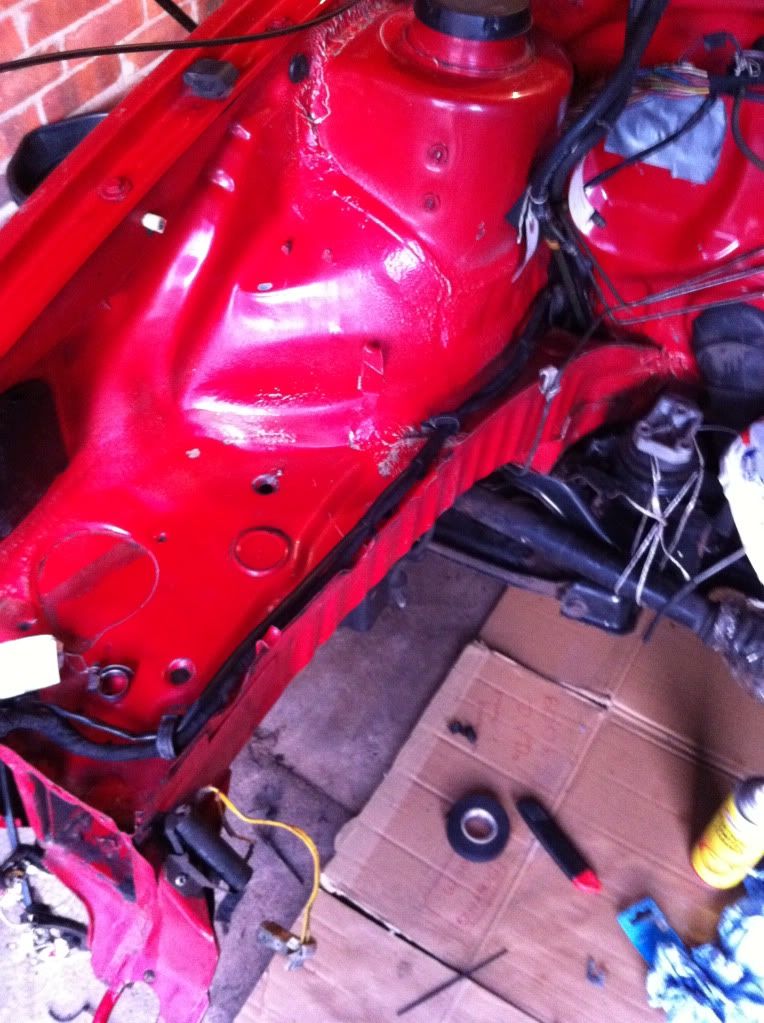
Haven't finished wrapping the passenger side loom yet but started fitting some of the mk2 parts back into the bay - coil, washer bottle etc. I was hoping the Ibiza bottle may fit but unfortunately not (mk2 one is farkin' mahooosive!).


Also gave the battery tray a lick of paint; as I say it's pretty clean and very solid but a few bits of grot I wanted to treat:


Obviously not a perfect match but it's not bad at all and it'll be hidden anyway. I'm more interested in rust protection than finish in areas like that.

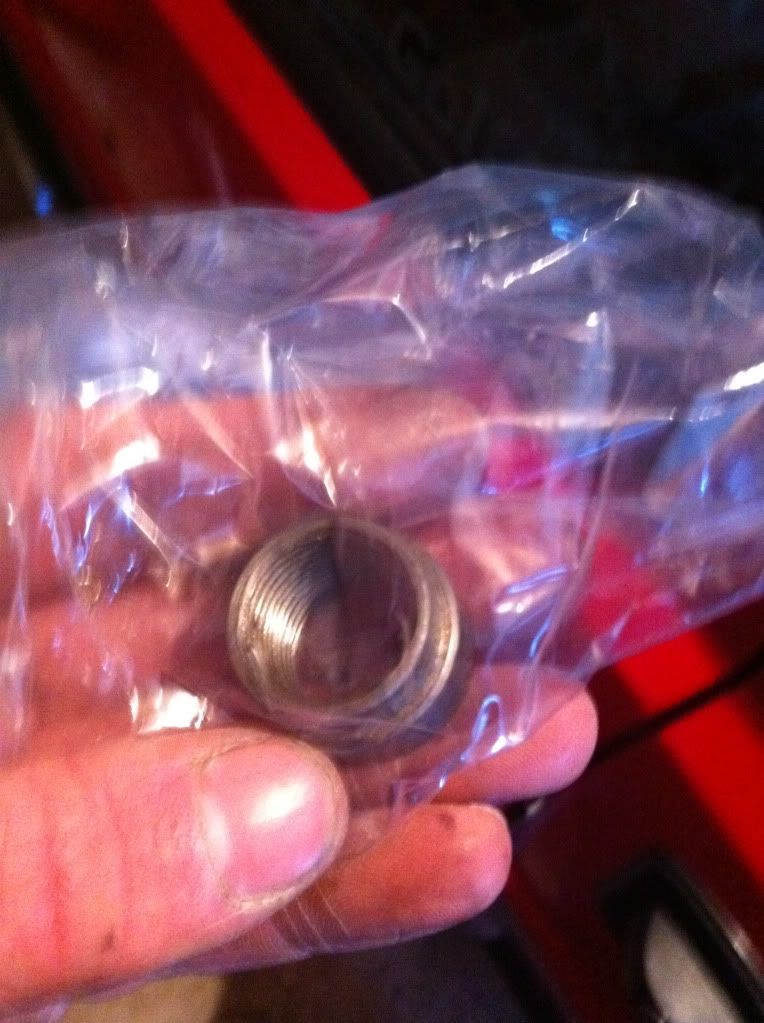
Lambda boss showed up on Saturday so will need to get that welded in. Did manage to liberate the Seat's but not sure whether it's worth just buying a new one?


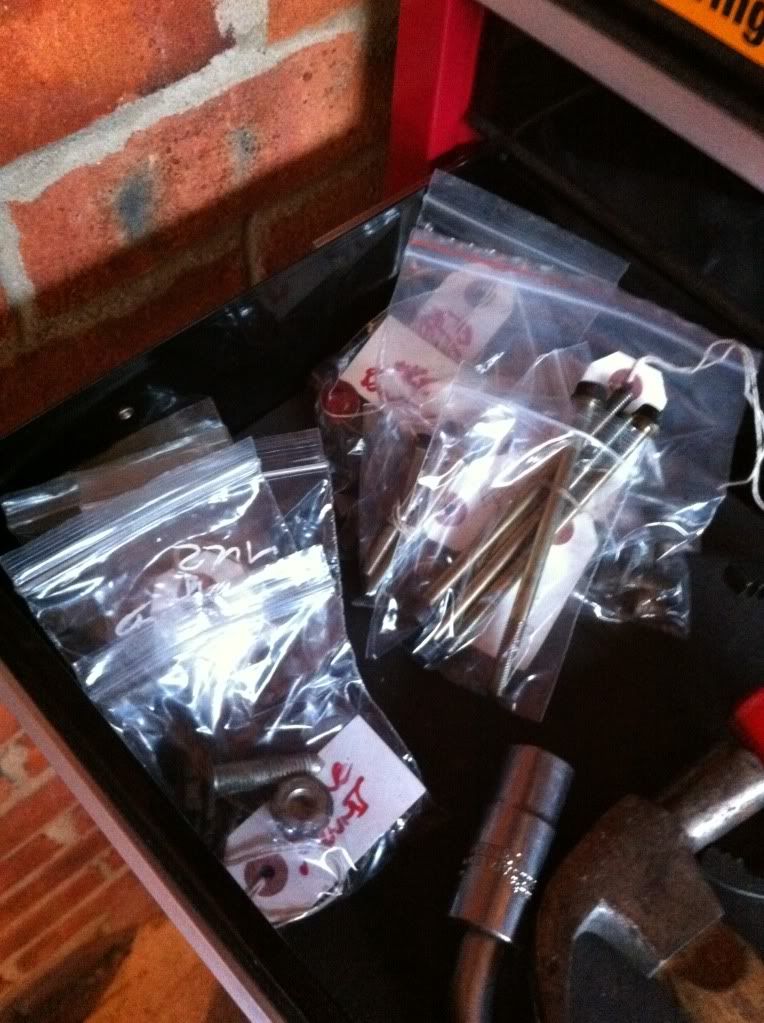
Small tidy up of bolts to finish the evening off.


Discovered that annoyingly the Ibiza master cylinder uses larger nuts than the mk2 one so will need to modify the lines. I think I just need to chop the flare off of the end, swap the unions and make a new flare again. Not done this before so any pointers would be great.

Looking at VAGCAT it looks like my PB/2E water pump is the same as the ABF so will be swapping that over off of the old block as it was new when the 2E went in. Crack on building the ABF back up next weekend.

----------------------------------

Offline jmsheahan

  • I live here
  • *****
  • Posts: 1,147
Re: Jon's 91' Mk2 ABF Digi GTI
« Reply #183 on: 11 April 2012, 21:11 »
This little lot arrived a few weeks back so set to work remaking the brake lines after 2 snapped when I tried to remove the unions. Flare tool was worth it's money.


Plumbed in and master cylinder back on:


Removed the 020 clutch and flywheel assembly from the 2E block and swapped it over to the ABF. I aligned the clutch by eye and the box went back back on without issue so I'm hoping it's all correct!


Only issue I stumbled across was the plate that sits under the bellhousing. I assume I don't need this for the ABF as it didn't seem to fit?


Engine pretty much ready to go back into the car now. The coolant hoses and rocker cover gasket I will do when it's back in the car.


-------------------------------------------------

As I had some spare time I decided to strip down the 2E block just out of curiosity and see if there was anything that explained why it developed the severe knock it did. After the head came off cylinder 2 and 3 were full of oil:


Other two ok:


I didn't find anything amazingly obvious, no heavy scoring on the crank:


Pistons looked ok:


Oil pick up was clear:


No debris in the sump either. Until I found this:


Split shell on cylinder two. Would this have been enough to cause the knock in the engine? Either way all scrap metal now, just would be nice to know what happened out of curiosity.

Big order to place at VW at the weekend, just waiting on subframe bushes and then the aim is to get the engine back into the car on Sunday.

Offline jmsheahan

  • I live here
  • *****
  • Posts: 1,147
Re: Jon's 91' Mk2 ABF Digi GTI
« Reply #184 on: 11 April 2012, 21:12 »
Got the exhaust manifold welded up at a local specialist yesterday. Interesting workshop, just around the corner called Lloyds Specialist Developments. Mainly specialise in British cars such as TVR's and Range Rovers but they had a very pink 50's Cadillac in there being rewired when I went in. They did a very neat job:


Made a little more progress tonight in preparation for getting the engine back in at the weekend. I figure if I get the block and box back in I can fit the loom around it when it's complete. First on the agenda was to fit these:


I think most of my money went on the damn packaging of them! Embossed logo's on grease packets!  :grin:. Still, they only worked out a fiver more than buying rubbers ones.


Anyway, first was to get the old ones out. No titting about, straight out with the blowtorch. Fire!


And out they pop:


Pressing the new ones in was a bit of a pain but managed in the end after some advice on here. Whacked them in the vice and used the base of one of the 2E pistons to clamp against as I didn't have a socket large enough  :grin:


Replaced the gear linkage bushes with a kit. Nothing wrong with the old arm but thought may as well swap it over.


So, massive parts order on Saturday and then hopefully get the ABF back in the bay on Sunday.

Offline jmsheahan

  • I live here
  • *****
  • Posts: 1,147
Re: Jon's 91' Mk2 ABF Digi GTI
« Reply #185 on: 11 April 2012, 21:14 »
Cracked on with making progress this weekend. Saturday was taken up with removing the last bits from the Ibiza. It's now completely stripped and ready to go the crusher. The thing is lethally rotton, pretty scary it had an MOT in all honesty. Both rear arches, both sills, both rear footwells, jacking points etc all completely shot. I had it jacked on one of the rear jacking points to get access to the beam bolts and the jack head disappeared through the floor! Just thankful I wasn't under it at the the time  :sick:

Anyway on with the Golf. Not too many pics as it's pretty standard stuff but took a few. Pieced together various parcels which arrived last week, one of which being from the dealers. Can't believe how much all of this cost but it's nice to be using genuine parts. Parts guy was helpful too.

- Mk4 header tank, cap and sender
- Exhaust manifold bolts
- Downpipe bolts
- Exhaust studs
- Rocker cover gasket set
- Sump gasket
- Sump plug
- Spark plugs
- Air filter
- ABF themostat
- ABF metal water pipe
- Manifold gaskets
- Driveshaft bolts
- Crank sensor
- Dizzy cap and rotor arm
- Various water hoses (Dealers wanted £40 for one of them! Managed to grab a brand new genuine on eBay for £7 though)

and probably more than I've forgotten about. Wallet now substantially lighter! If anyone needs part numbers just let me know - some of them had been superseded from Vagcat references.


The ABF is now in along with the polybushed subframe etc and went back in without a hitch.


Jacked the front of the engine up and swapped the crank sensor over. Had a bit of an 'oh sh*t' moment when half of the sensor snapped and remained in the block but fortunately I was able to carefully liberate it without it dropping into the block. Wiring was knackered on it and judging by how firmly it was in there I guess it's the original.


Got the downpipe and exhaust manifold all bolted back up:


As someone previous to me completely mangled the sump plug I decided to just drop the sump in one. Picked up another ABF sump on ebay for a fiver. No idea why people do these up so tightly!


Even the one on the eBay sump was a little rounded but put a new one just to be sure:


Cleaned up and ready to go back on:


Everything back in situe. Had to remove the power steering pump, bracket and bellhousing cover to get all the sump bolts. Ratchet spanner was a god send on the two hidden at the gearbox end; combo of that with a hex piece held in it with tape got the buggers out. Also swapped over the stat for an ABF one.


Mocked up the Mk4 header tank I want to use. Cheaper and has a better cap design. Should fit fairly easily onto the mk2 bracket, just need to trim in the plastic on the tank a little by the looks of it.


Swapped over a new dizzy cap and mocked up the inlet manifold after fitting a new rocker cover gasket set. Will be leaving this off until the loom is fitted though.


Also mocked up a set of G60 front arches picked up for a reasonable price.


Steady progress all in all but getting closer. Just a case of pluming in the cooling system and bolting up the driveshafts next then it's onto finishing the brakes with decent discs, pads and braided lines.

Would really like to set a deadline of GTI International or the Castle Coombe VAG trackday. We shall see!

That's all for now.

Offline thai-wronghorse

  • Serious forum addict
  • *
  • Posts: 7,325
  • mk1 Seat Leon FR TDI
Re: Jon's 91' Mk2 ABF Digi GTI
« Reply #186 on: 11 April 2012, 21:46 »
Now that's what you call an update! This is coming along very nicely now.

Offline Horney

  • 10k hero
  • *
  • Posts: 10,782
  • Racing, Trackdays, Starwars.
Re: Jon's 91' Mk2 ABF Digi GTI
« Reply #187 on: 11 April 2012, 21:54 »
Good stuff dude, be good to see you and the car @ Castle Combe. Looks like that will be the debut of the BTCC rep as well.

nick

Offline Ice_ken

  • Here all the time
  • ****
  • Posts: 390
Re: Jon's 91' Mk2 ABF Digi GTI
« Reply #188 on: 11 April 2012, 22:51 »
very nice! Perfect swap. I prefer this to a vr6 anyday

Offline jmsheahan

  • I live here
  • *****
  • Posts: 1,147
Re: Jon's 91' Mk2 ABF Digi GTI
« Reply #189 on: 12 April 2012, 20:02 »
Cheers chaps  :smiley:

The 'to do' list seems to get longer no matter how many hours I put in but getting there slowly.

Horney - Sounds good, see you and the BTCC rep there!