I've read threads on this in the past, such as
http://www.pocketrocket.ca/switchblade_key.html but not sure I've seen one on here so this is how I've spent the past two days;
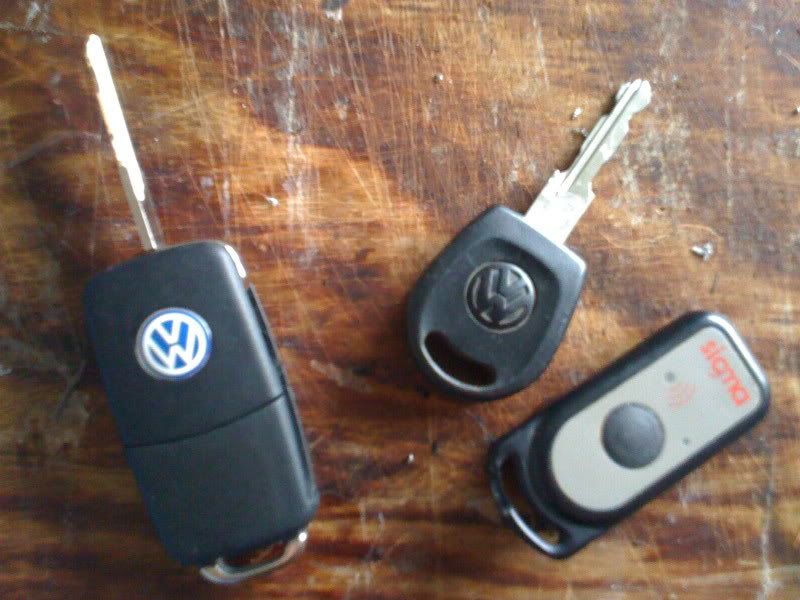
Heres the finished article, the MK4 flip-key fob next to the original MK3 Key & SIGMA alarm fob
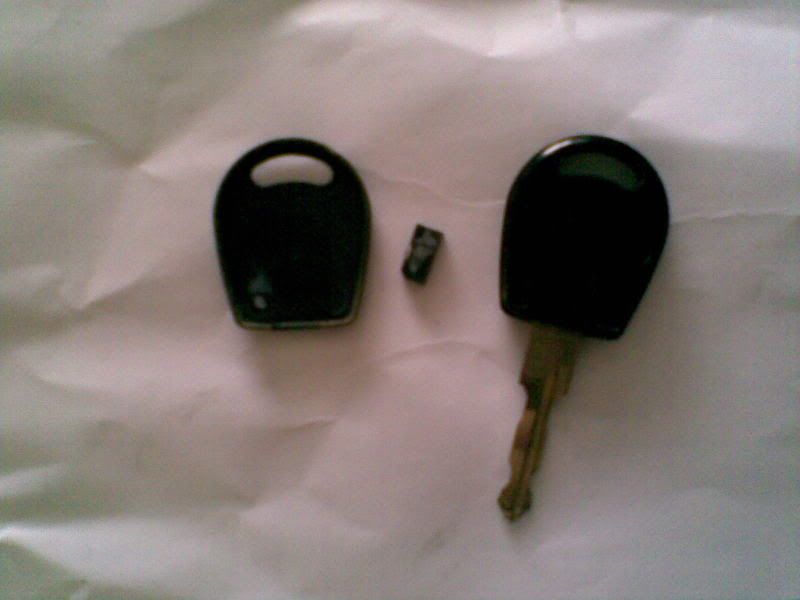
First of all get yourself an adaptop blank so that you can get a copy of your key cut that will fit the MK4 fob & get it cut.
Next get yourself a MK4 fob, I picked one up on ebay, make sure you get the 2 button one rather than the 3 button.
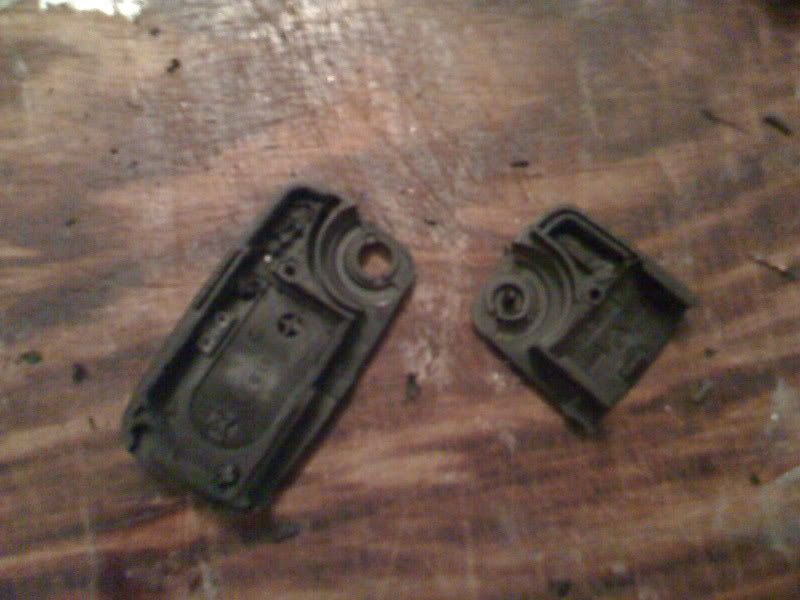
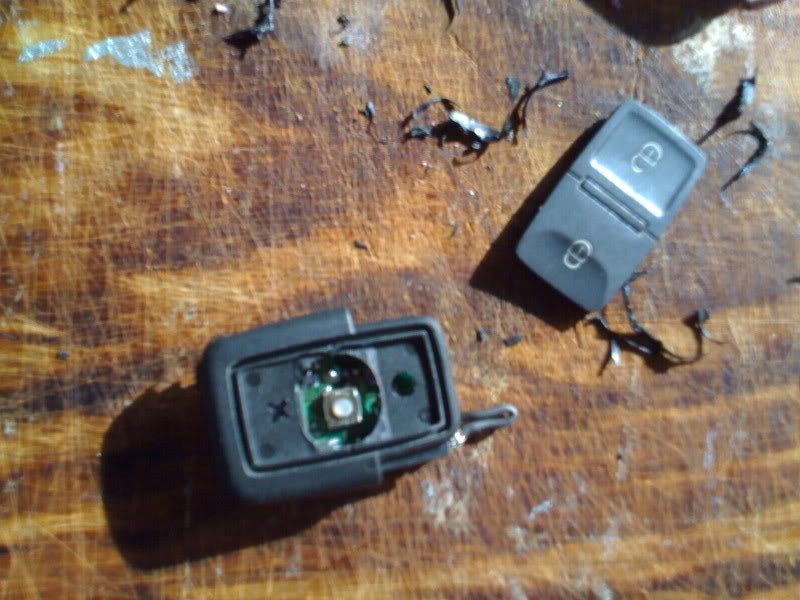
Next take them apart, the MK3 one comes apart by inserting a coin into the join & twisting it, the MK4 slides in apart down the middle then the lower part is prised apart, the top half is held together with a screw hidden behind the VW badge.
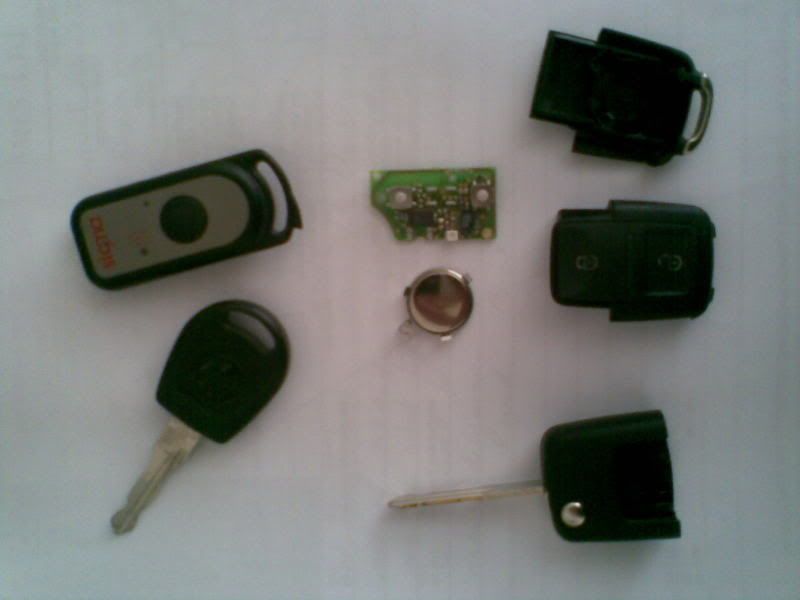
The key is 'sprung' so take note how it comes apart so you can put it back together;
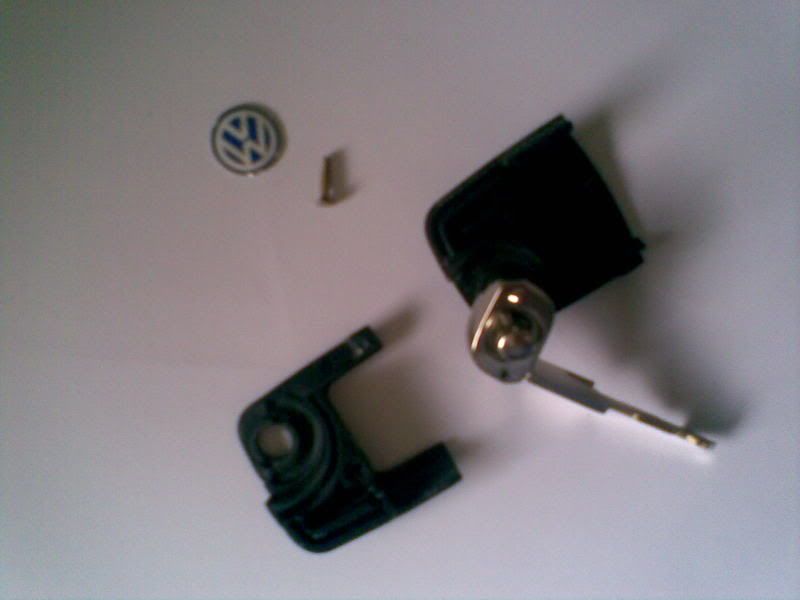
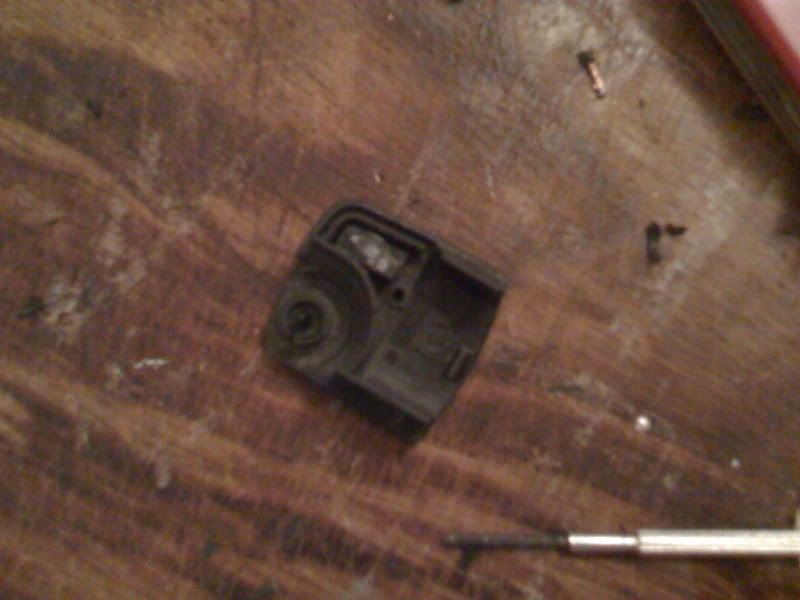
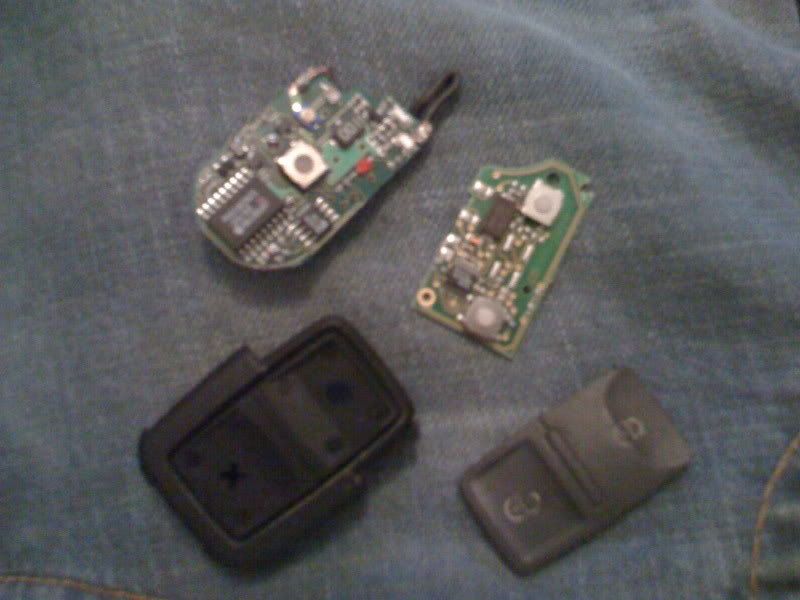
The important bit out the MK3 key, the factory imobiliser chip;
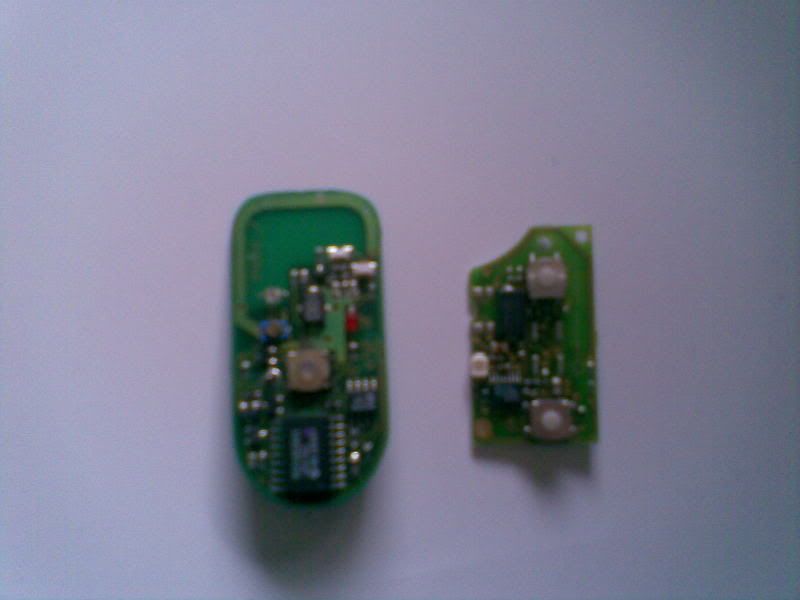
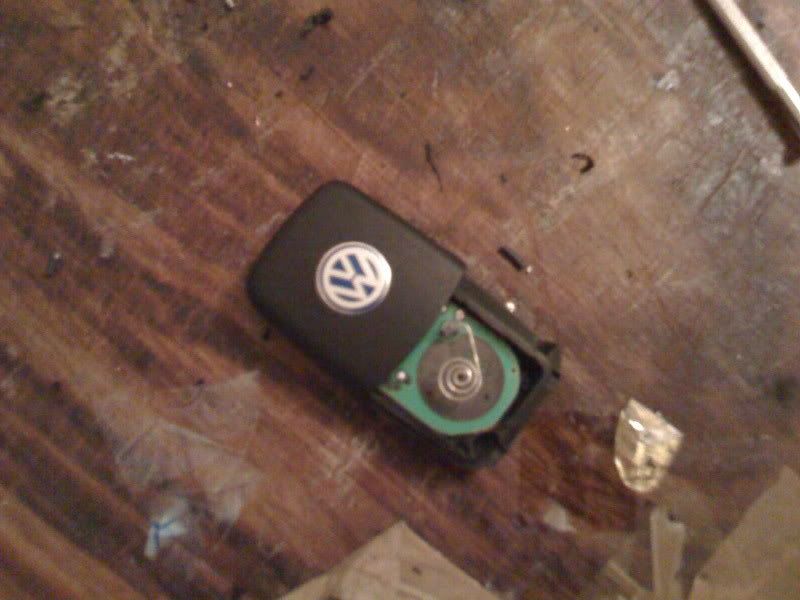
This is the the two circuit boards out the fobs, the larger is the SIGMA which I need to make fit in the MK4 fob (right)
Inside of the fob, take a dremmel & do a bit at a time
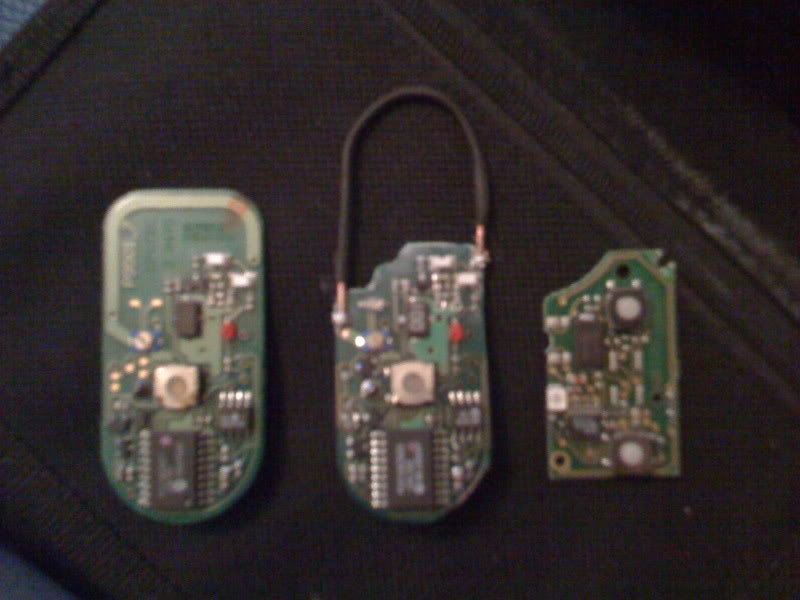
This shows the SIGMA board next to a modified one next to the MK4 one, I replaced pars of the board with wire to make space.
Switch between the fob & the circuit board taking off what you can until it fits snug.
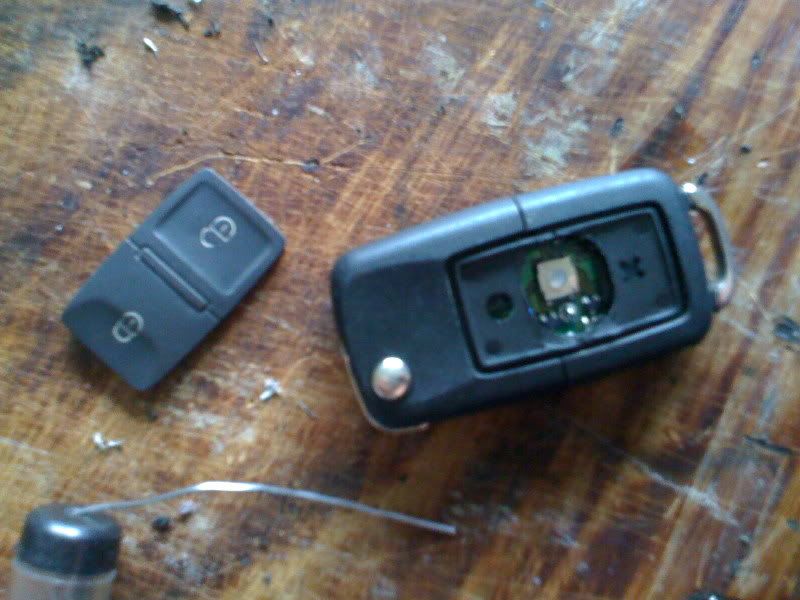
Next up grab the imobiliser chip & clear space in the top of the fob for that
Make sure it fits together then its time to look at the buttons & getting it to light up!
The little LED on the SIGMA fob was in a different place to the MK4 fob, it also didnt fit the space so I took the LED off the MK4 circuit

Tested it & was glad to see it worked & was brighter than the SIGMA
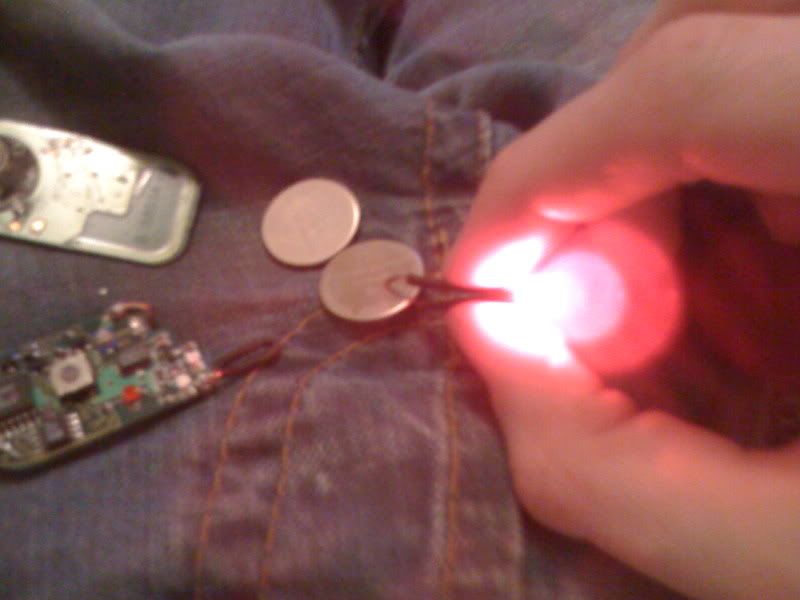
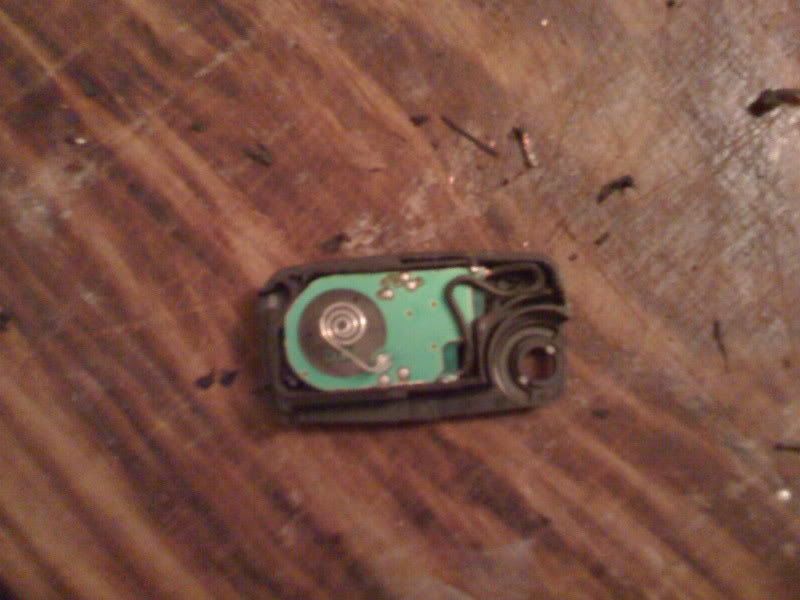
Then attached it to the modified circuit & positioned it in the right place to shine through the original lense
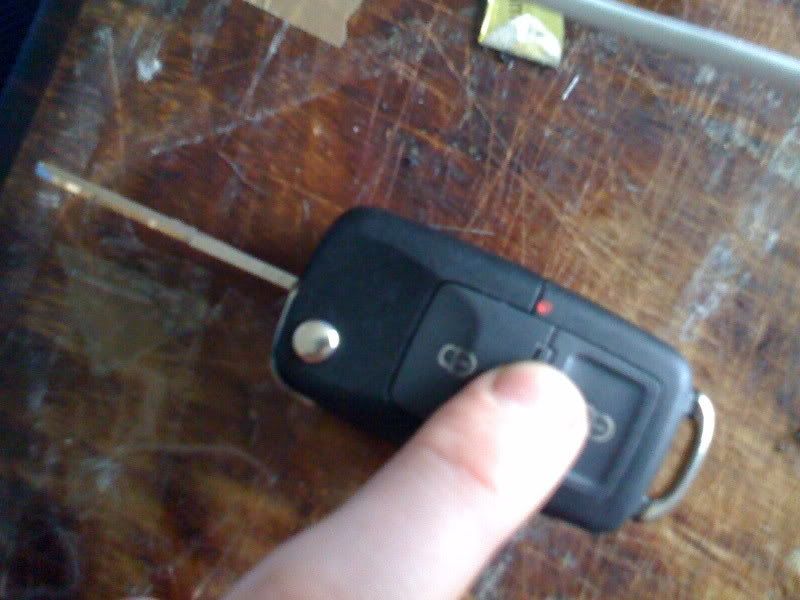
After that it was just the small matter of getting the button to work.
The problem with this is the SIGMA only has one button which does on/off, the MK4 has one for each.
After scratching my head for a while I decided to just 'botch it', basically it was too complicated & not enough space to mess with the switches
Thanks to the rubber button press it looks OEM, you just have to push it in the middle for it to do anything, I also extended the switch inside so you push it just as if you were using a stock one.
And basically thats it, I tested it at every stage to make sure I hadn't fcuked up & it works a treat!

