Yesterday I changed the interior lights and the number plate on my mk5. Took me a good 2 hours, most of which was spent figuring out how to get at different things. Once you know what to do though it should only take a few minutes
 Tools needed:
Trim removal tool (I used a butter knife)
T-20 Torx screwdriver
Phillips head screwdriver
Replacement lights
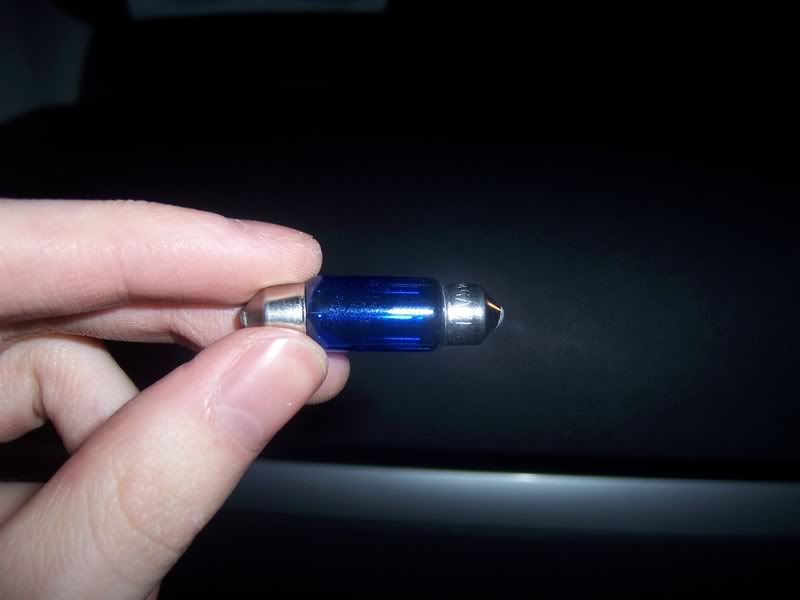
The lights I got were a xenon-look kit that I bought online. I can't honestly remember what site I bought them from since they have been lying around for a while

.
Here's a picture of the kit:
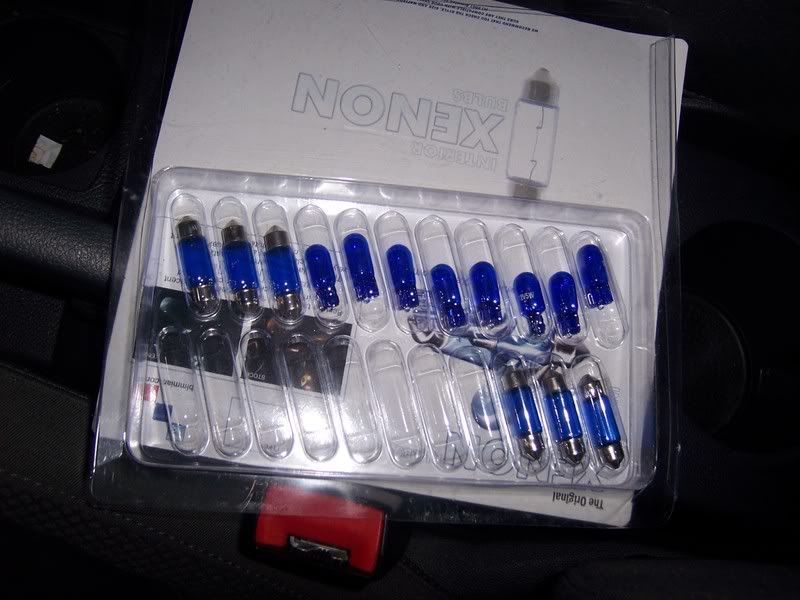
The smaller ones are called peanuts and the longer ones are called tubes. The peanuts give off a white light with a slight blueish tinge, much like OEM xenon headlights, while the tubes seem to give off a clear white light without the blue tinge. If there is a blue tinge from them it is very slight and I haven't noticed it.
So, let's get started!
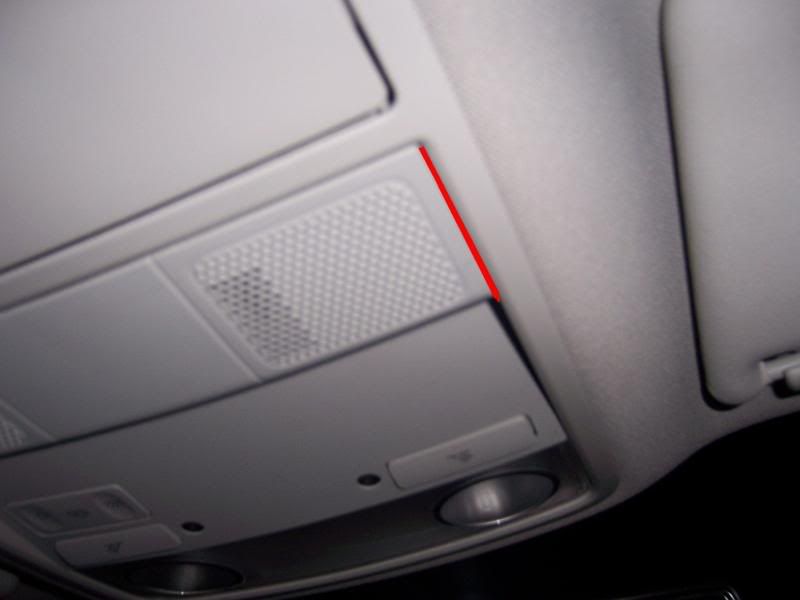
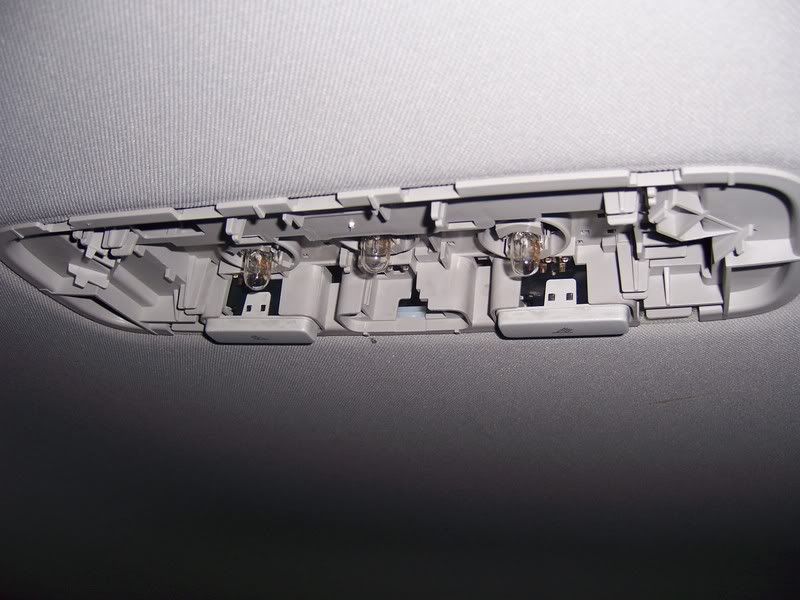
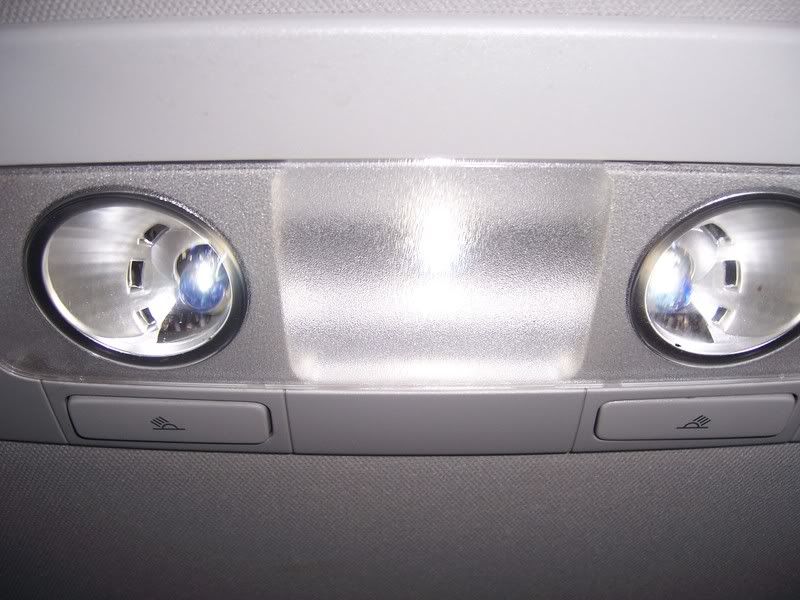
Dome LightsFirst of all you must remove the trim around the front and rear dome lights. The rear is easy, just slide in your trim removal tool and the clips will pop off easily. The front is a little trickier since the section holding the light is part of a larger component. Here's how I got it out:
If you pry at this line here, this part should unclip and fold out on a hinge:
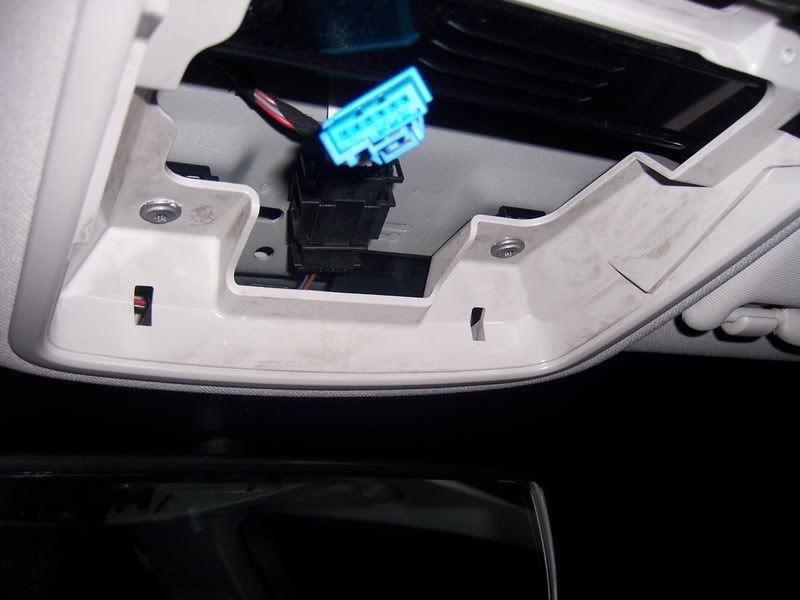
When this part folds down you will see 2 torx screws on either side. Remove them and push in a few clips above them and the whole lot should come out easily enough. Then you must unhook the wiring loom attached to it. As with most looms in the mk5 it will come out if you push down on a clip on the loom and then pull out:
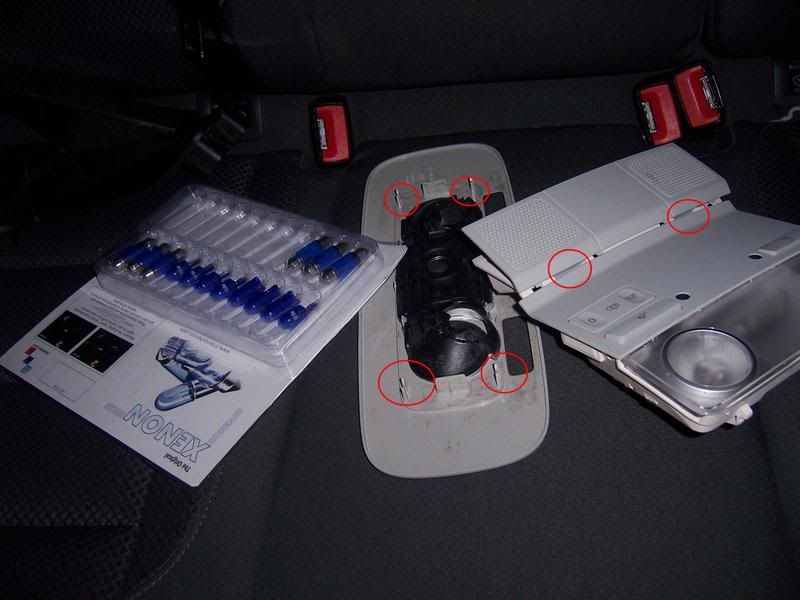
Here's a picture of the two dome covers taken out. The one in the middle is from the rear, with the clips circled in red. The one on the right is from the front, with the hinges I mentioned earlier circled in red:
Next step is to change the lights. The rear dome has 3 peanuts, the front dome has 2 peanuts and 1 tube. Let's do the rear first as it's quick and simple.
Here's what you will see once the dome cover is off:
The peanuts in there pull straight out and the new ones slot right in.
WARNING! THE LIGHTS MAY BE HOT! BE CAREFUL!If they are still hot then leave them cool down a bit before removing them.
Here are some pictures of the peanuts replaced:
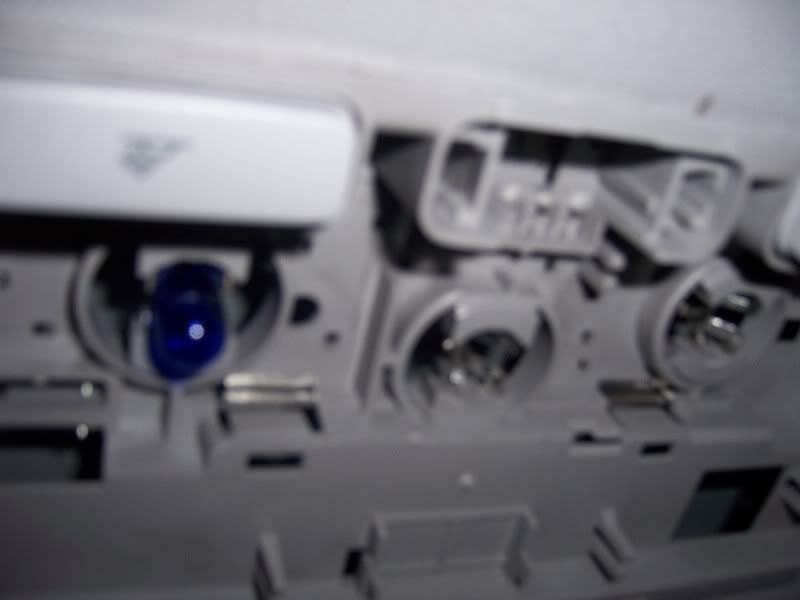

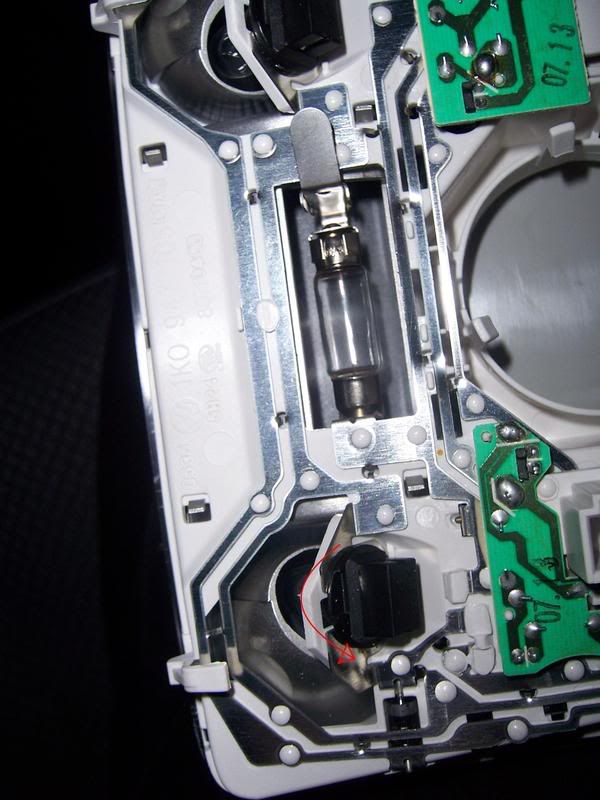
Next up is the front dome. The peanuts here are in small black holders that must be removed. If you twist them they will pop out, much like a normal lightbulb at home. They can be pretty tight though. The tube is clearly visible in the middle. To take it out just pop out one side and the other side should come out easily. Here's a picture of what you will see. The small black holders can be seen at either side of the tube. I've marked in the direction I twisted the holders with a red arrow:
Again the peanuts pull straight out and the new ones slot right in. Here's a picture of the new peanut in the small black holder:

Here's a close up of the tube:
All that's left to do is put everything back. Just reverse the steps taken to remove everything

Here are some pictures of the finished thing:
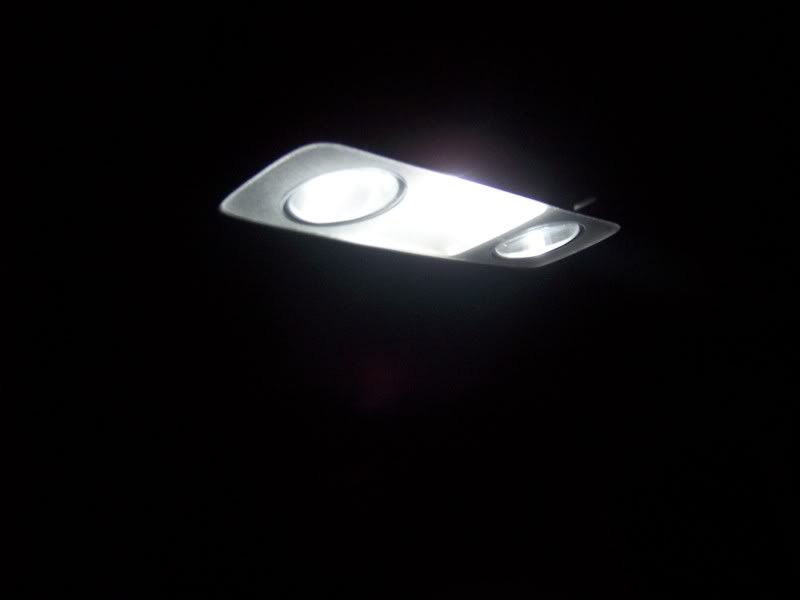
Here's a picture of the new front dome lights compared to the light from the sun visor light. You can clearly see the colour difference:
Done!
Sun Visor LightsThese are the lights that come on when you use the mirror in the sun visor. They use 1 tube light. Installation is the same on both sides. To get access to the tubes, slide your trim removal tool in the door facing side of the light and pop it out. Here's a picture of the driver side light out:
Replacing the tube is the same as in the dome lights, just pop out the old one and put in the new one.
Then push the lights back up into place.
Done!
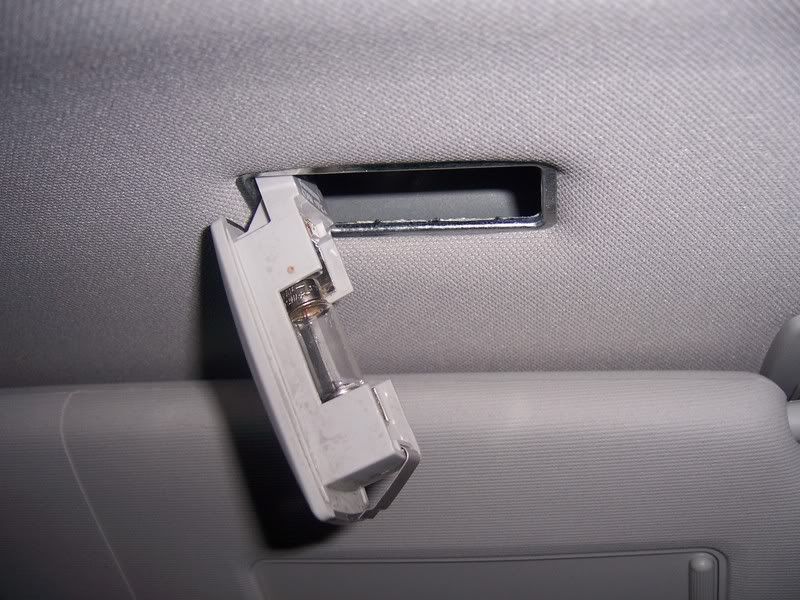
Glove box lightThis light comes on when you open the glove box. It uses 1 peanut light. To get access to the peanut is a bit harder than other lights. First you must pop it out by levering it with your trim removal tool from the right side. This is a bit awkward as the owner's manual holder gets in the way and it is in pretty tight. Here's a picture of it taken out. Note the metal casing over the back of the light and the slight groove on the right for you to get your trim removal tool into:
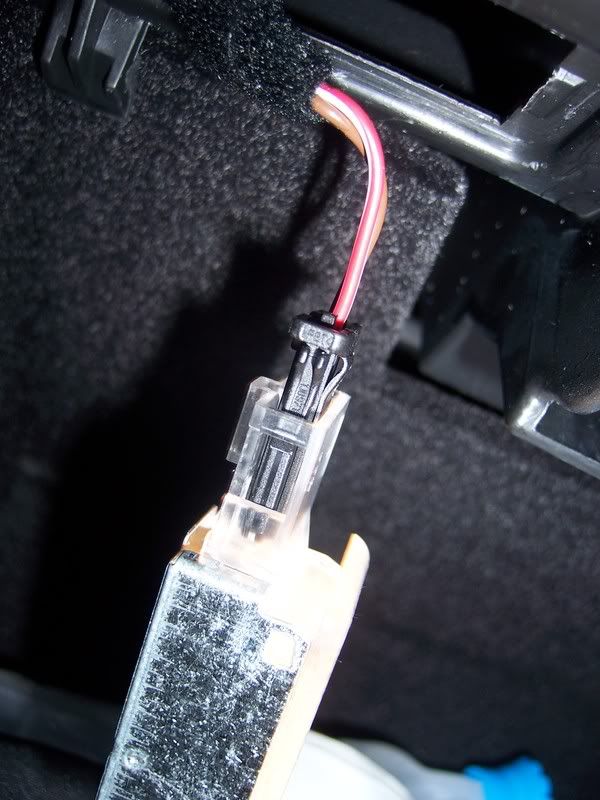
WARNING! BECAUSE THE LIGHT STAYS ON AS LONG AS THE GLOVE BOX IS OPEN, THE METAL CASING WILL BE HOT! BE CAREFUL!Be careful handling this as the metal WILL be hot! You must remove the wiring loom to continue. Unlike most looms in the mk5, this one is removed by squeezing in two clips on either side. It will then pull off easily. Here's a picture with red arrows pointing to the clips:
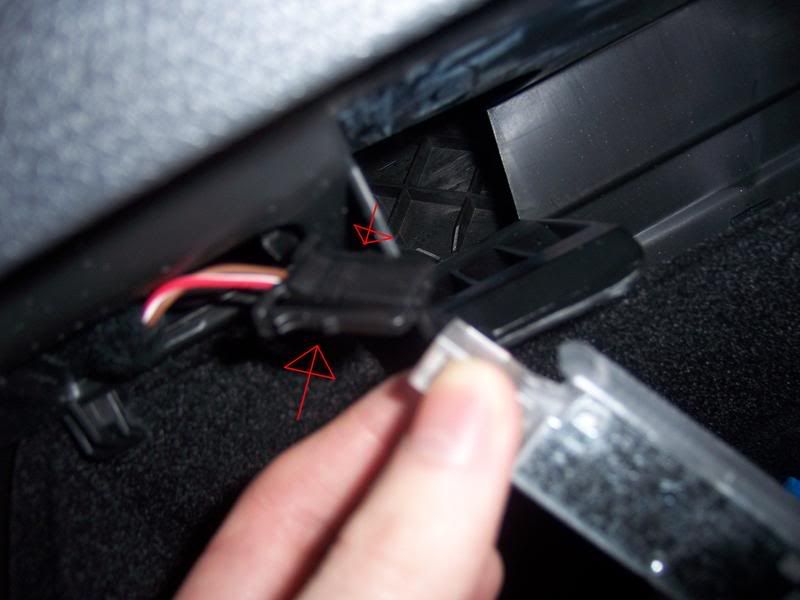
Next step is to remove the metal casing.
LEAVE IT COOL FIRST! There are notches on the corners holding it on and another part of the casing slides into a spot next to where the wiring loom goes. I removed this by bending the very corners out a bit and then pulling the whole thing up. Here's a picture of what you will see next:
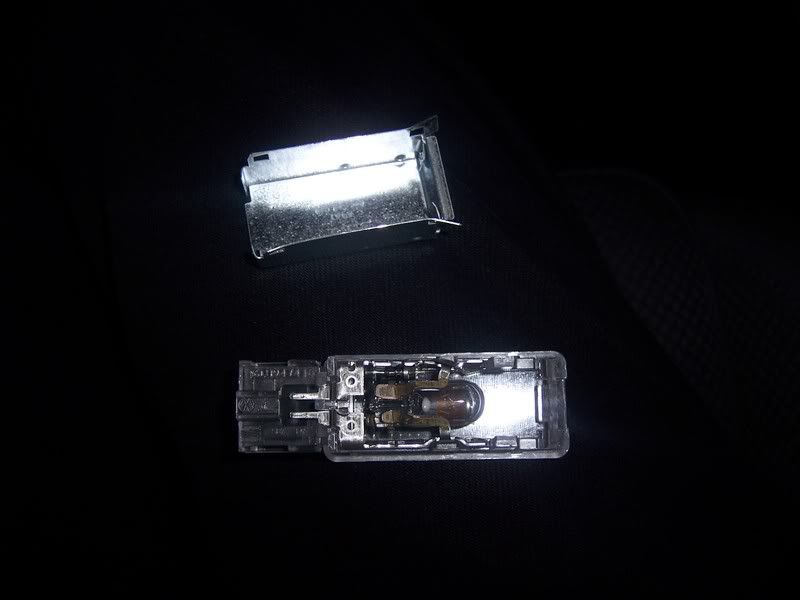
The peanut pulls out as normal, but the angle is a bit awkward. I got it out by putting small allen key behind it and popping it out. Install the new peanut as normal.
Reattach the metal case and wiring loom and push the light back into place. As with removing it, this can be awkward as its a tight fit and the owner's manual holder gets in the way.
Done!
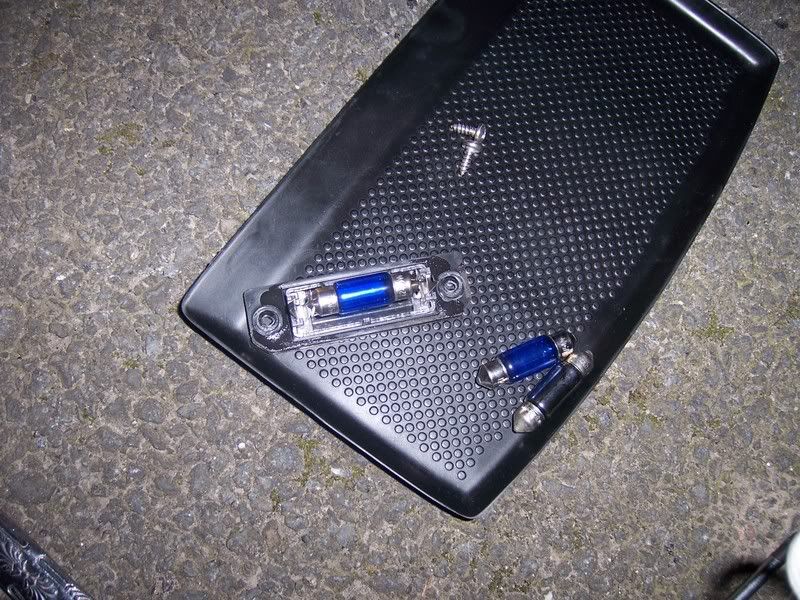
License Plate LightsI had to replace these anyway as one of the lights went out. There are two of them, both above the license plate. They both use 1 tube.
Here's a picture of what you will see above the license plate:
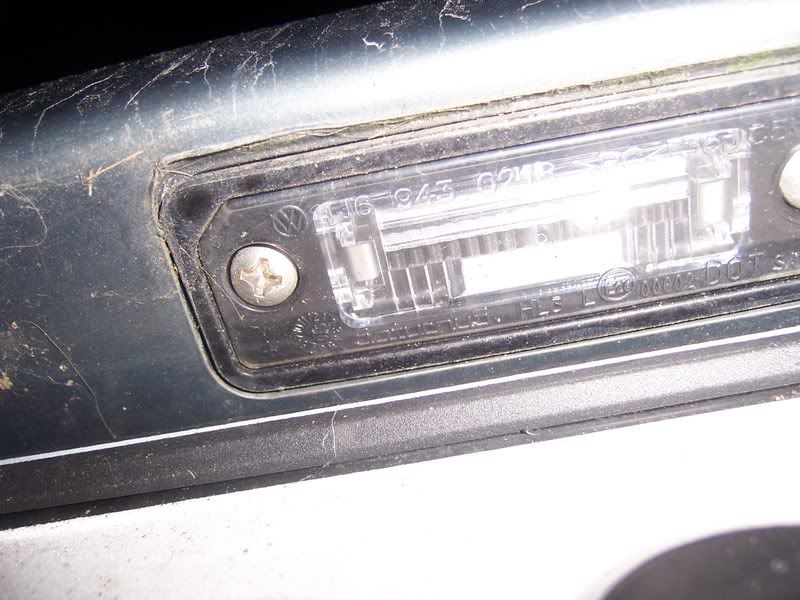
First, remove the two Phillips head screws. The light will either come straight out or you will have to pop it out with your trim removal tool. Then you just change the tube as normal:
When putting the light back in I had to put in one side and push the other side in, then put the screws back in:
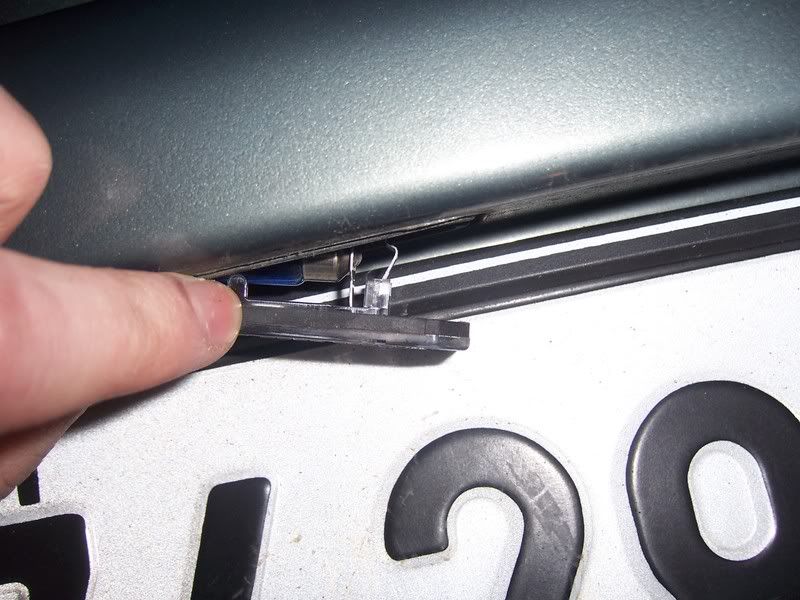
Remember to do the second one!
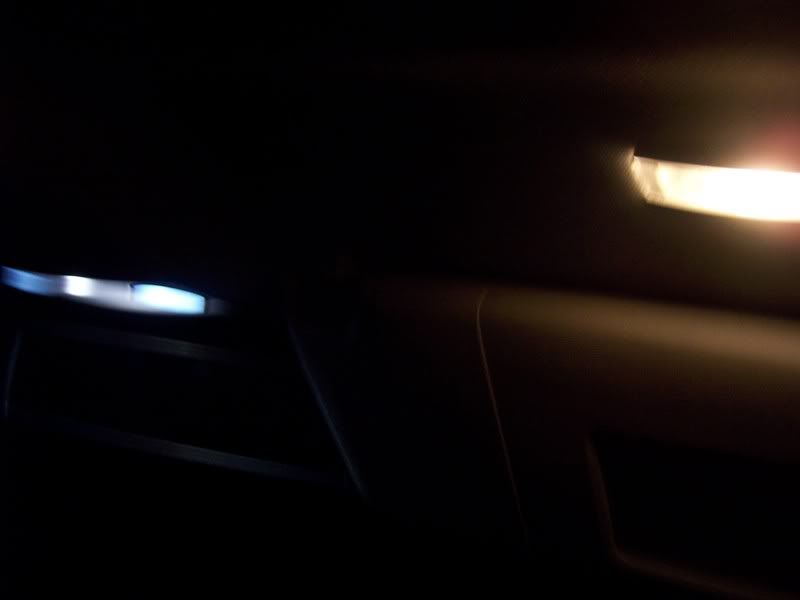
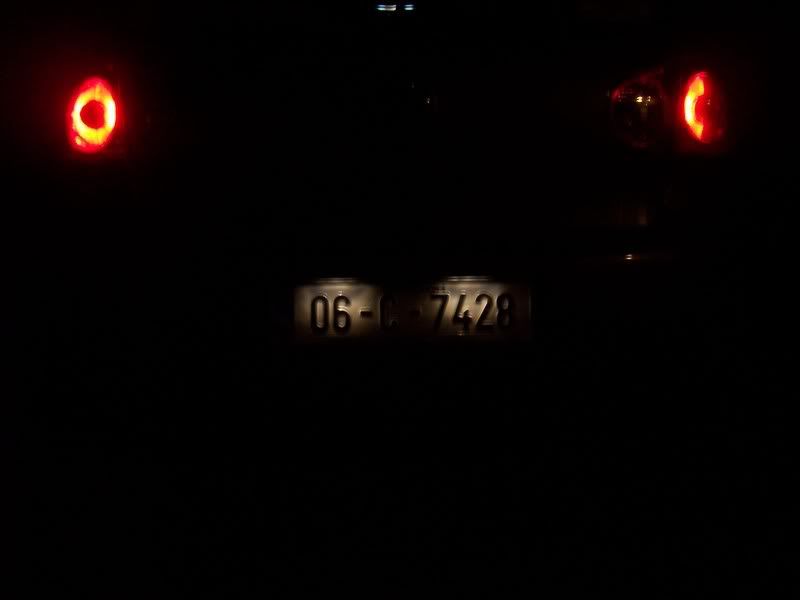
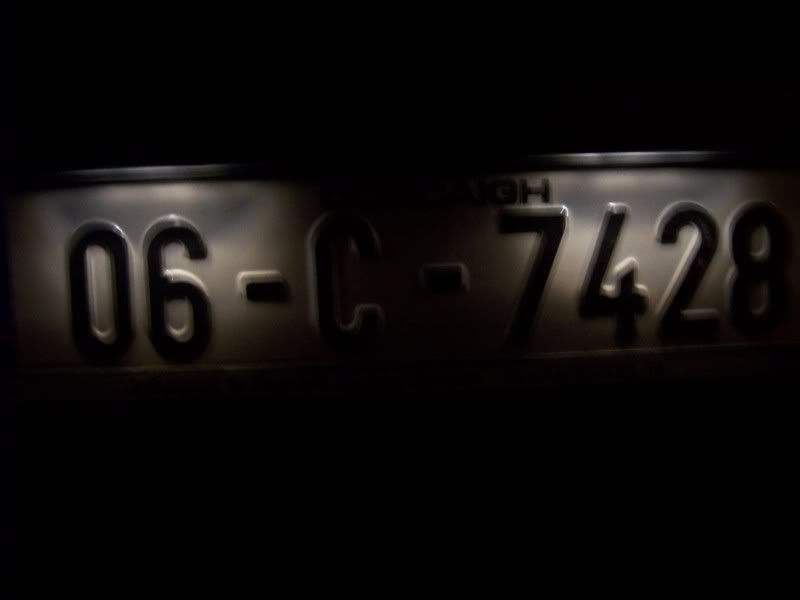
Here's are some pictures of the new lights on. They don't look blue like on new BWM/Lexus cars, but they are a much clearer white than the OEM bulbs. In the pictures it looks like the light doesn't spread enough, but in reality it does. My camera can't do night shots without flash very well. It can't pick up light well at all
To reiterate, the light from the new tubes DOES cover the whole license plate.
Done!
