Well, it's been an eventful month - I've been meaning to get around tot his but what with my lung going doolally - and my mate telling everyone I'd taken a bullet to the chest, I haven't had chance for much!
Took on a bit of a powder coating addiction since getting out the hospital...
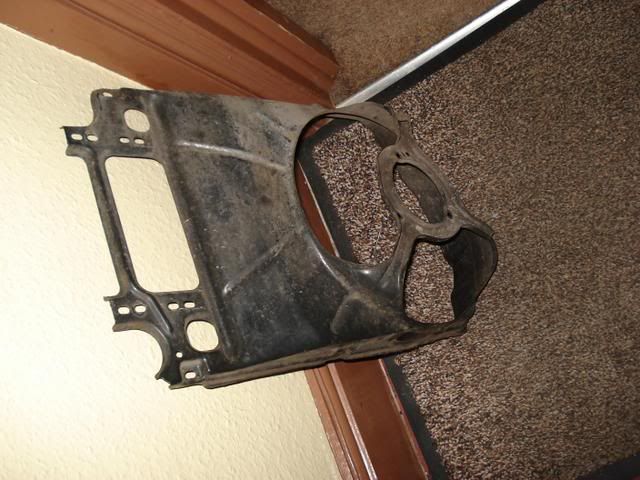
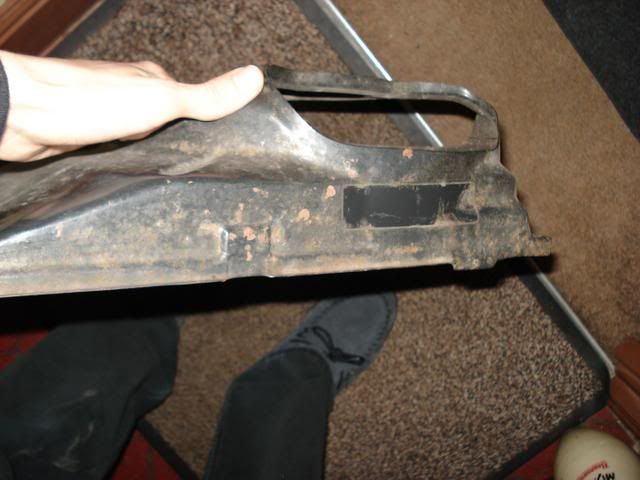
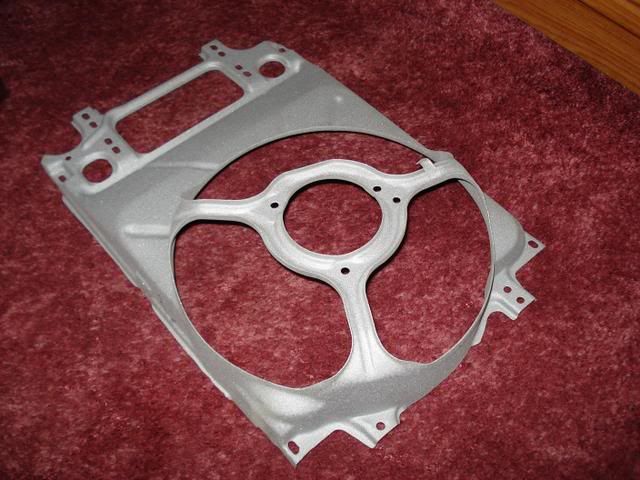
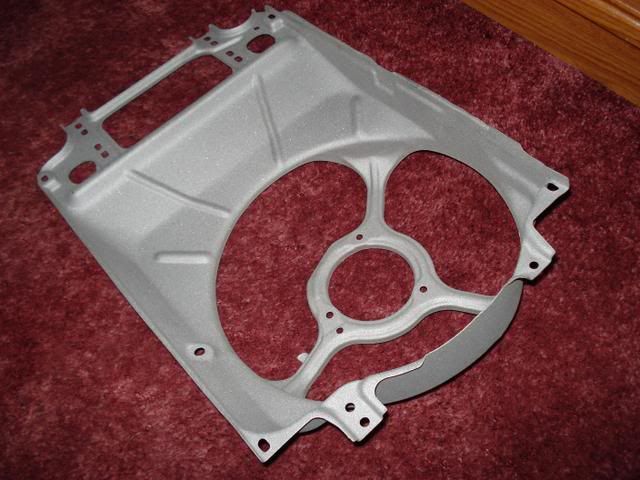
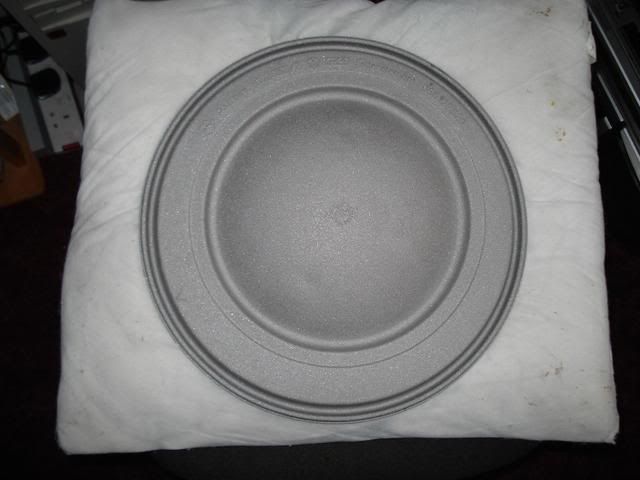
Causing me to start with removing my fan cowling and air filter lid and taking them for blasting and coating, the pictures of the finished articles aren’t the best indoors, but one of the bay will show that they have come up extremely well. Also got the warm air deflector shot blasted to clean it up a bit... rocker cover and slam panel need doing next to match

Fan:
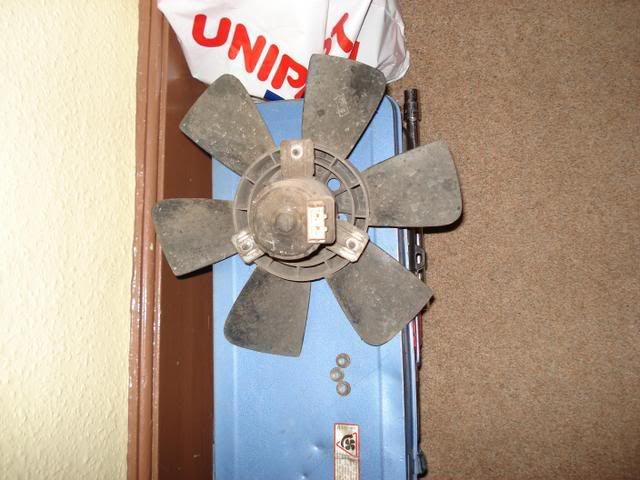
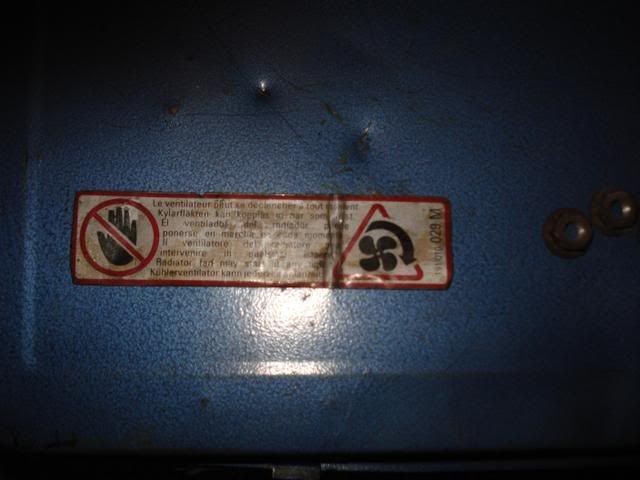
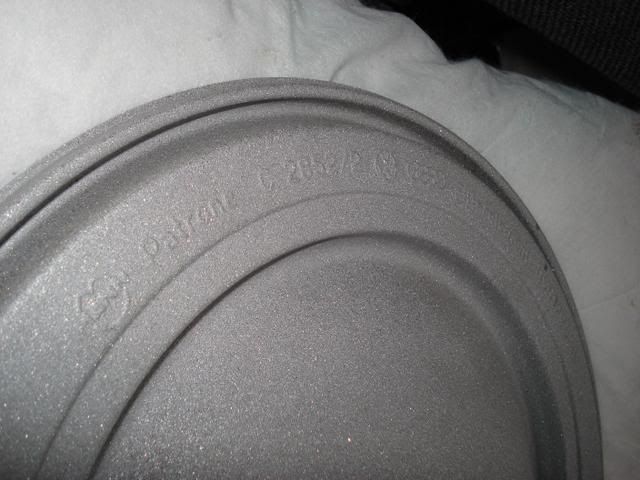
Cowling previous state - and the sticker which I need to replace, this original one went obsolete in '92, so, the new one it'll have to be after all...
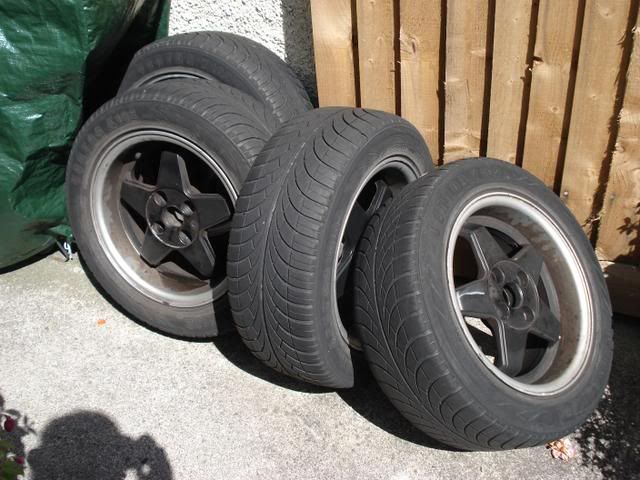
Finally got a shot of the set of wheels I bought to, unfortunately now I don’t think I'm going to be able to put them to any use, due to the heavy steering I think that they'll cause in comparison to 13x5's with a manual rack

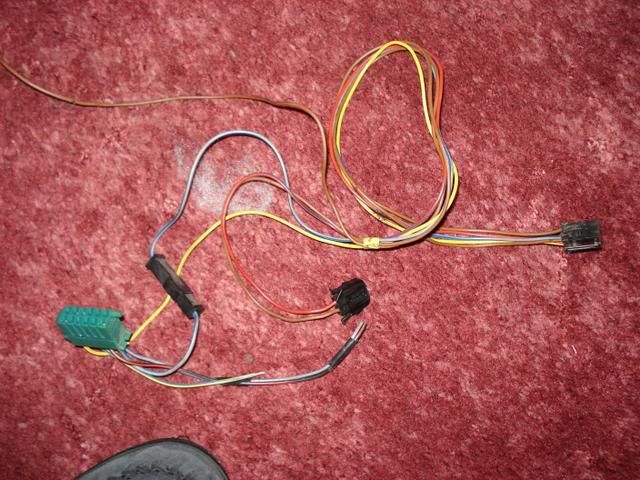
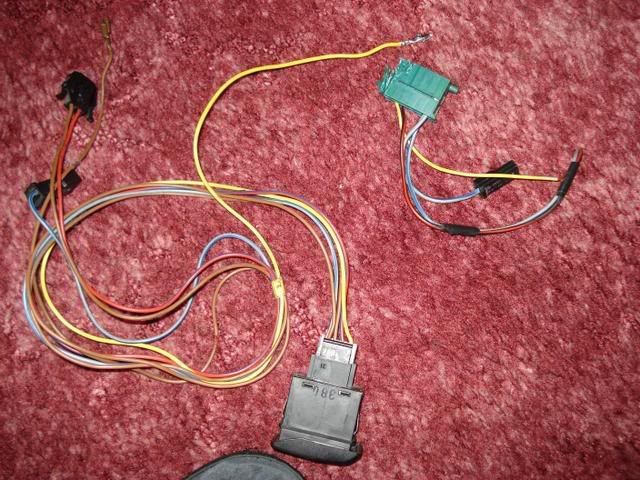
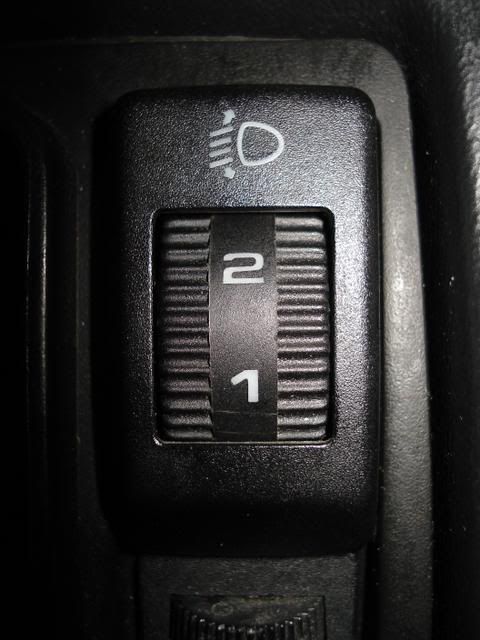
And also finally - a switch loom for the adjustable load leveller headlights. It took a long time but patience paid off, getting this setup for £40 from Germany, a complete kit of loom, from fuse box to front of car (LHD loom now for sale cheap if anyone is interested) including a pair of LHD lights, motors, switch and this small section.
The current loom has a 2 pin plug leading out to the motors... on this loom and mine it was a blue plug... which the switch loom fitted directly to. Using the spare dash illumination behind the fuse box to light it up after replacing the bulb, all was well, and the motors spin!
Switch loom:
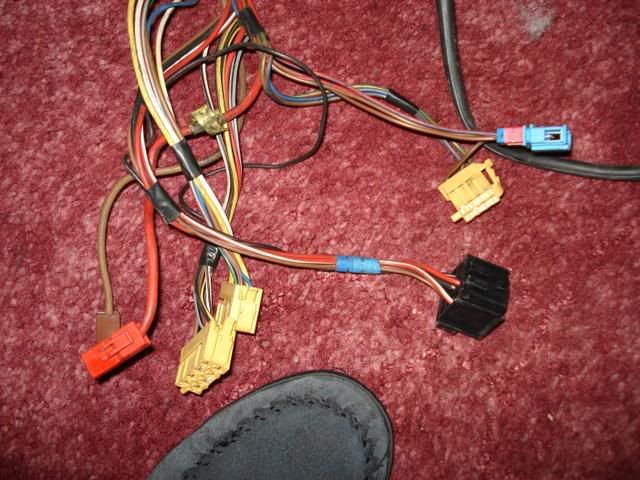
Fuse box End:
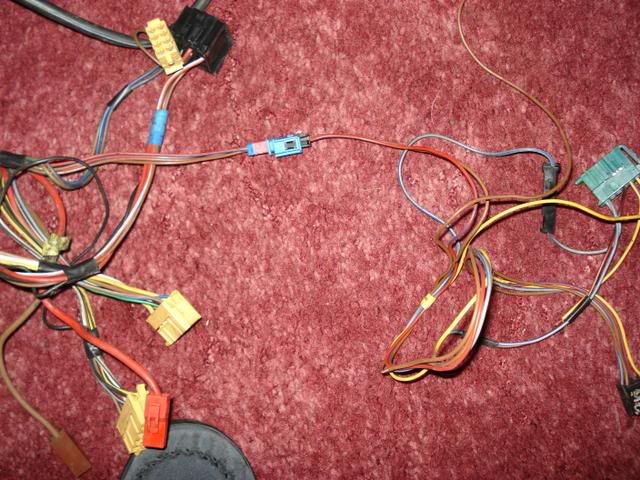
Connected up:
Switch in situ:
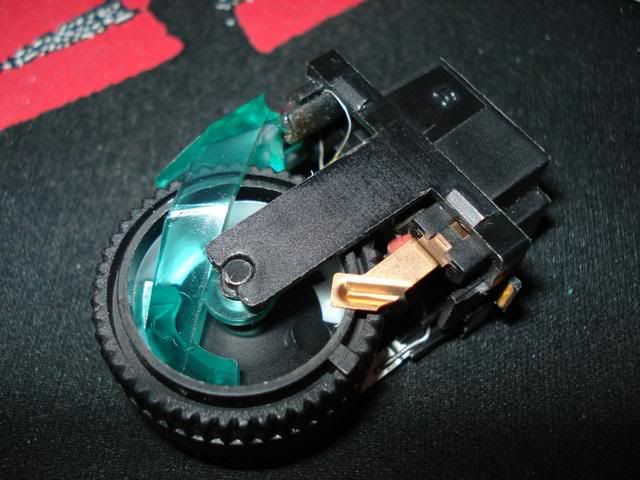
Inside of the switch is just a variable dial which drives the motors to the desired spot, although the internal filter could make things tricky for converting to anything other than green illumination... witha bit of ffiddling due to the bulb location, the previously blown one was replaced, and refitted to the dash, stock location above the headlight switch..
After this, the sand blasters came back with my stuff, which came up trumps... fan cowling and air filter lid ready for powder...
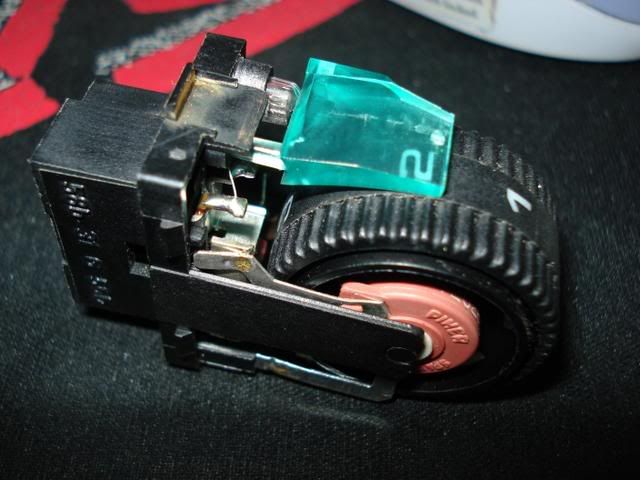
Next is to prep the lights for fitting motors, transplanting a RHD set onto motor control. I took apart the LHD only to realise the adjuster setup differs from the RHD although the backing plates are the same:
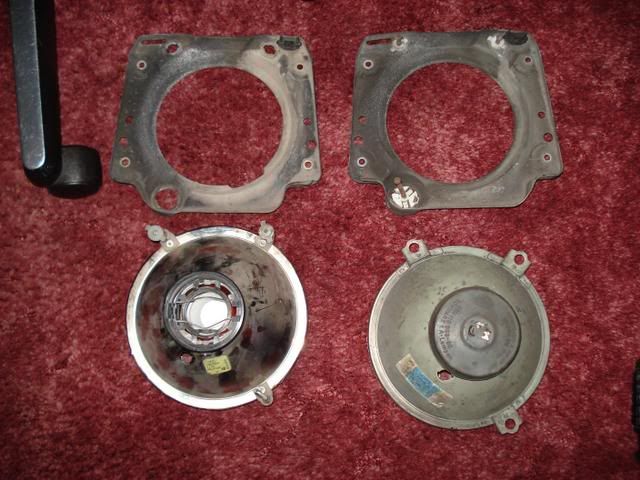
By unscrewing from, and removing the lattice adjuster in the bottom corner, the motor can be refitted to the original screw and mounted, the 2 top screws left alone.
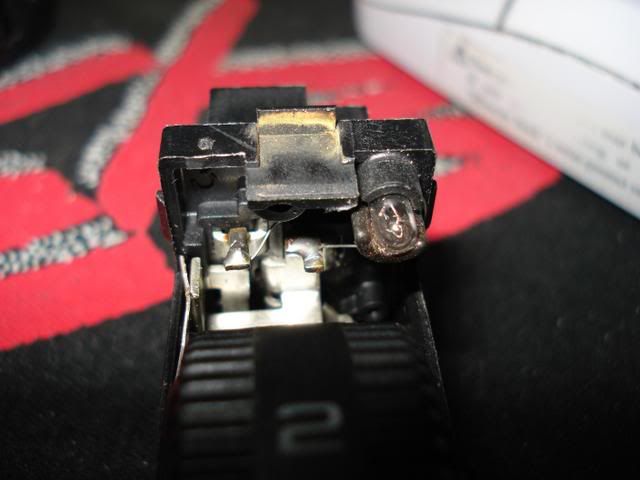
Lattice piece to remove:
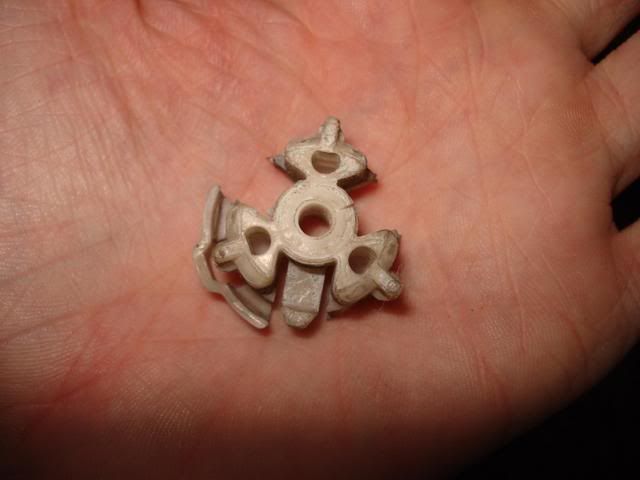
I'm currently waiting on some new adjuster screws due to the brittleness of the ones here. Once they arrive - then I'll be swapping to the motor controlled lights all being well. Also looking at getting the headlight backing plate’s powder coated combined with the slam panel for that extra fresh gloss approach to match the air/rocker/cowling combination. Relocation of my uprated headlight loom using 4mm2 wiring will put it in place on the other side of the bay so it's no longer sat atop my battery, this shouldn't see any loss in volts, if anything only minimal 0.1's.
The stuff also came back from the coaters..
An insitu photo is needed to really show these off, they look a lot better in the flesh than these photos...
Also have picked up a set of VDO gauges from an Audi 80 coupe, complete with oil pressure sender, have built a full loom for it including illumination, but am currently waiting on both my new centre console for chopping, my mounting plate for the ashtray area and my oil temperature sender for the sump before I mount them

