Right here we are folks - some photos below of tonight crimping session and the finalised plug and play resistor packs.
Gather your weapons of choice, in this case a pair of wire strippers and crimpers. To be honest I only ended up using the red handled tool which does both but it never hurts to have too many tools handy right? You may also notice I added a bit of heat shrink over the soldered joints too.

Picture of the contents of one bag which includes all the bits to make one female-male connection. You have the yellow rubber grommets which seal the wire inside the connector, the black housings and a pair of female and pair of male pins. I opted to have the male part of the connection on the plug in pack and the female will be attached to the cars wiring harness.

First things first, strip approximately 10mm of wire and slide the rubber grommets over the wire so it's just sitting on the outer sheath of the wire (not the bare wire). Also make sure these are the right way round!
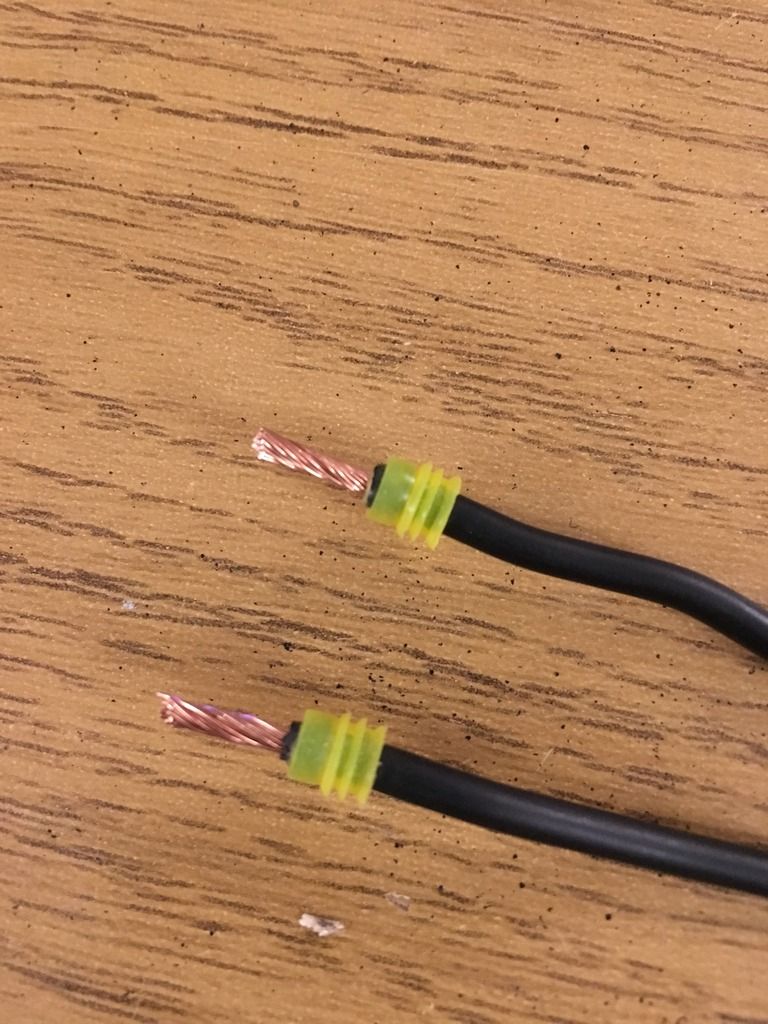
Next - crimp those badboys up! You will need to crimp both the metal pin to the bare wire, and also the larger part of the metal pin to the yellow grommet. I think some of the fancier tools do both of these operations at once, but I simply used the 1.5 (red dot) crimp to do the first bit and the 2.5mm (blue dot) crimp to do the grommet bit.

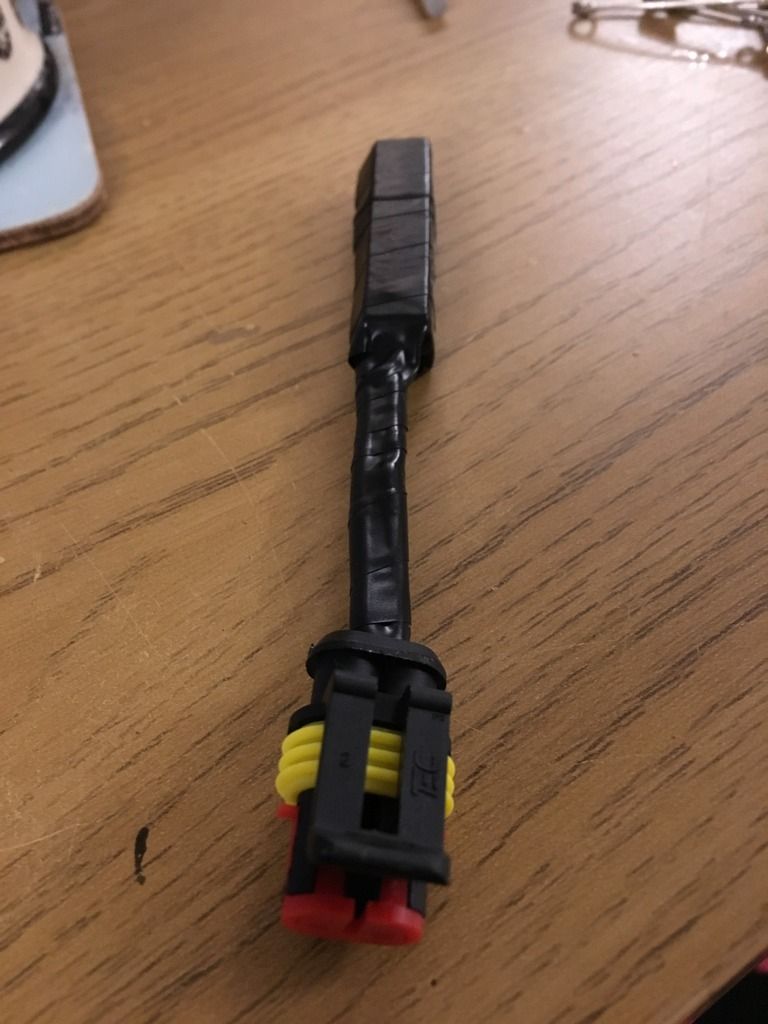
Next you insert the metal pins into the male connector and clip the red lock tab into place. I'll be honest here and this was an absolute nightmare and really fiddly so I ended up clipping the lock tab into place and using a bit of persuasion to get it to sit right and locate properly.

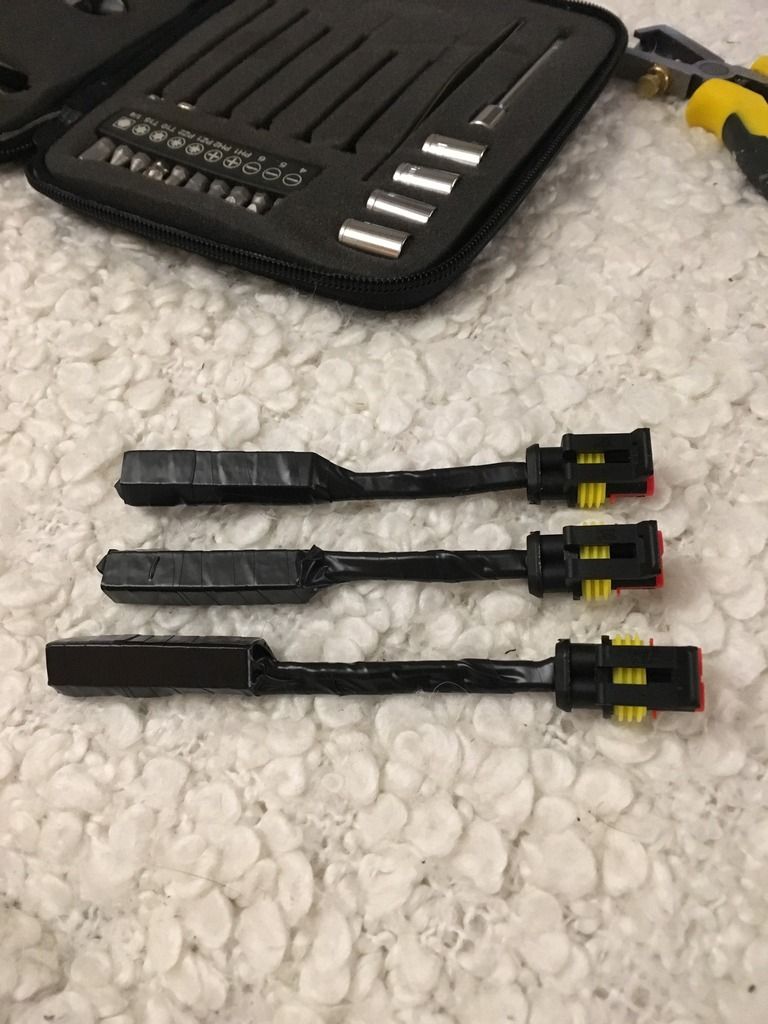
Finally I wrapped the lot in black elec tape to neaten it up. My plan is once it's all fitted to the car to use black corrugated trunking like the OEM stuff to hide it all inside in any case.
Three completed resistor packs, ready for the female connectors to be installed onto the car at the weekend all being well and everything plugged into place.