Fixing my dashboard issues!So while I've been waiting for parts to turn up to finish up my HVAC system, I started to work on fixing few problems I have with the Dashboard.
Since I took the dashboard out to fix my HVAC issues I noticed the following issues on the dashboard. I believe most mk1's cab dashboard will have this issue, so thought I would write this up for others.
Overall the dashboard is in great condition on the visual side when in the car. When you flip it over and start looking at the underside its another matter.
Problems seen - most of the clips and metal structure have rush all over them. The four main clips that hold the dashboard to the main part of the cab body near the wind screen are usually like welded to the dashboard under structure "fiberboard". When you try to pull these off to clean up or remove, they will properly 99% of time rip the fiberboard too. In my case 3 of the 4 did this very thing, so I will show you how to fix that.
The main structure metal of underside of dashboard will over time just rust, most of it will be surface rust but the only way I found to protect that metal is to POR15 it. Its super painful to remove it from dashboard outer skin.
The inside area of fiberboard where the stereo of car goes, always ends up being damaged and in my case it too has screw holes and ripped, so will have to fix that and maybe add more structure in place to help support and secure stereo to dashboard.
The last area I can see being a common problem is the edging of the dashboard and in a lot of the areas of the edge of my dashboard you see parts of the outer cover of dashboard coming away from fiberboard, so will have to protect the edging and glue back the areas coming away.
Dashboard

Clips

Clip off dashboard with part of fiberboard


I added some liquid glue to the area clips come off from, to protect the area but also to see clearly the damaged area.

Once I got all four main clips off, I put them in a small bucket and used this product to help remove the rust.
LOCTITE - Rust Dissolver

Leave for 24 hours

After 24 hours

Now onto cleaning the clips up and removing the old fiberboard in the smaller clip side area.
Tools used to clean clips…
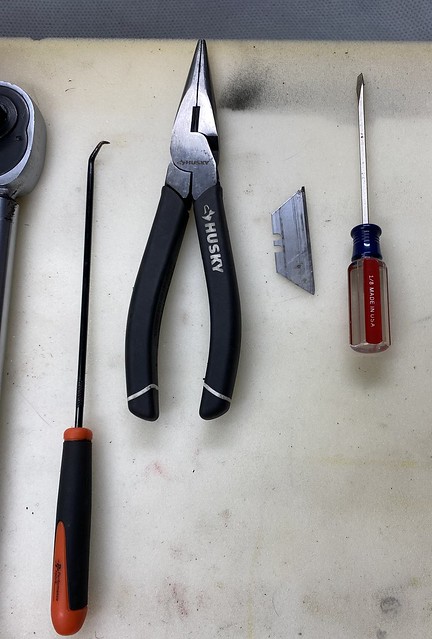
Each clip too about 10-15 minutes using pick and razor blade to get all fiberboard out.
What I did was put small screwdriver in the bigger clip part and then pulled and pushed using pick and razor blade to get parts out.

And after doing that to all four… end results.
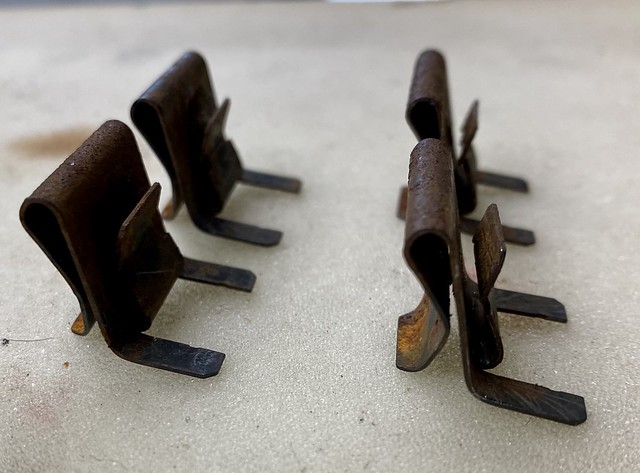
I then used the wire wheel on each of them to get all crap of them and spray painted them with POR 15.
You will see the results on clips after I explain how I fixed the clip areas on underside of dashboard next.
Fixing the fiberboard on underside of mk1 Golf dashboardAs stated above I put glue on the 3 of 4 clip areas of fiberboard that was damaged by removing the clips.
First thing I did was go along and tape around each area of the dashboard, so any repair work I do is limited to that area only. I used blue painters tape, If I did this again I would use green painters tape, as some of the repair work bleed underneath the tape.

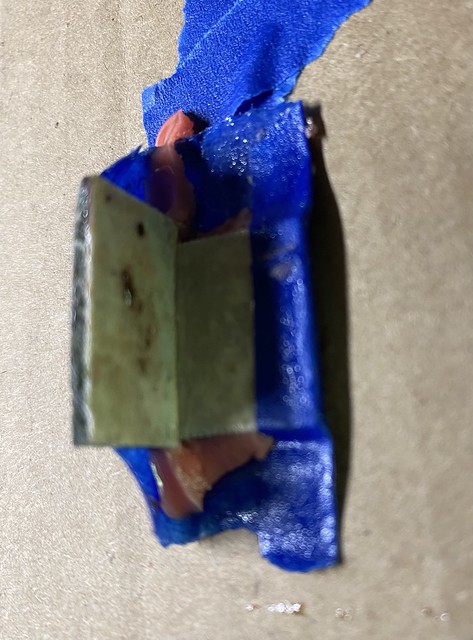
Using the free sample flooring you get from like Home-depot, I cut and glues together a 90 degree angle and place under the area broken until its cannot go any further inwards. This will give me a good base to fill in the whole broken area.
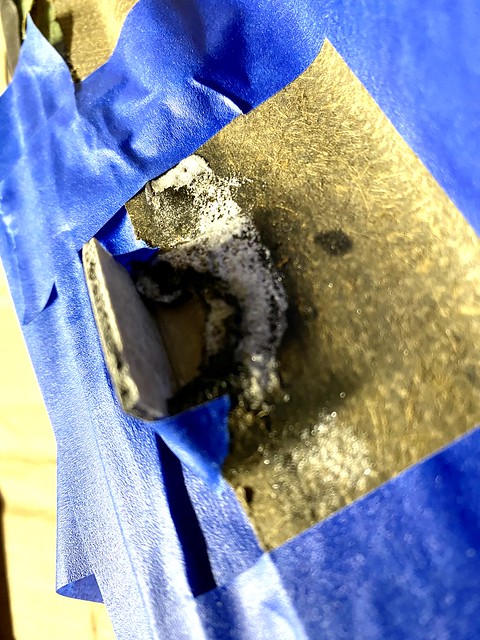
I then made sure I tapes this in place and made sure the underside was tapes well too
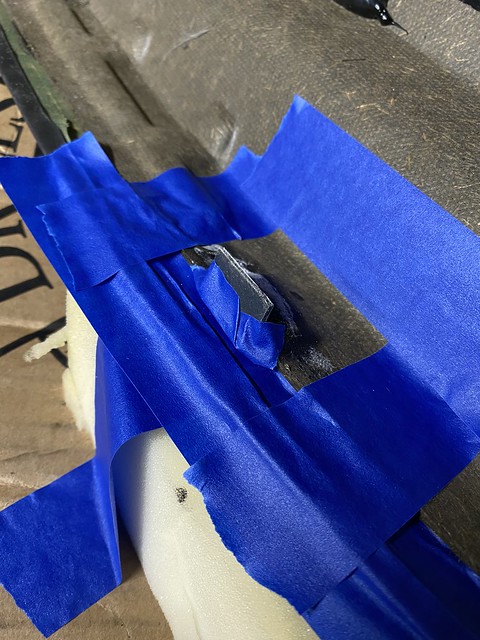
I repeated this for the other three areas and then it was time fix these areas.
So asking others in this forum and other places… it seems most people have used Fiberglass to fix these areas in the past and it worked well. So I ordered a kit from online and here is what I did.
1. I used just the fiberglass resin first. Let that set 1 hour and moved onto step 2.
2. I removed my custom 90 degree supports
3. I then fiber glassed over the clip areas on top and underside. (this was messy!! Is an understatement - always, always work in area with fresh air and use gloves when working with fiber glass and always wear a mask)
4. Let fiber glass dry out for several hours, in my case I left overnight.
5. Sanded down the fiber glass to shape I needed
6. Added POR15 paint over the area.
7. Add to clips back onto the underside of dashboard!
Here are some photos of above steps.
No.1 & 2 step

No.3 Step

No.4 step

No.5 Step

No.6 step
Actually re-taped the area and then painted

No.7 step
All clips back on underside of dashboard

The second to left clip was the one that was not damaged, but I ended up painting each area.
Close up of repaired area and clip on. Clips perfected went on and holding in place. You can see where paint bleed under the taped up area, this is why I recommend using green tape over blue tape. Yes I have OCD issues haha..
 Fixing the dashboard edging
If you have not noticed in some of the photos, a lot of the dashboard edging is lifting up, so went ahead and repaired those areas.
Using 3M Scotch-Weld Super fast Instant Adhesive SF100, I add that to the edging and underneath areas of dashboard lifting and then using super small clamps to hold edging down this fixed all the areas on edging perfectly.
Waiting time on gluing is 5-10 minutes which is perfect.

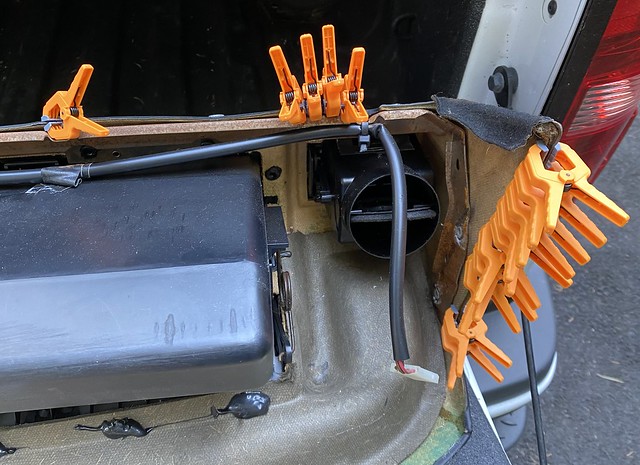

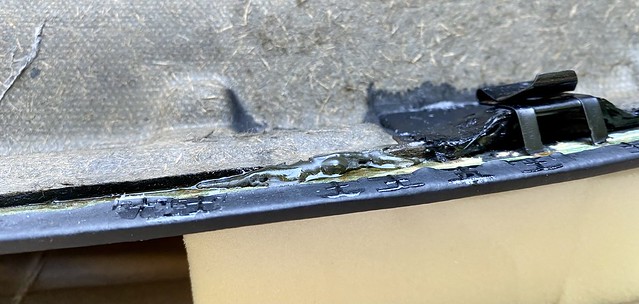
Idea of edging before and after
Before

After (adhesive you see on top, wipes off nicely with hot water on cloth.
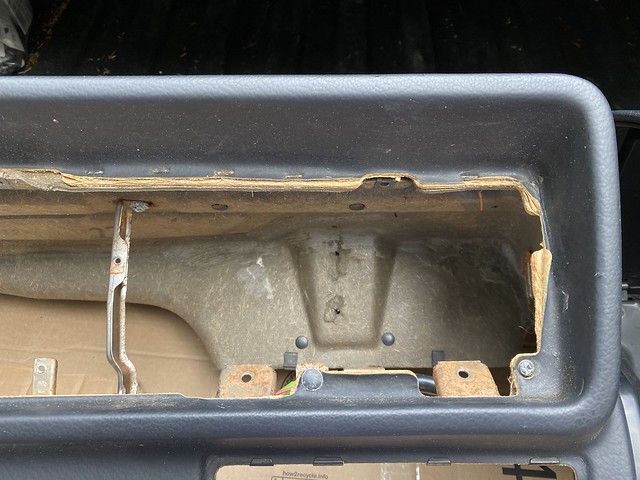
 Fixing the area of fiberboard where stereo secures too.
The inside area of fiberboard where the stereo of car goes, always ends up being damaged and in my case it too has screw holes and ripped, so will have to fix that and maybe add more structure in place to help support and secure stereo to dashboard.
Fixed this area with fiber glass and I think later on I will secure a metal bracket in there too so stereo can slot into it. Will provide that update on that solution later on.
Just noticed another area I need to fix in this photo - see more edging of dash cover coming away!
Fiberboard damaged

Taped up ready for fiber glassed applied
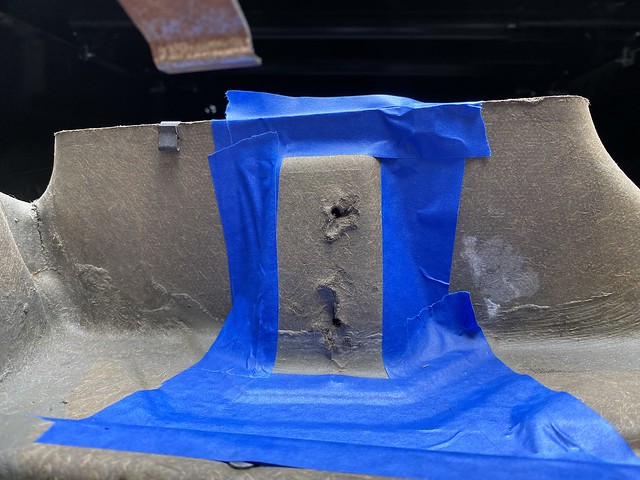
Applying fiber glass - I added 3 layers.

All done!
 Next fix updates will cover;
Final stage of fixing dashboard - POR15 all metal structure and any last minute edge fixing!
Fixing my rear boot lock
Fixes to HVAC issues and service AC
Draining of engine coolant and service!
Little teaser…
