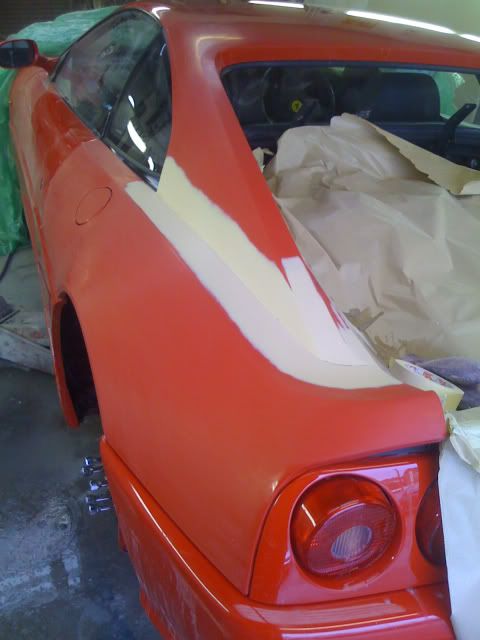
A couple of months ago, I got a new Iphone, and of course I wanted to check out the camera, a mates Ferrari was booked in for some rust rectification work, so I decided to take advantage of it. Although its obviously not a VW... rust is rust! and repair principles are excatly the same, the car is a 98 Ferrari 355 F1 berlinetta, in almost mint condition, apart from the above rust that is on a hidden joint on the N/S rear 1/4 where it meets the "C" pillar coming down from the roof, basically it's an internally spot welded joint, that has a bead of sealer to hide the joint, rust problems arise, when the rear wheels throw up water directly into the joint...
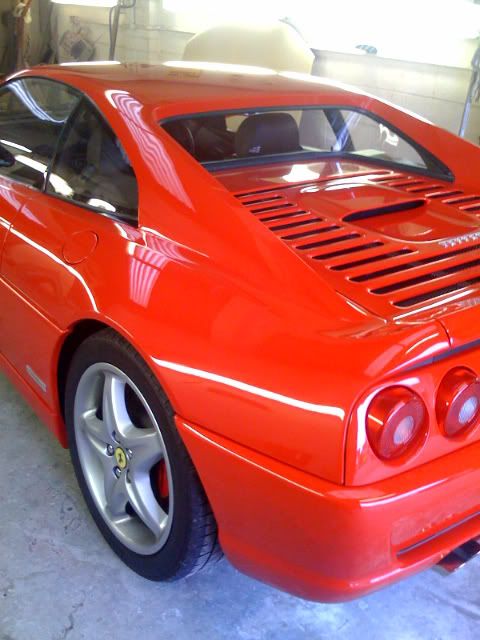
The seam in question runs from the window line towards the rear light, it actually looks like its all one panel pressing..
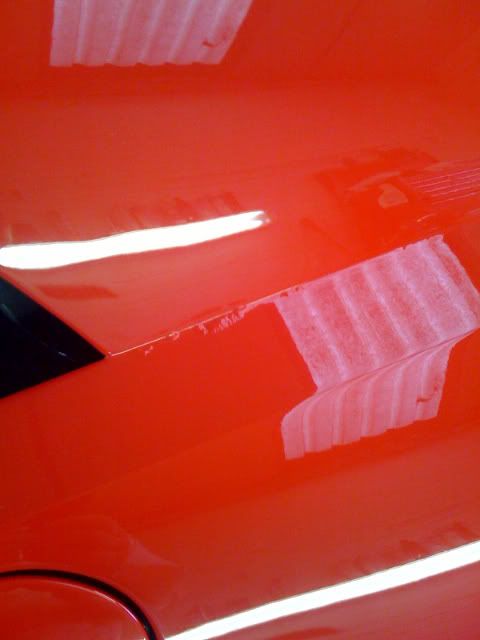
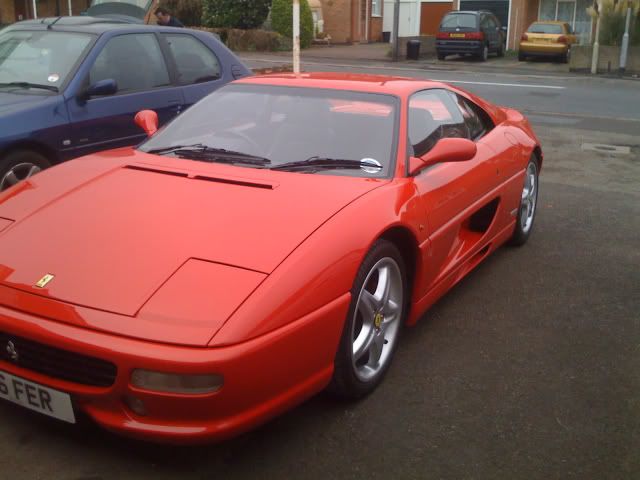
Rust bubbles can clearly be seen in this shot.. fuel filler cap at bottom left for reference

The area was masked, and paint was removed with a small grinder, revealing the cream coloured sealer that was applied in the factory 10yrs ago! at this point, no attempt was made to grind the away the rust, the sealer was raked out by hand with a broken hacksaw blade, digging thoroughly all the way down to the spotwelds, a depth of about 15mm.
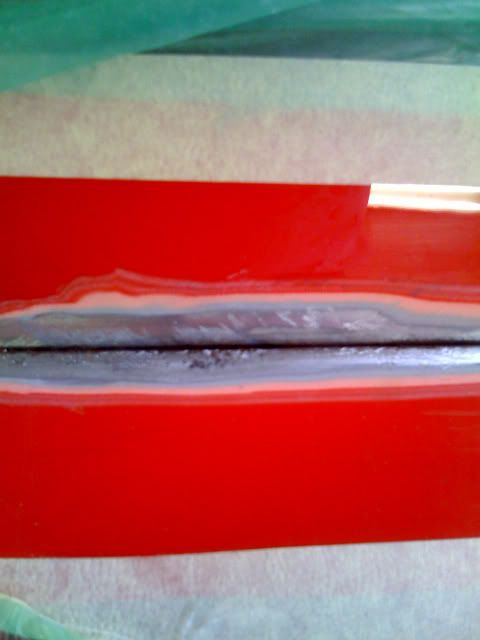
Once I was happy with the sealer removal (every last bit gone) the joint was almost ready for some prep work.. first job was to "open up" the joint, to allow access to the area around the spotwelds, this was done by inserting a balster chisel (the type that brickies use to cut bricks!) into the gap, and gently hammer and seperate the joint, just enough to "pull on the spotwelds, we're only looking at about 1mm separation here, doesnt sound a lot, but very important, as this allows me to get into the joint with the grit blaster, and remove ALL the rust, this extra room also means that grit will not get stuck in the joint, and can be easily removed.
Heres the joint after blasting, note, at no point have I used a grinder of any sort to remove any of the rust!
Next job is to treat the steal, I set up a hot air gun staight away after blasting, pointing upwards to the underneath of the joint to keep any moisture in the air settling into the joint, without this the entire job would be a waste of time..
Next job was to treat the joint with some Zinc paint, normally sprayed from an aerosol, but in this case it was necessary to brush paint it with a small brush, to reach the bottom of the joint, then a quick blast out the aerosol, just to make sure!
next up was 2 coats of etch primer
next up, the repair was sanded with 400 grit disc on a DA sander, red scotchbrite, degreased, and given 4 coats of 2K primer, and then left overnight
Next morning the primer was carefully dry sanded (400 grit), so not to allow water into the unsealed joint, and made ready for the black PU sealer
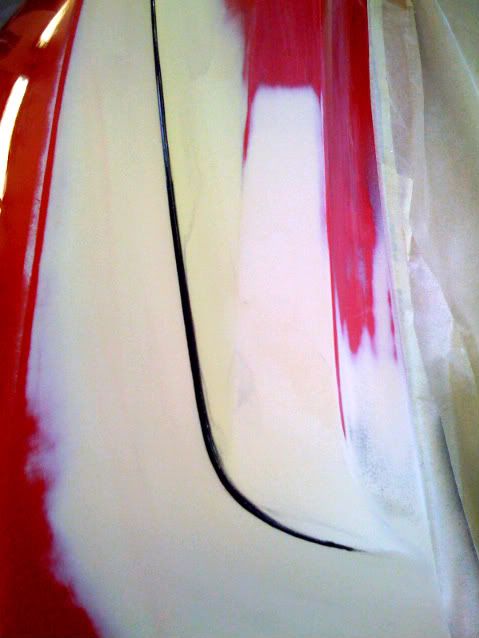
Sealer was applied, and left for half a day, before an extra 2 coats of primer were re applied.. and again left overnight to dry out properly
The next day... Primer was flatted with 800 wet/dry, taking extra care not to "tram line" the primer, by always using a rubber rubbing block, and constantly changing direction while sanding, tram lining will show up after the paintwork is finished, and most of the time can only be rectified by re sanding and repainting! The rest of the 1/4 panel was block sanded with 1500 grit wet/dry, taking care again, not to rub through the factory paint near the door, as I'll be using a basecoat system, only the primed area, will be coloured. The C pillar leading up to the roof was flatted with 2000 wet/dry, along with roughly 1/4 of the roof panel itself, the reason for not painting the full roof is down to economics.. to do so would entail removing the windscreen etc, and probably tripling the price of the job! the method I use though, is permanently invisible, so really not an issue.. on to masking up
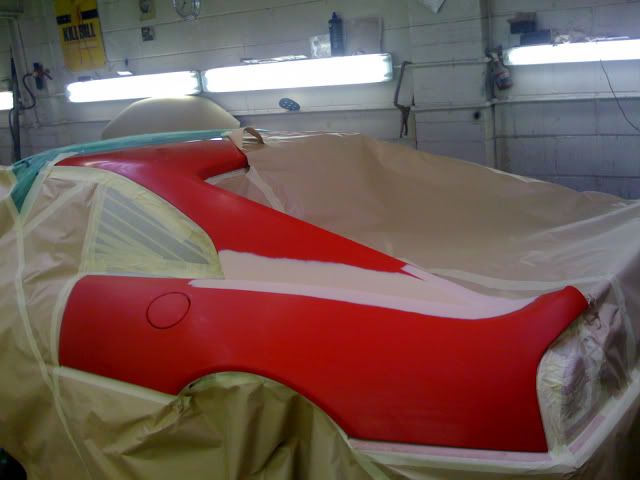
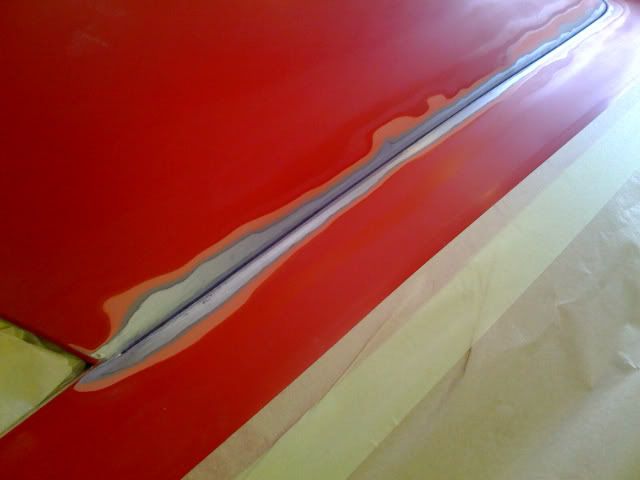
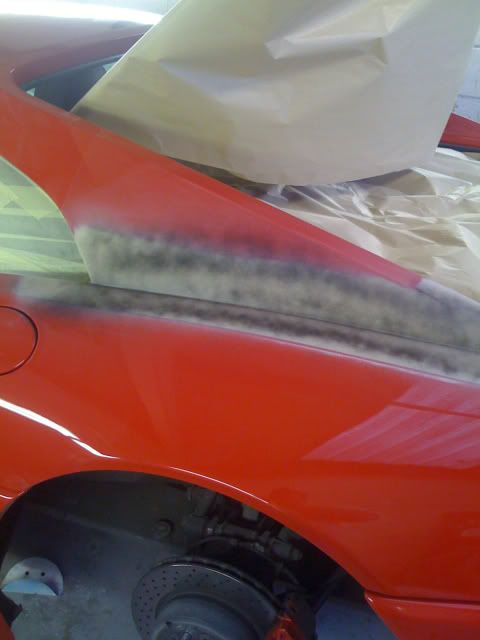
All masked up, note the area on the roof left exposed for the lacquer to be blended into the factory paint..
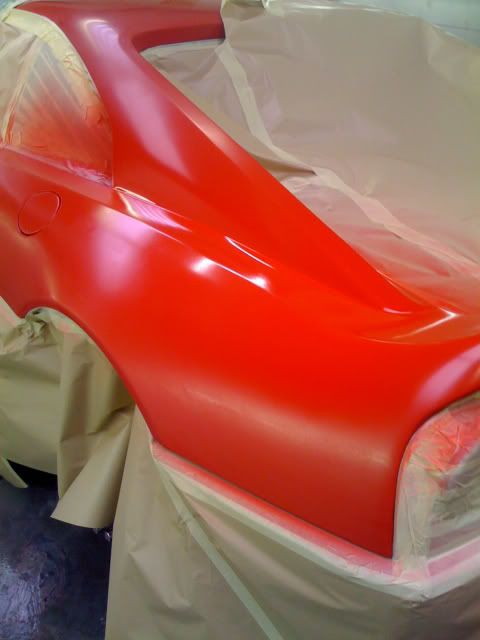
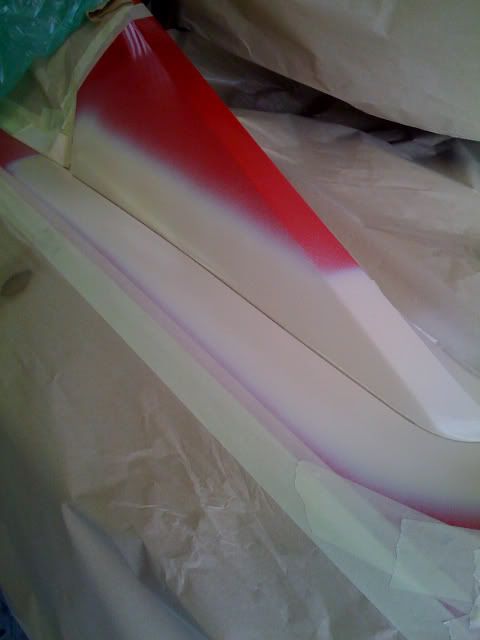
Basecoat has now been applied to just the primed area, note that the colour does not reach the edge of the door, this will ensure a perfect colour match after the lacquer has been applied, notice that the fresh red paint looks brighter than the factory paint! this is a trait of any red paint! while its wet its brighter, and naturally darkens as it dries.. strange but true!
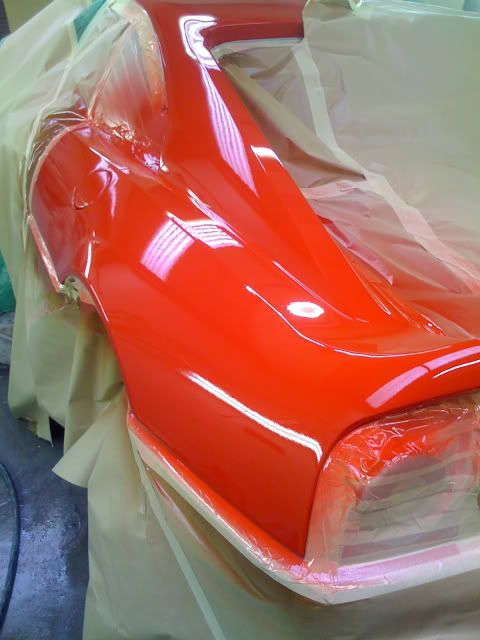
3 coats of lacquer were applied, then thinned by 50% to blend into the roof, then thinned again by 50% and blown a little further into the roof.. then left overnight to cure.
The next morning the whole lot was flatted with 1500 wet/dry followed by 2000, including flatting the lacquered section of the roof
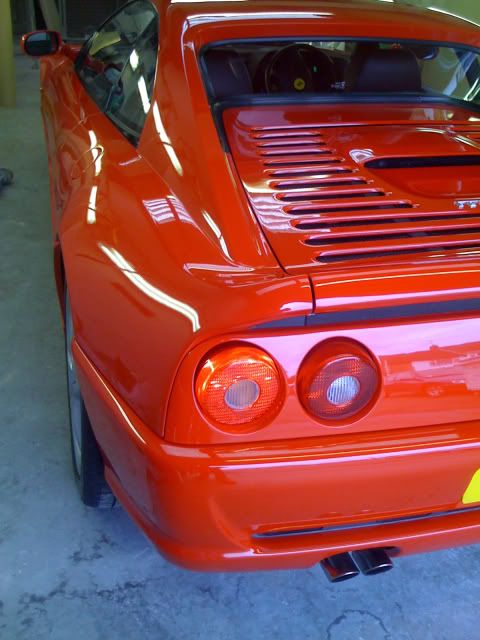
the repaired area was carefully polished by hand, as its a pretty tricky area with a machine!, the rest was machined, using Farecla G3, and a water sprayer to keep it all wet, finished off by 3Ms anti swirl polish.
All that was left to do now, was treat the joint underneath the wheel arch to some Wurth anti corrosion spray wax.. thats more than Ferrari ever did!
The car was then valeted, and the whole lot treated to a coat of Zymol wax, as far as I was concerned, the repairs turned out 100% and wouldn't have done anything differently.. Owner was chuffed to bits!


Tom
