thanks Andy28.
Managed to get few bits done last night and tested in cab this morning.
Finally the day when I get to see all the interior lights working and with upgraded LEDs too!
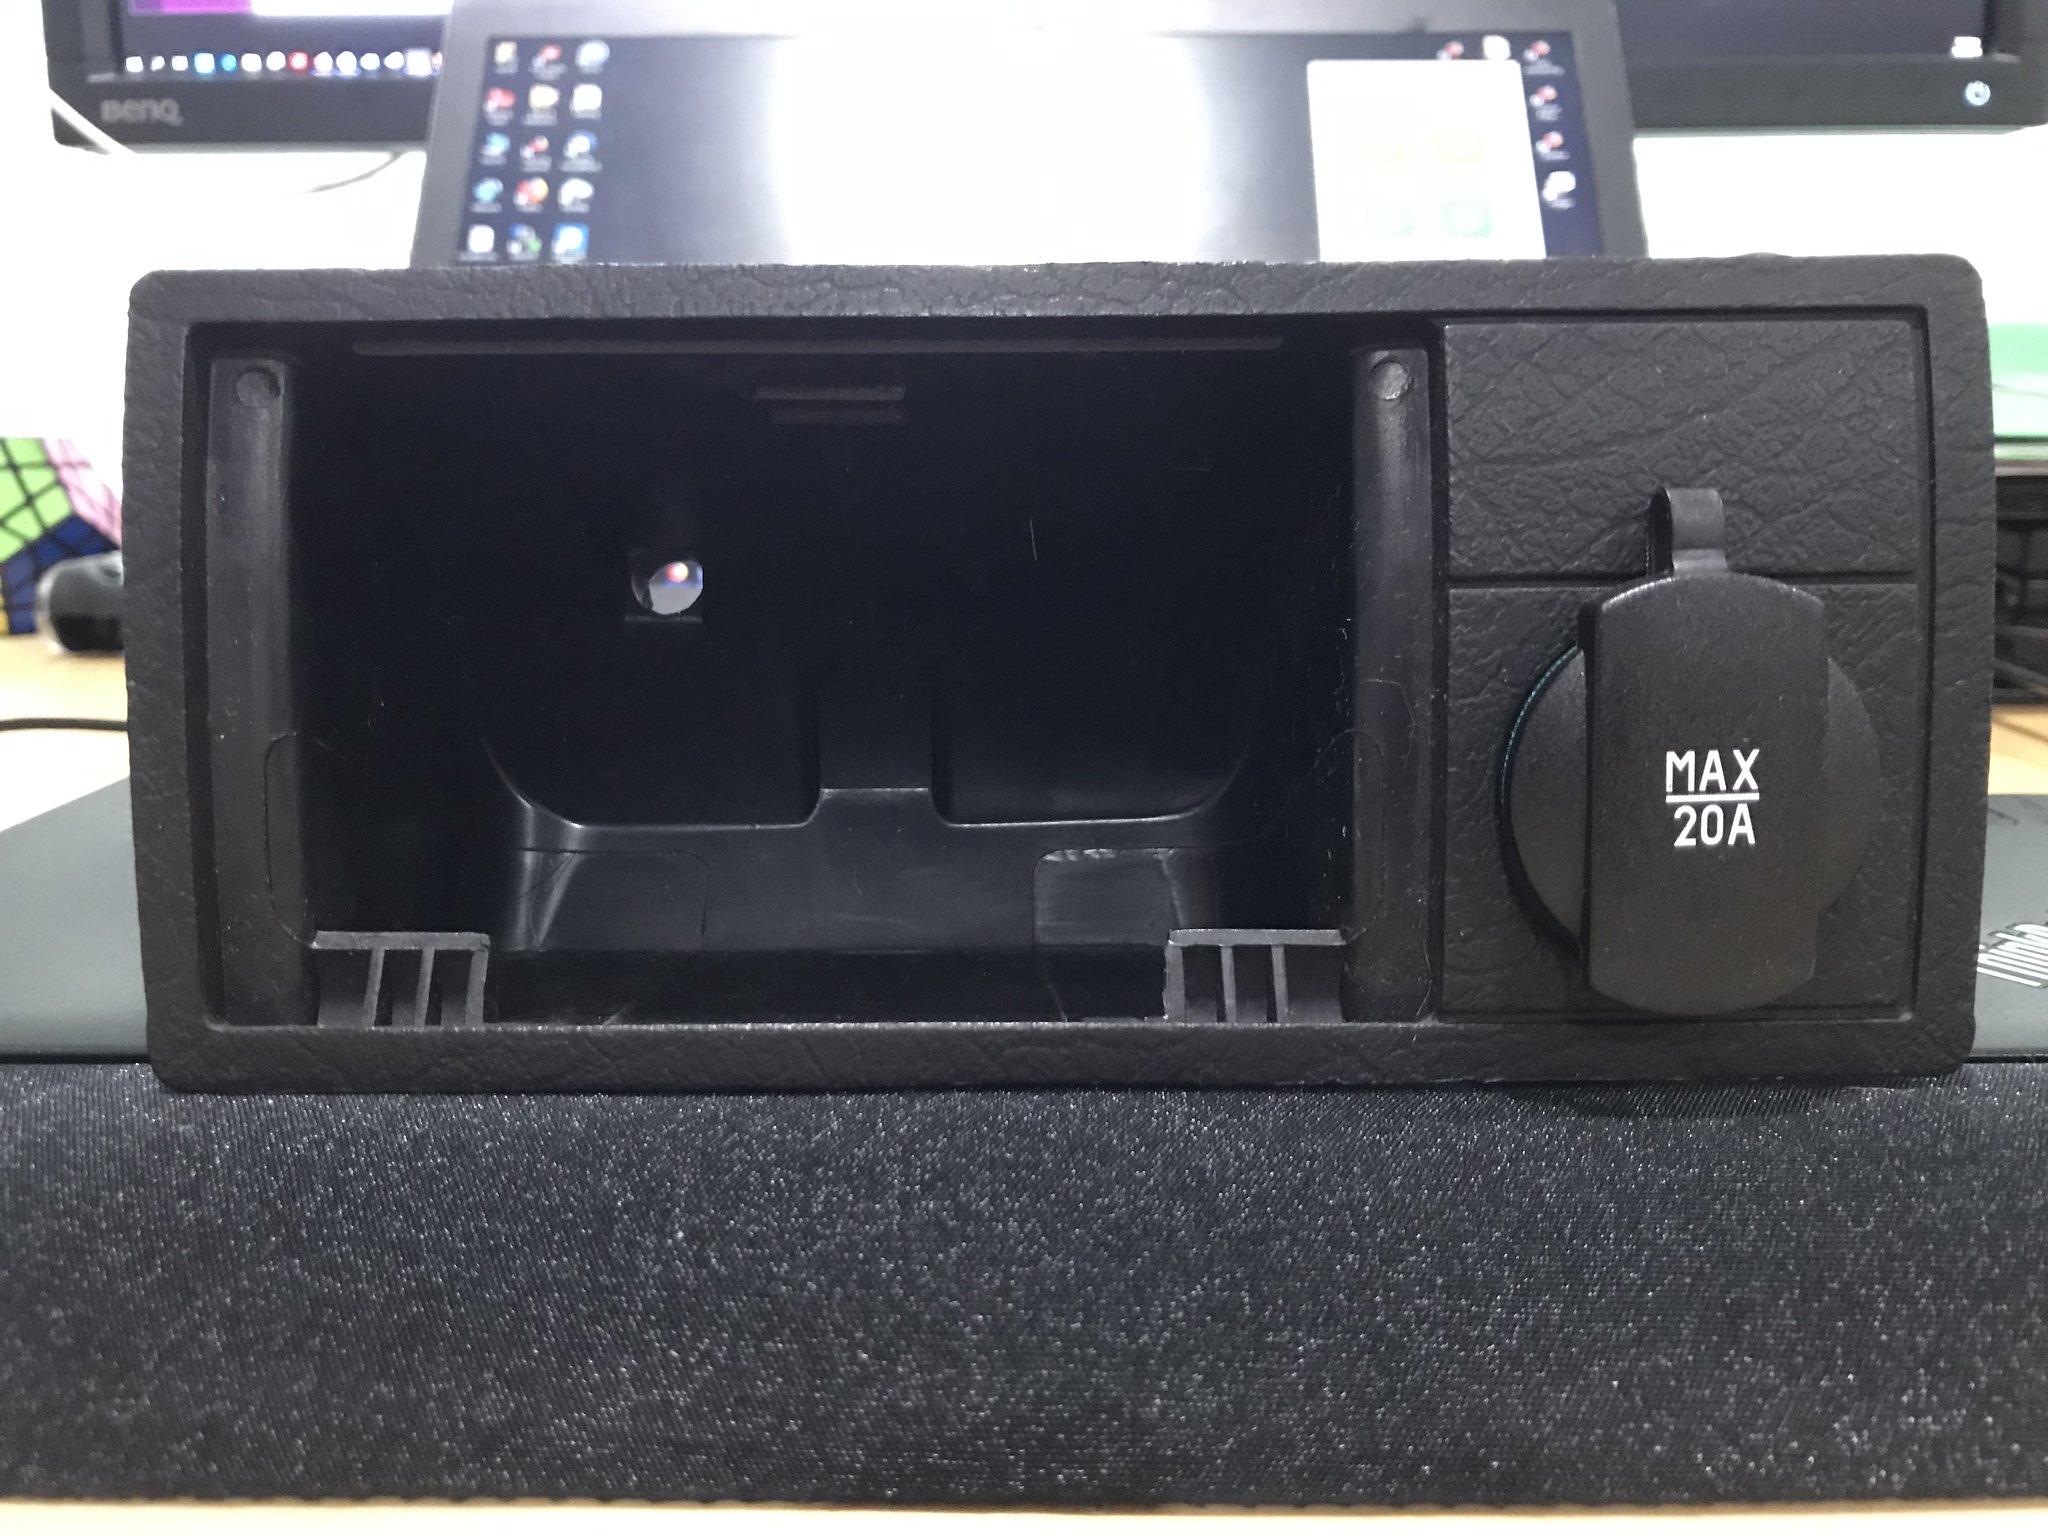
New lighter unit turned up allowing me to charge my mobile and other stuff - this is from a later VW model - near perfect match. Just have to adjust the connector on the loom

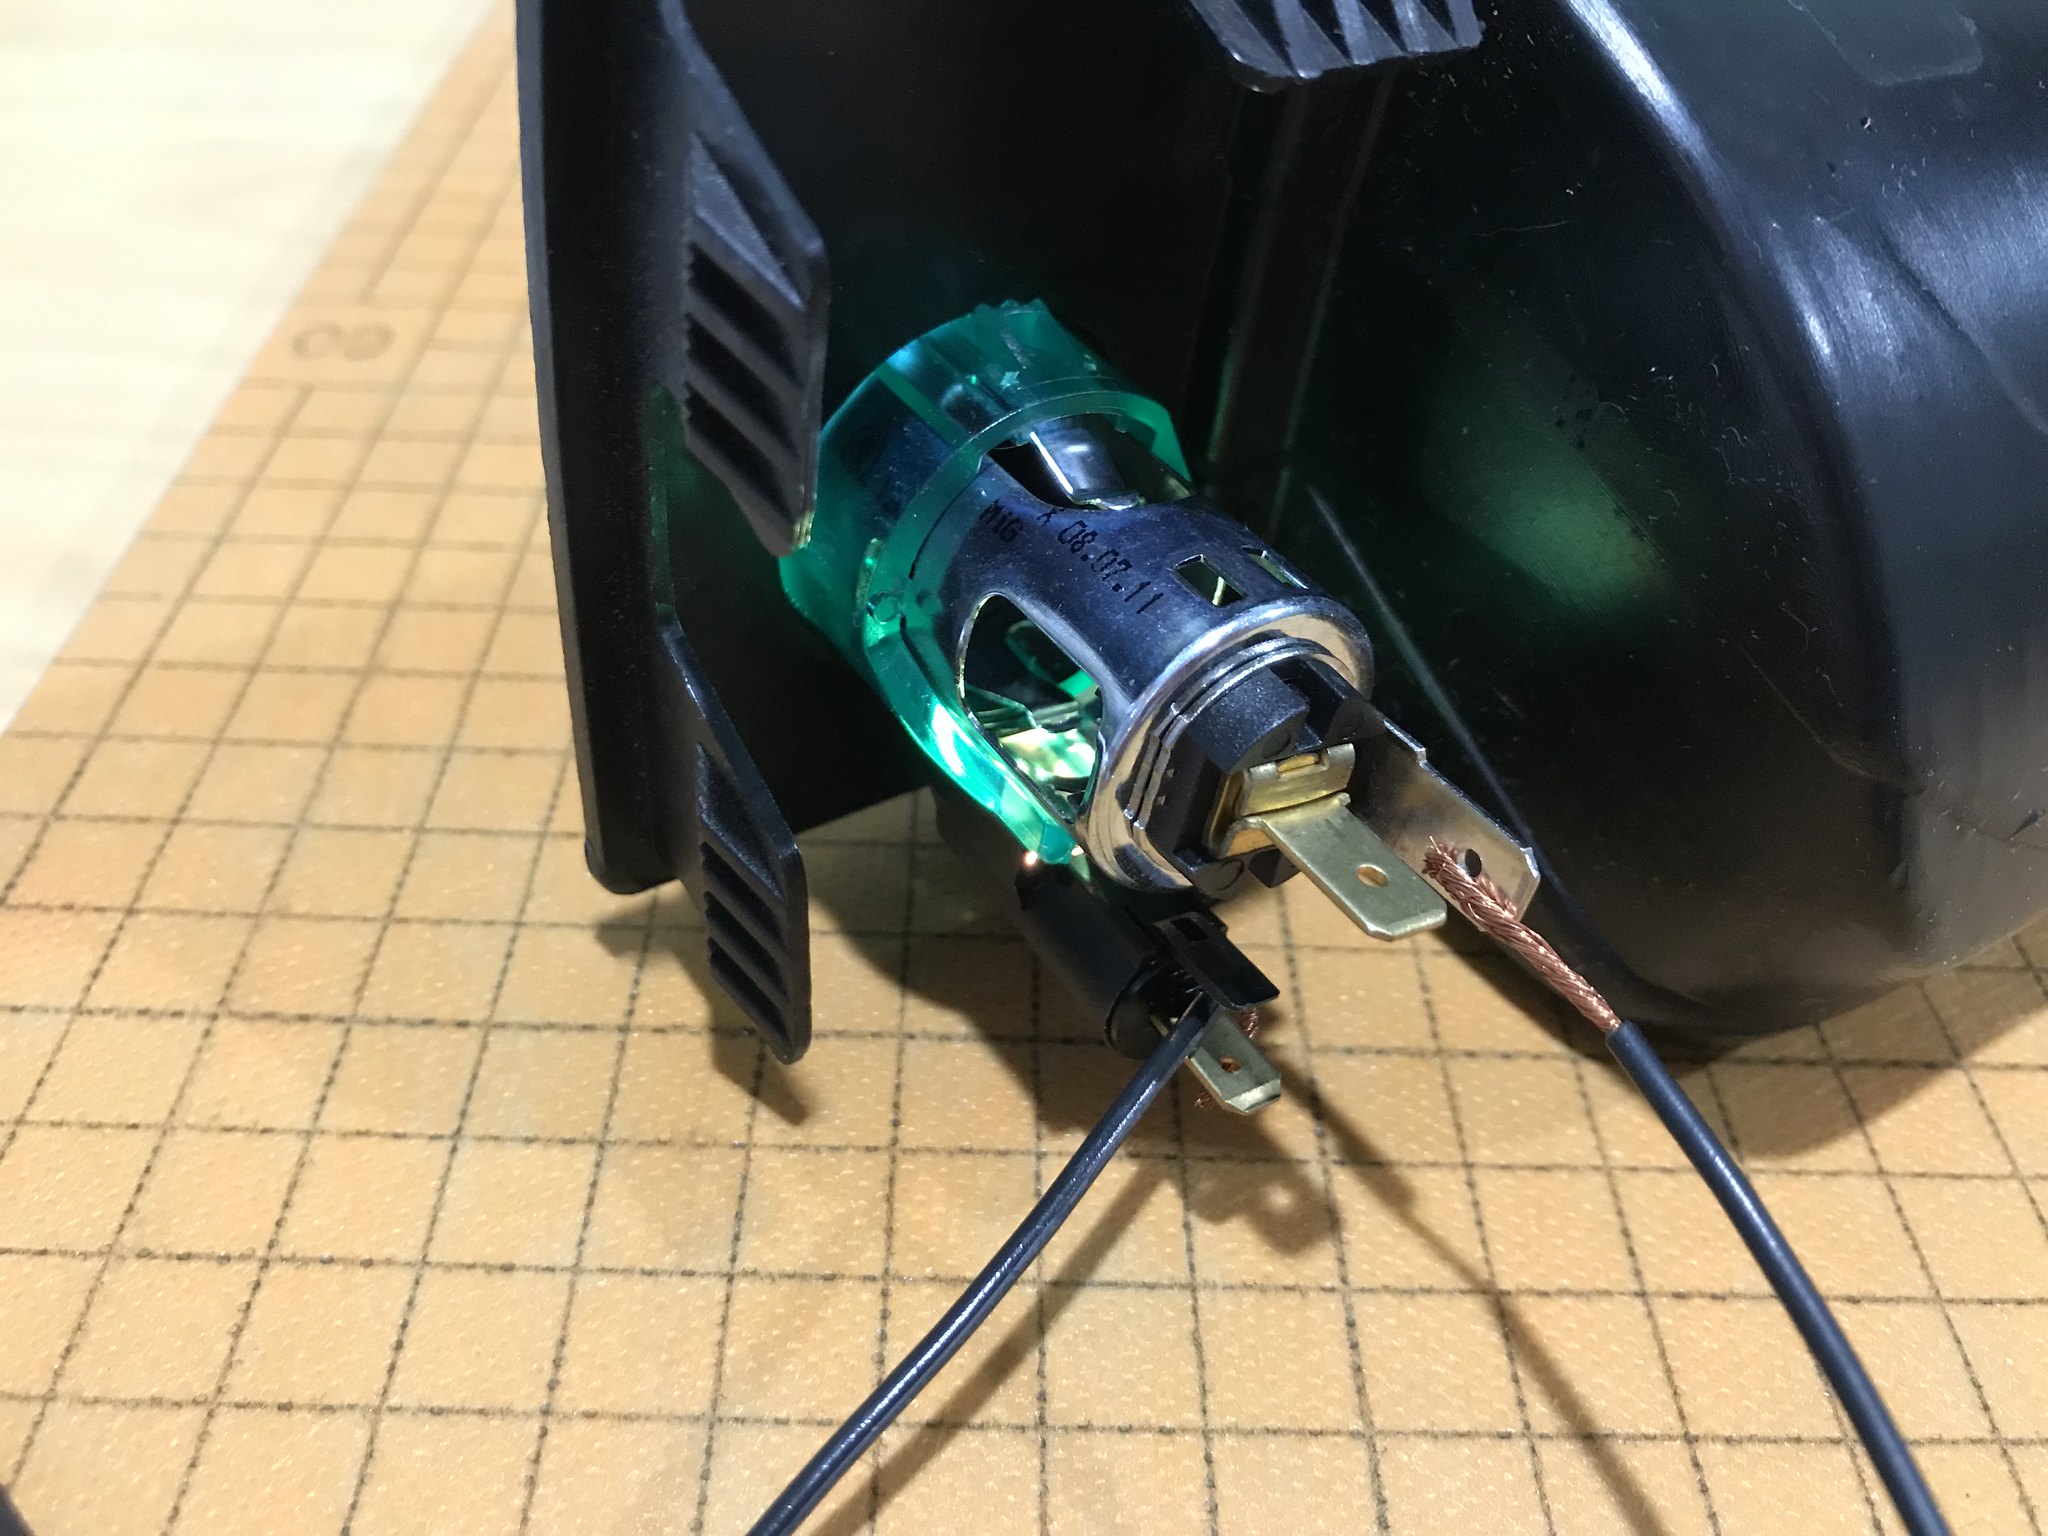
Install into the unit


Testing out the light
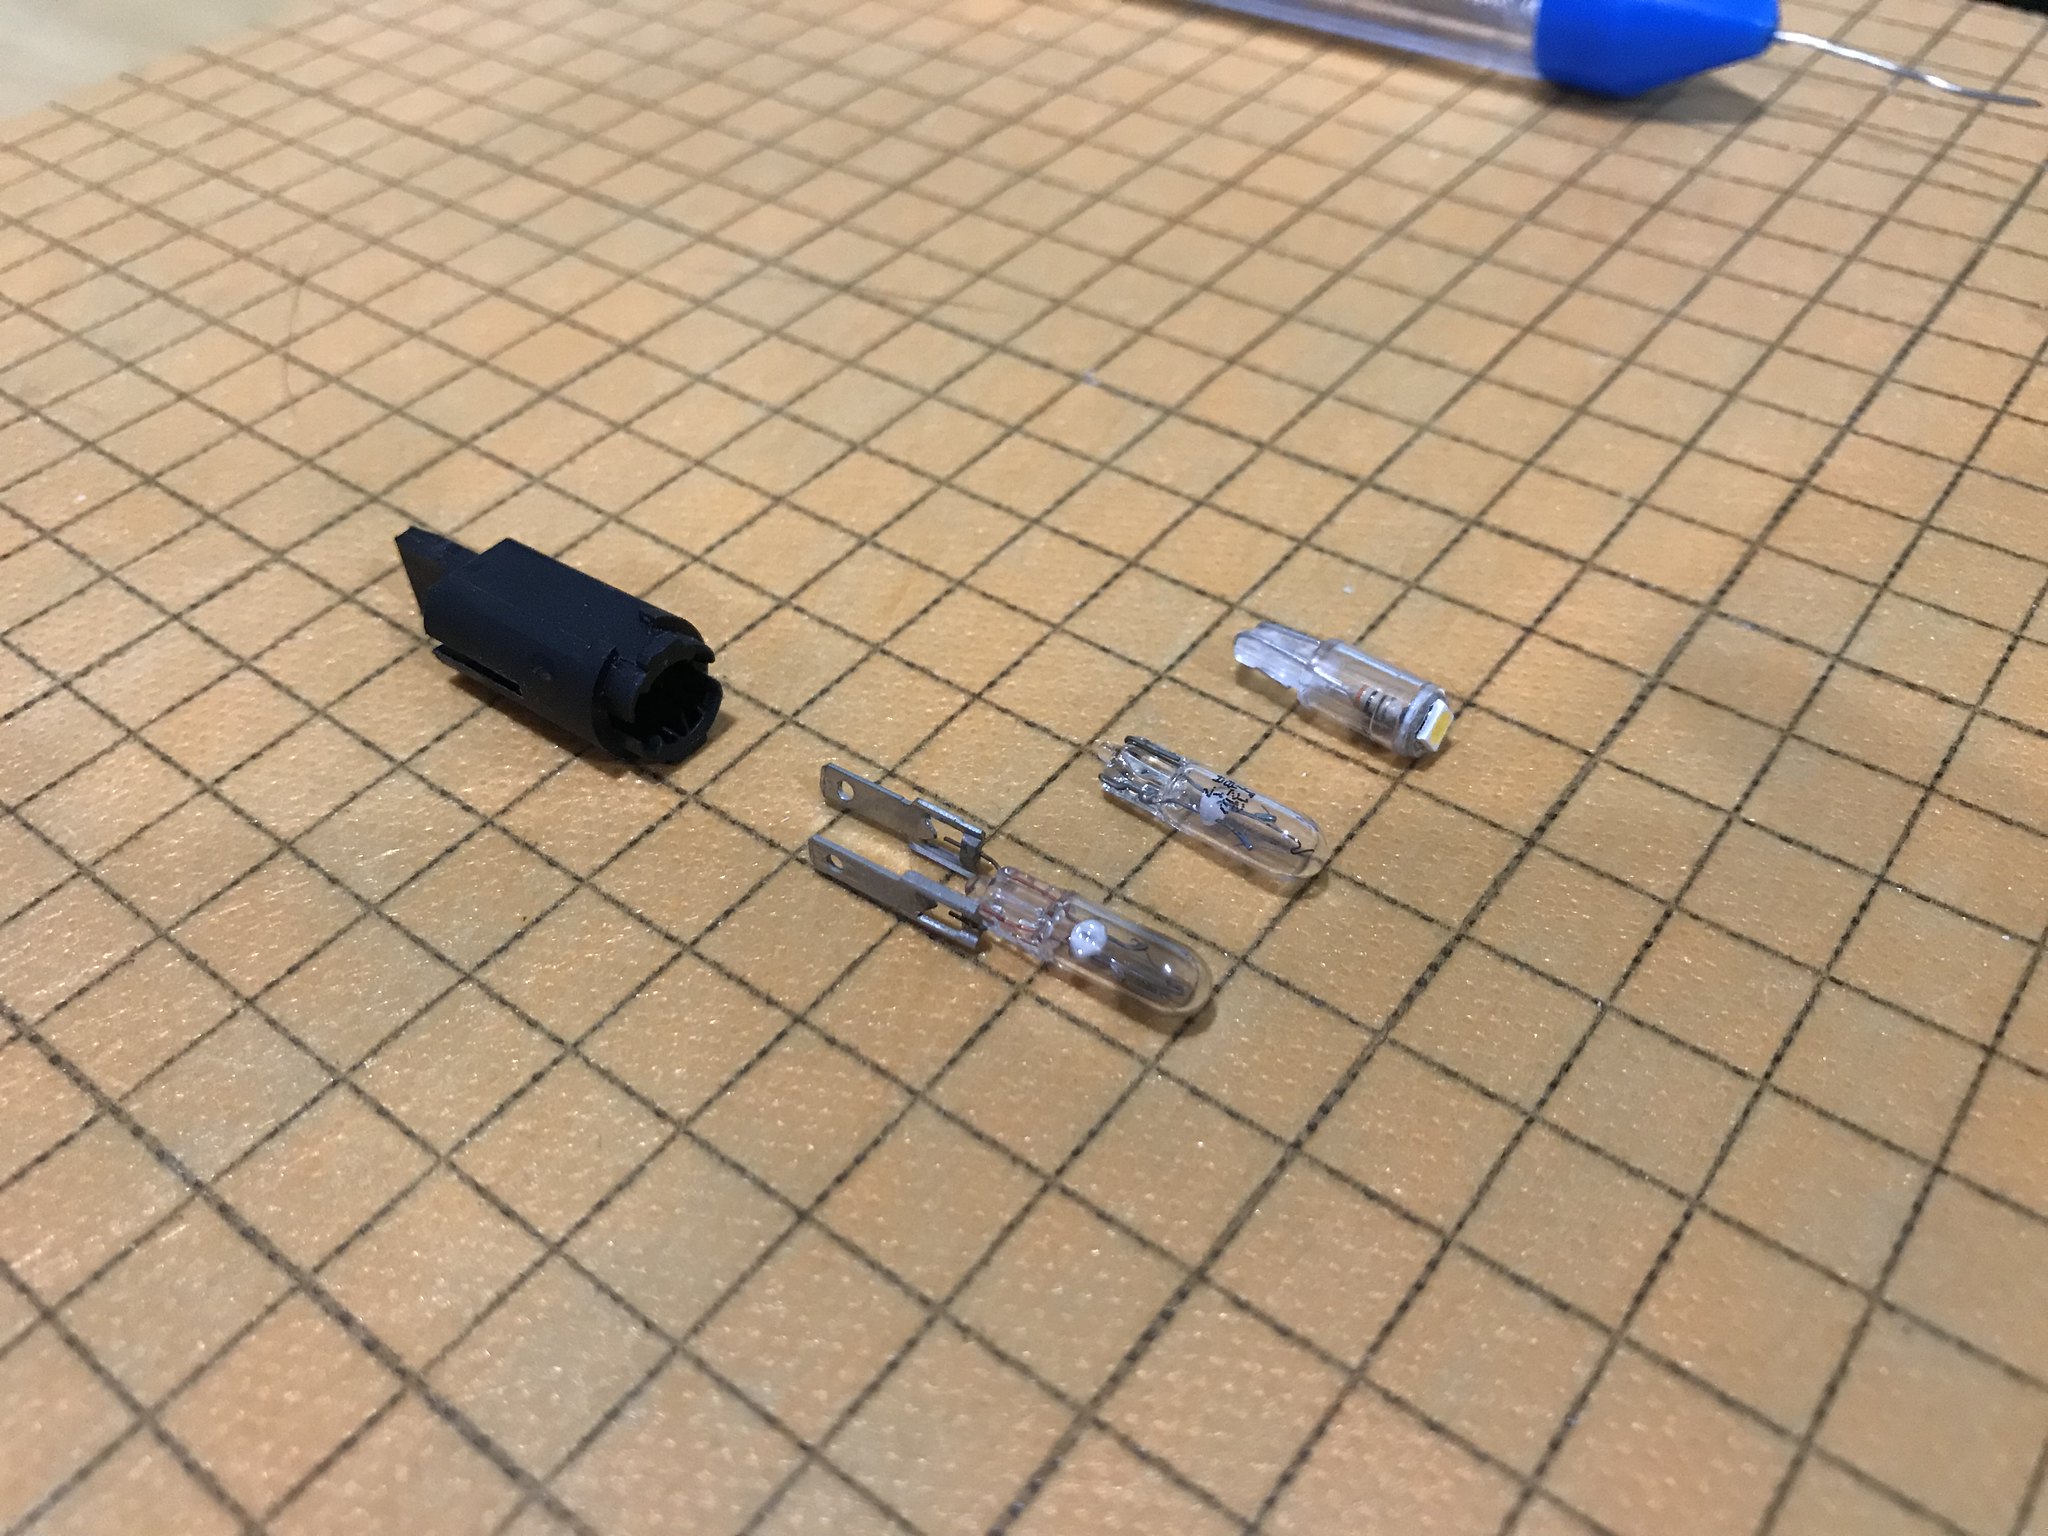
Moved onto the start of replacing all dash bulbs to LEDs - I will show few of them below, most are the same way I did them. Got this down to less than 4 minutes a unit to complete.
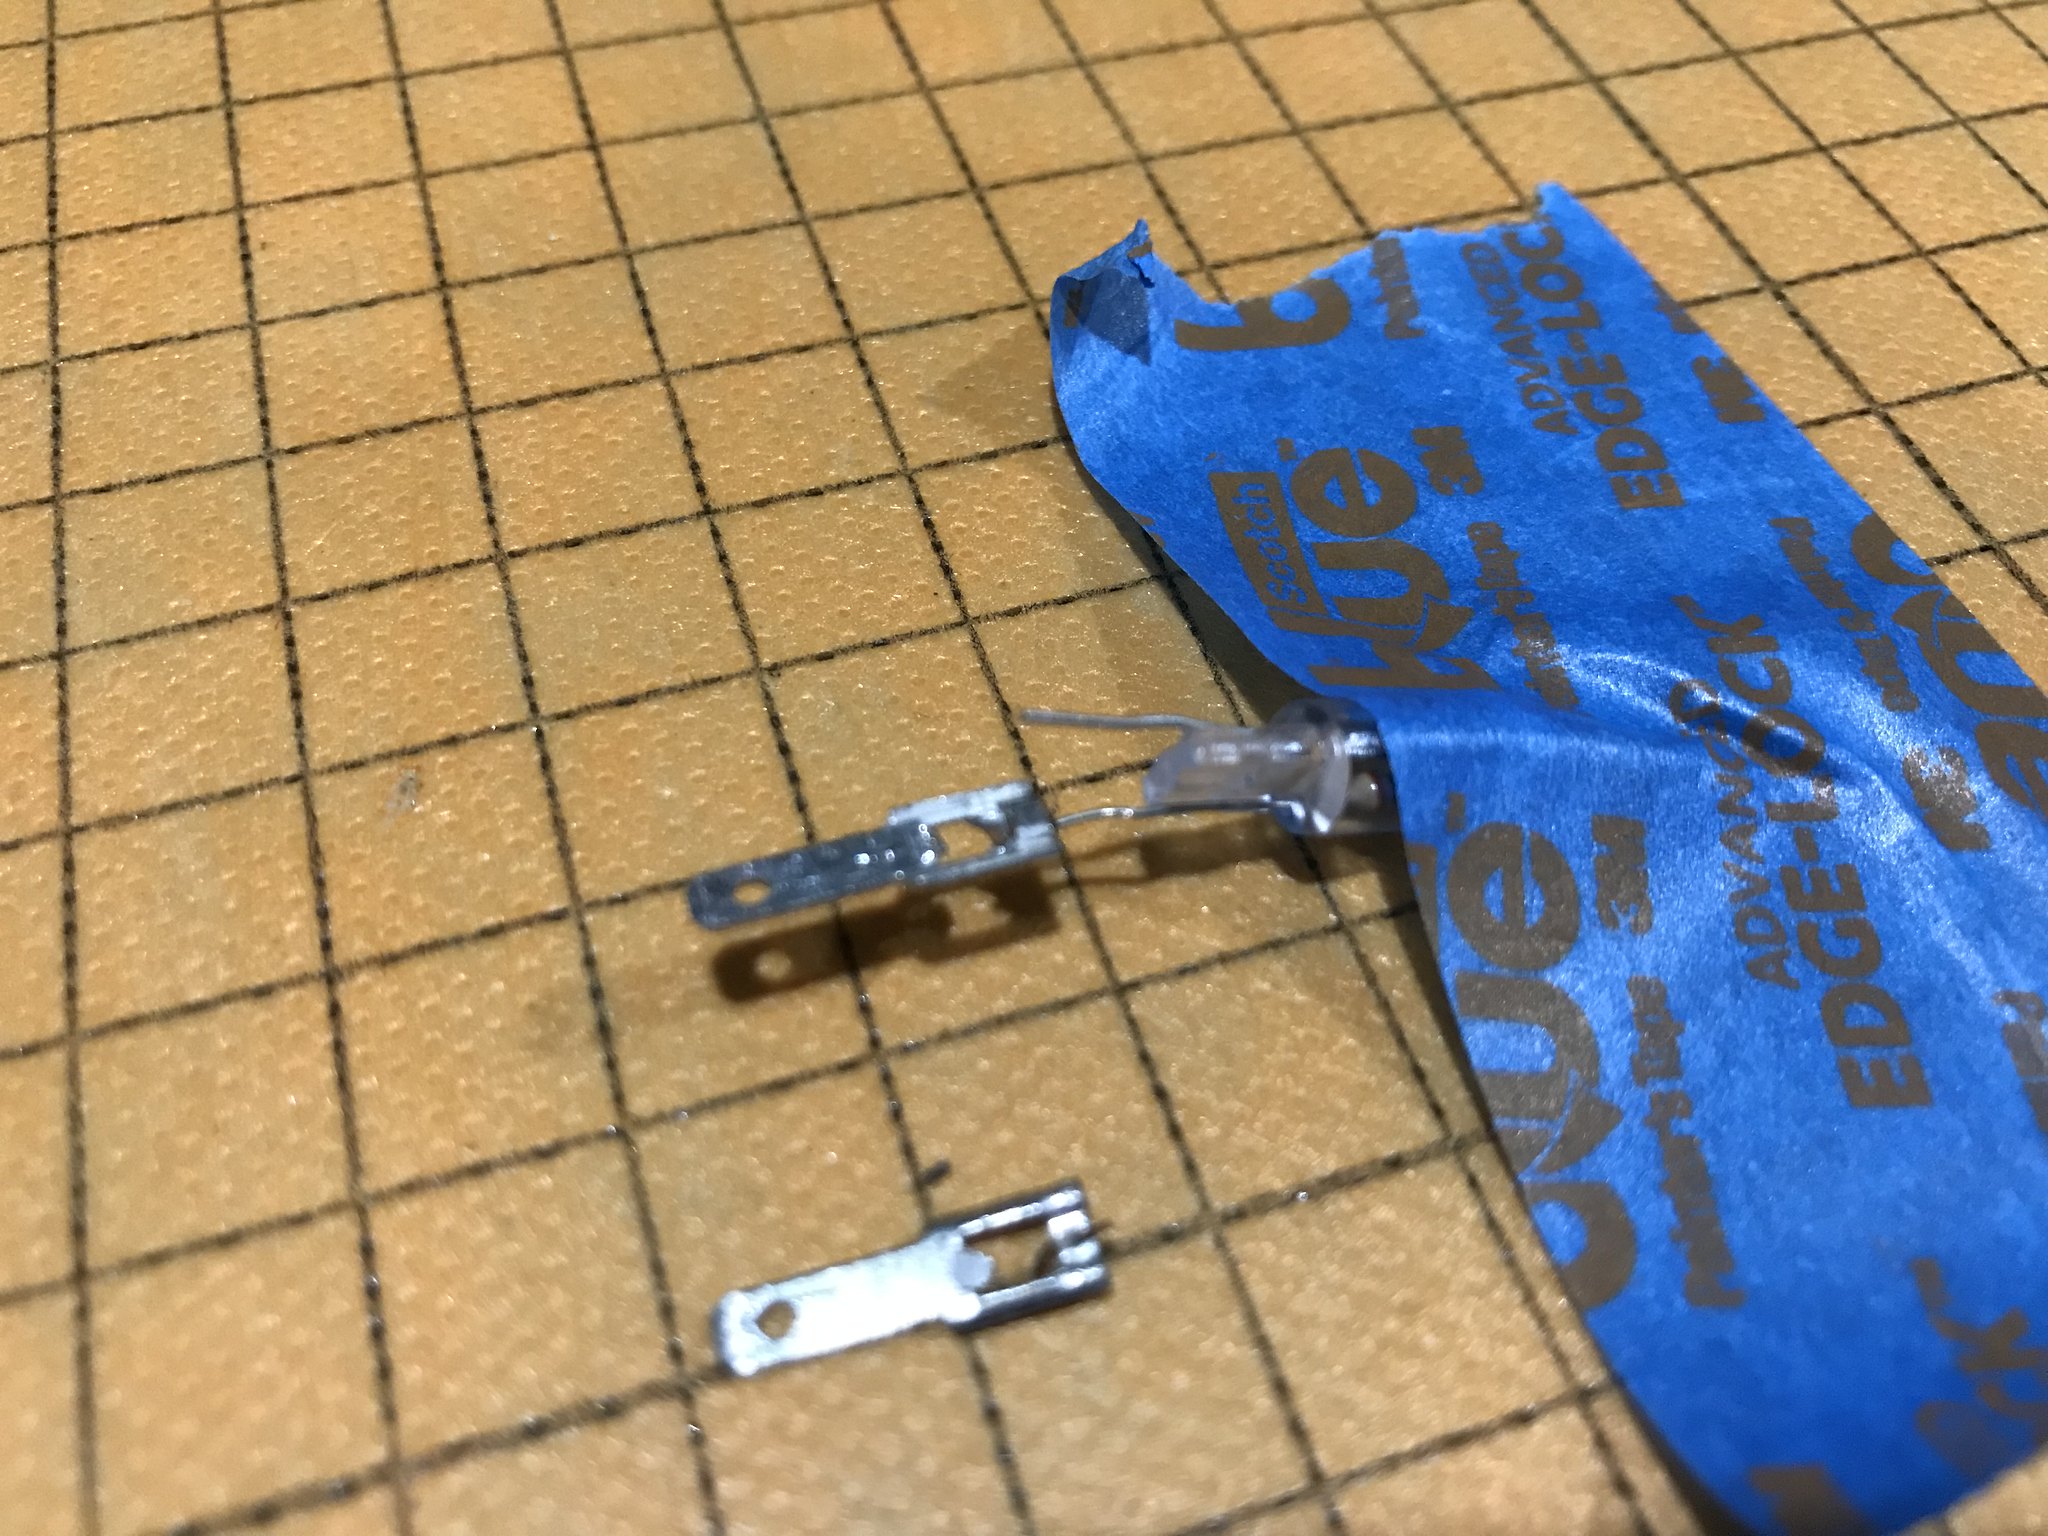
Each unit at the top of the pins where meets the bulb, there is little piece of metal push down - this hold the pins inside the bulb unit. you push these up, with tiny flat screwdriver from the ends and same time push pin upwards - this will allow you to remove bulb and pins from unit. Do this part slowly

Give you idea of bad bulb, new OEM bulb and LED bulb
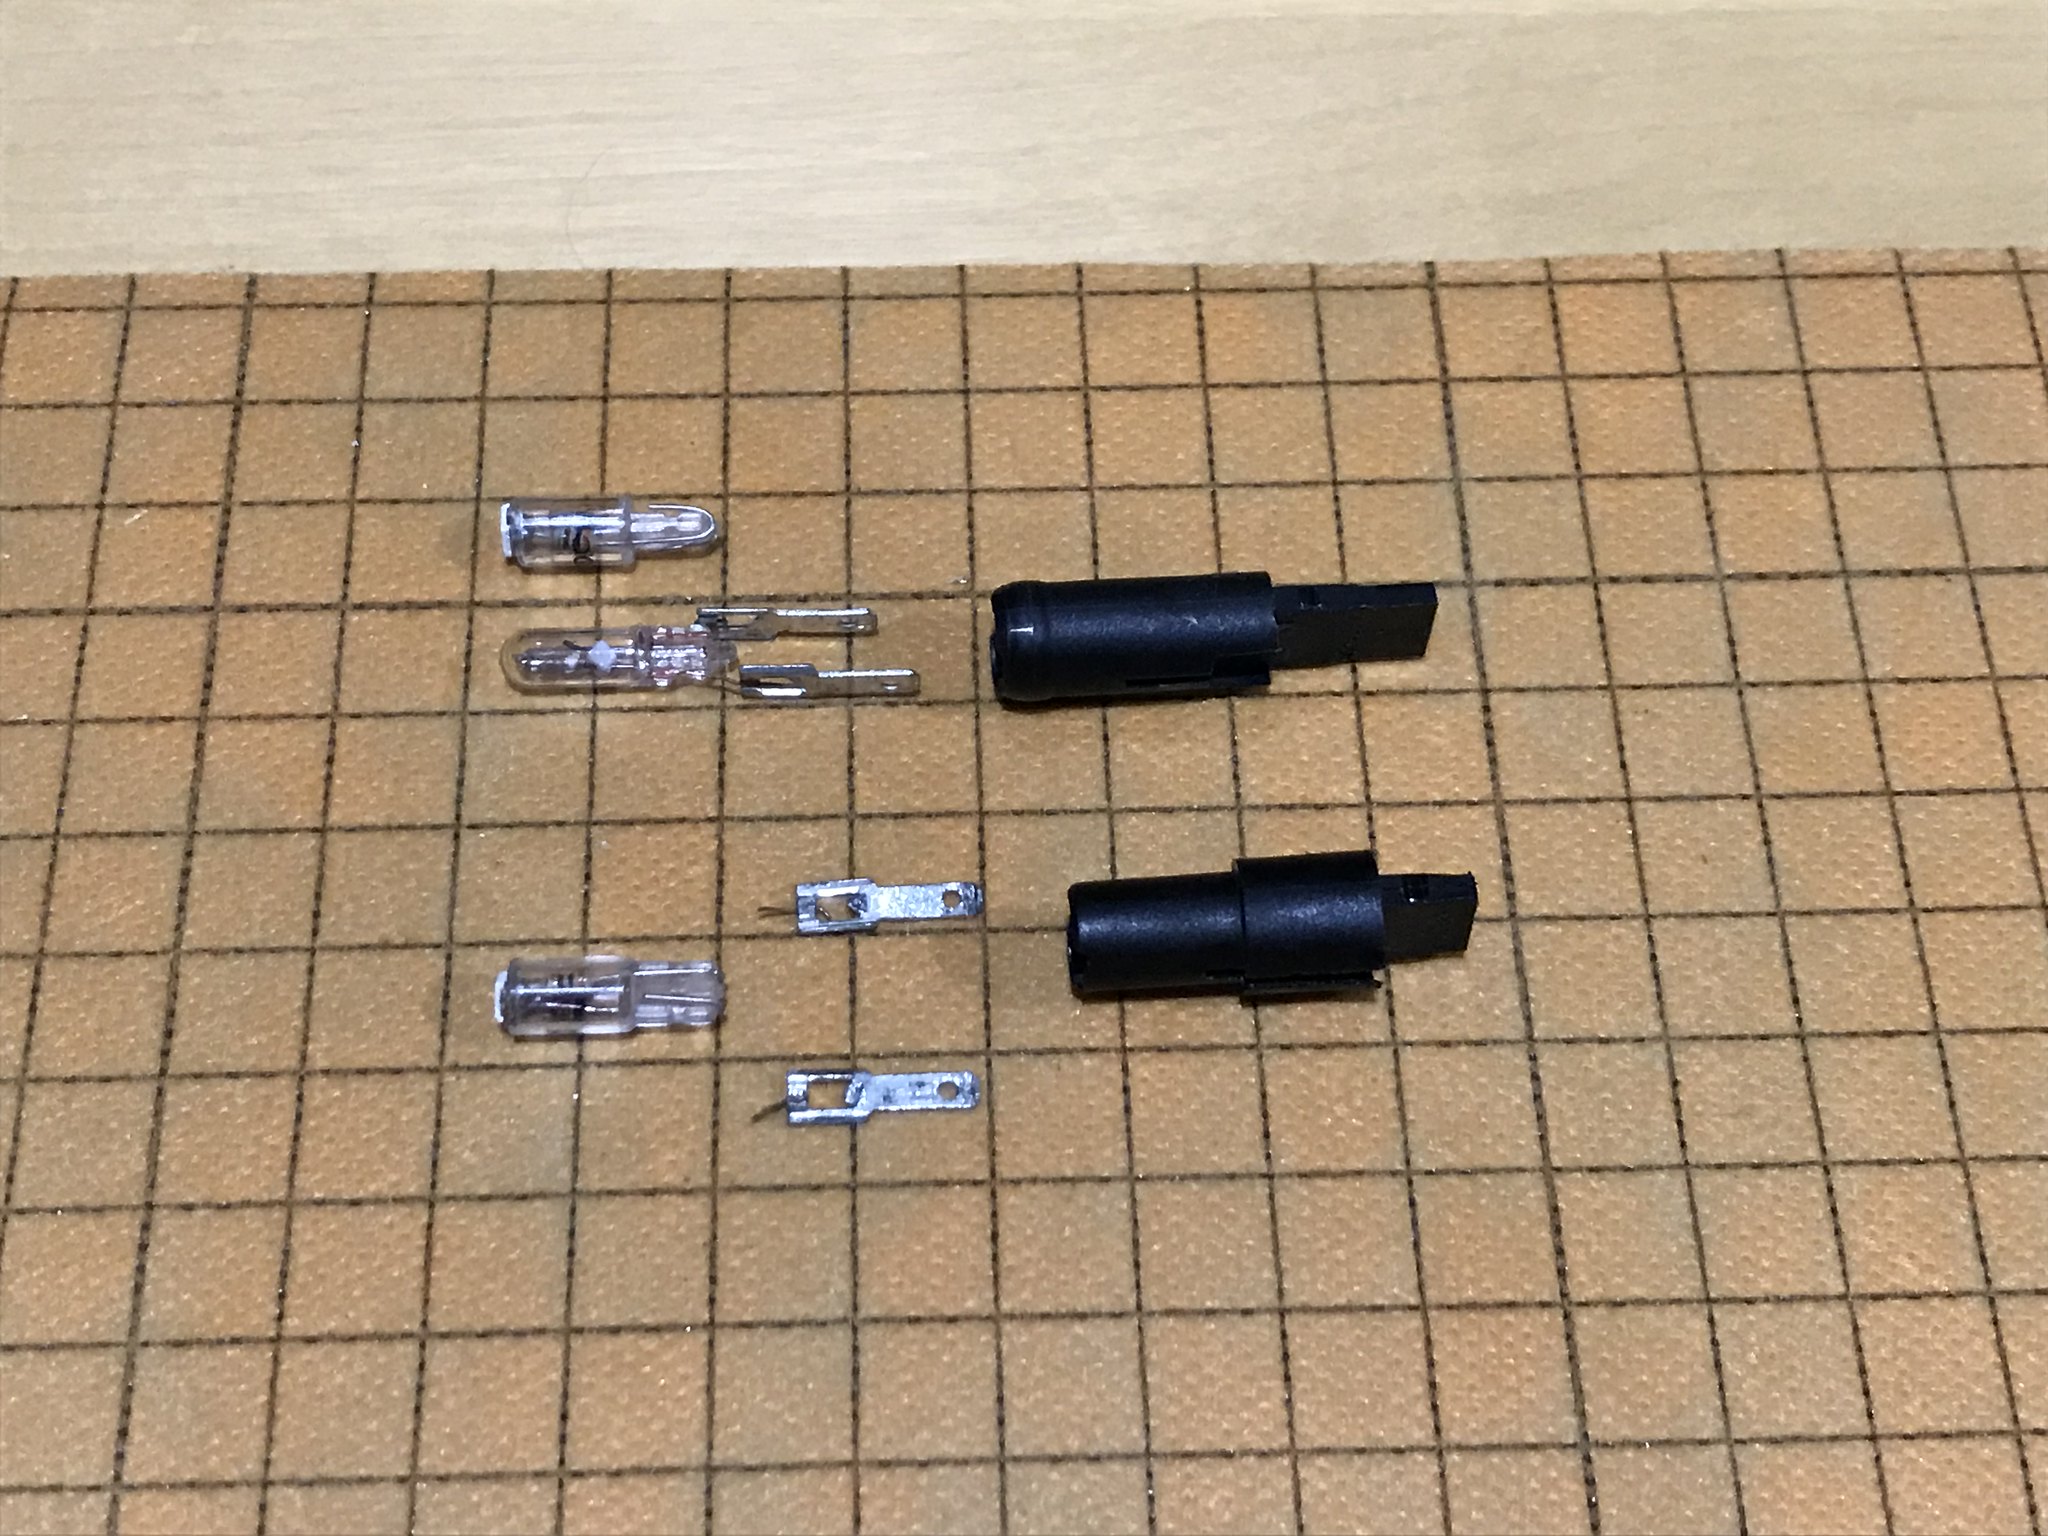
some other units doing at the same time
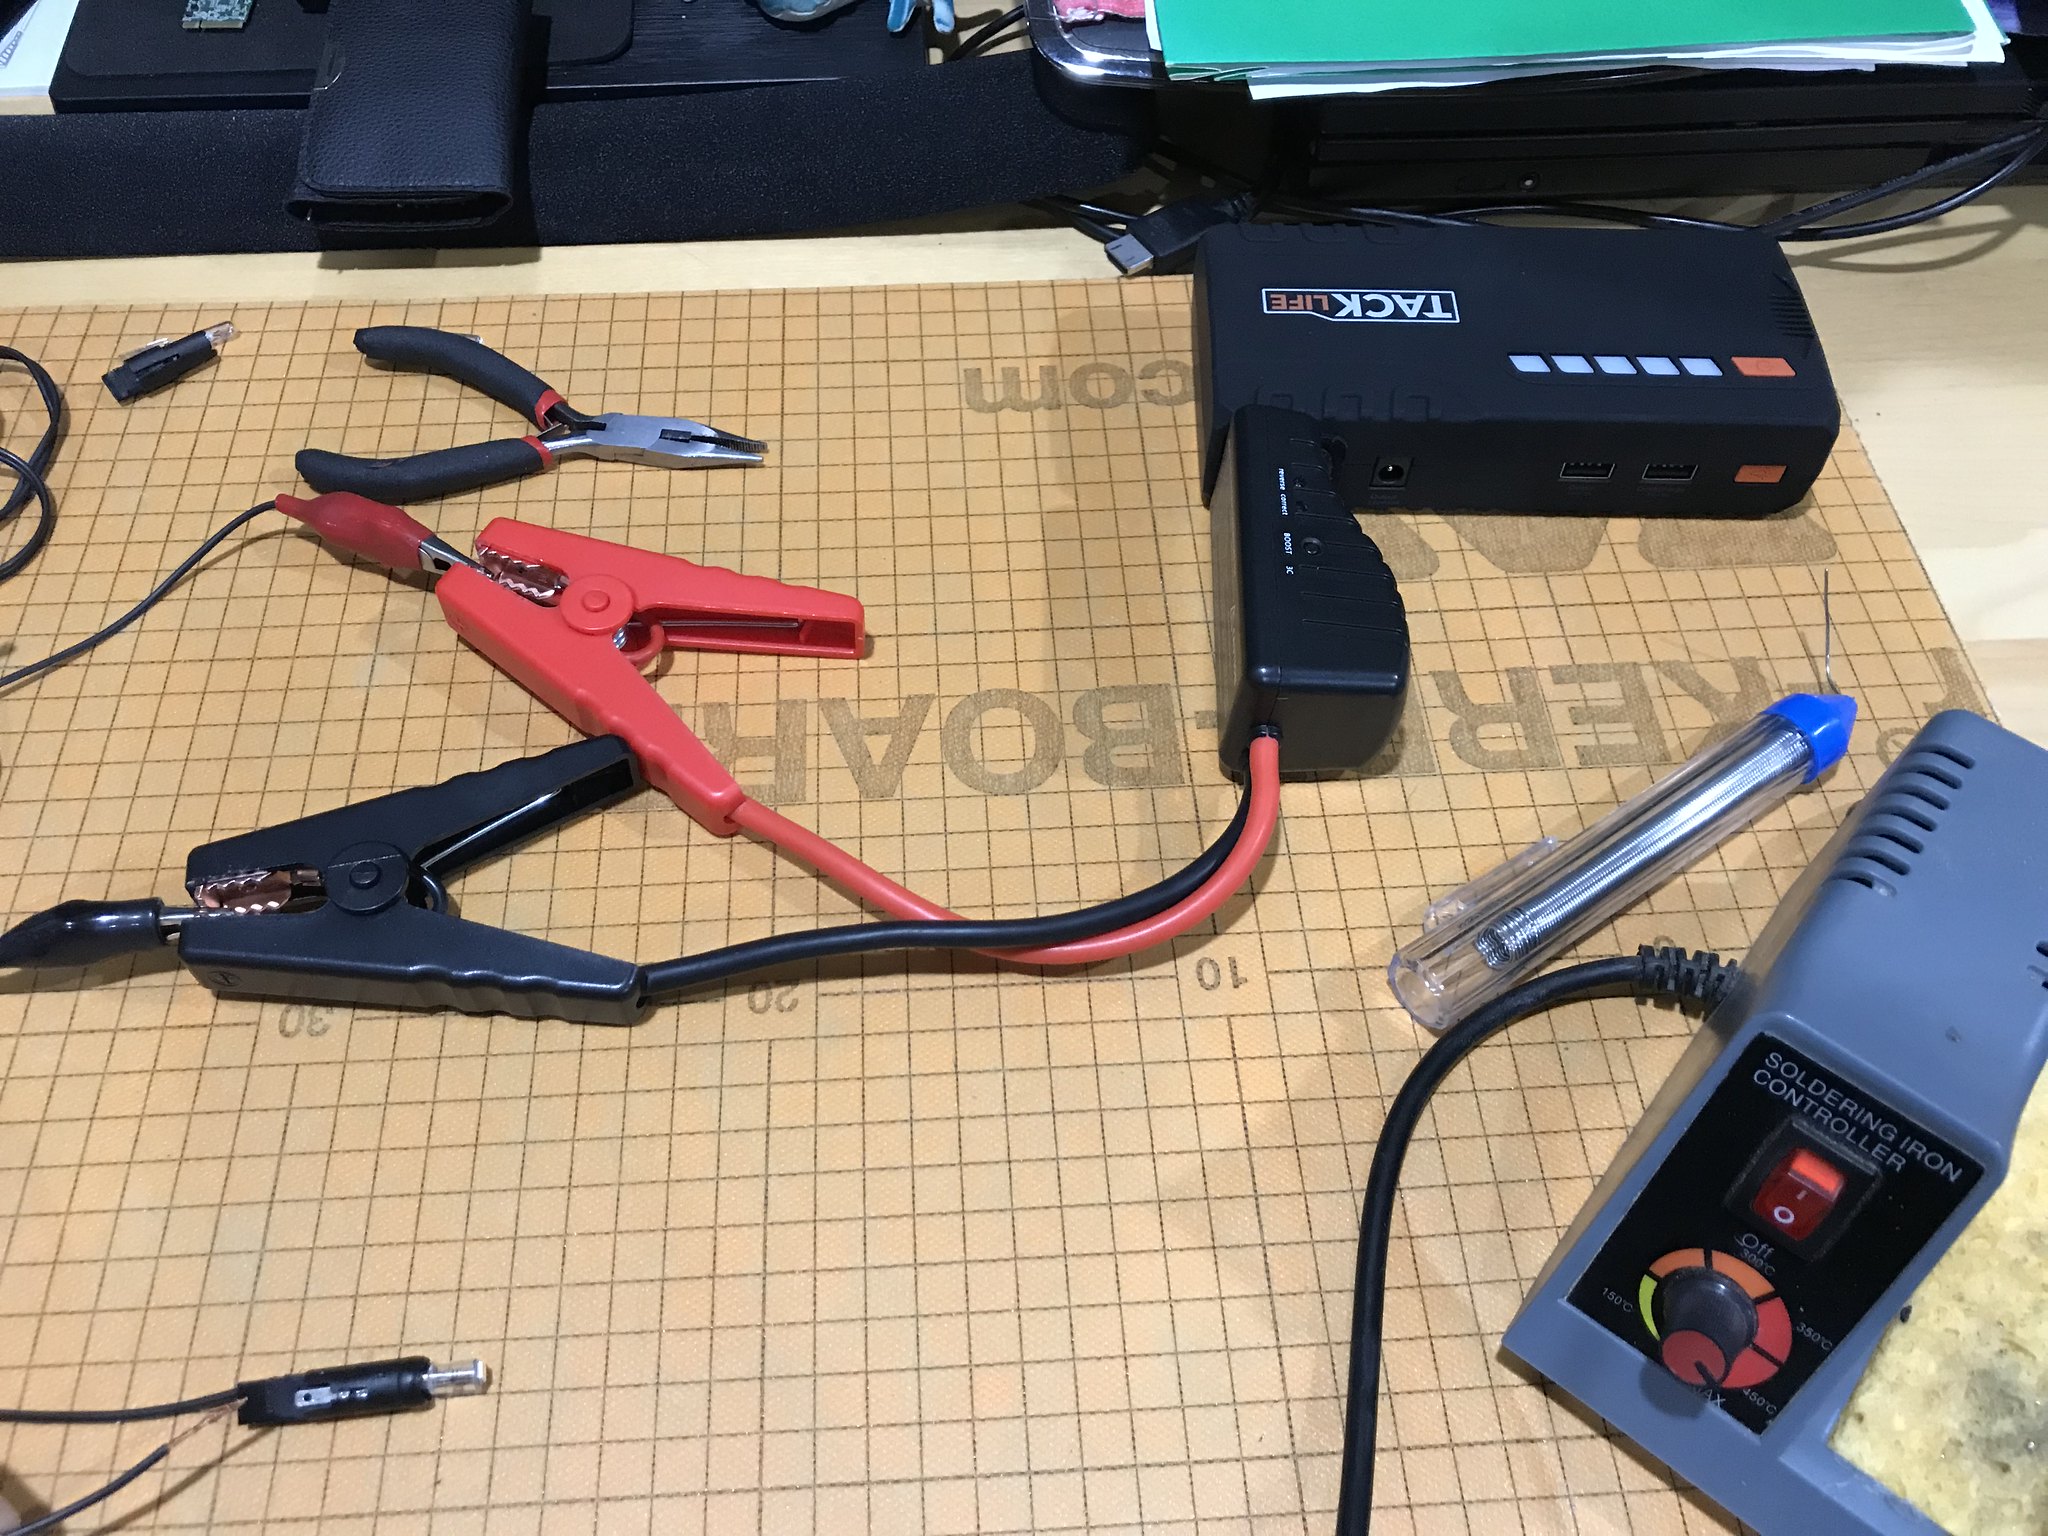
I usually do all my soldering using my multiple clamps but for the life of me I cannot find them :(so had to revert back to old ways of taping bulb down and using pliers to hold pins while using soldering unit. Worked out very well actually.
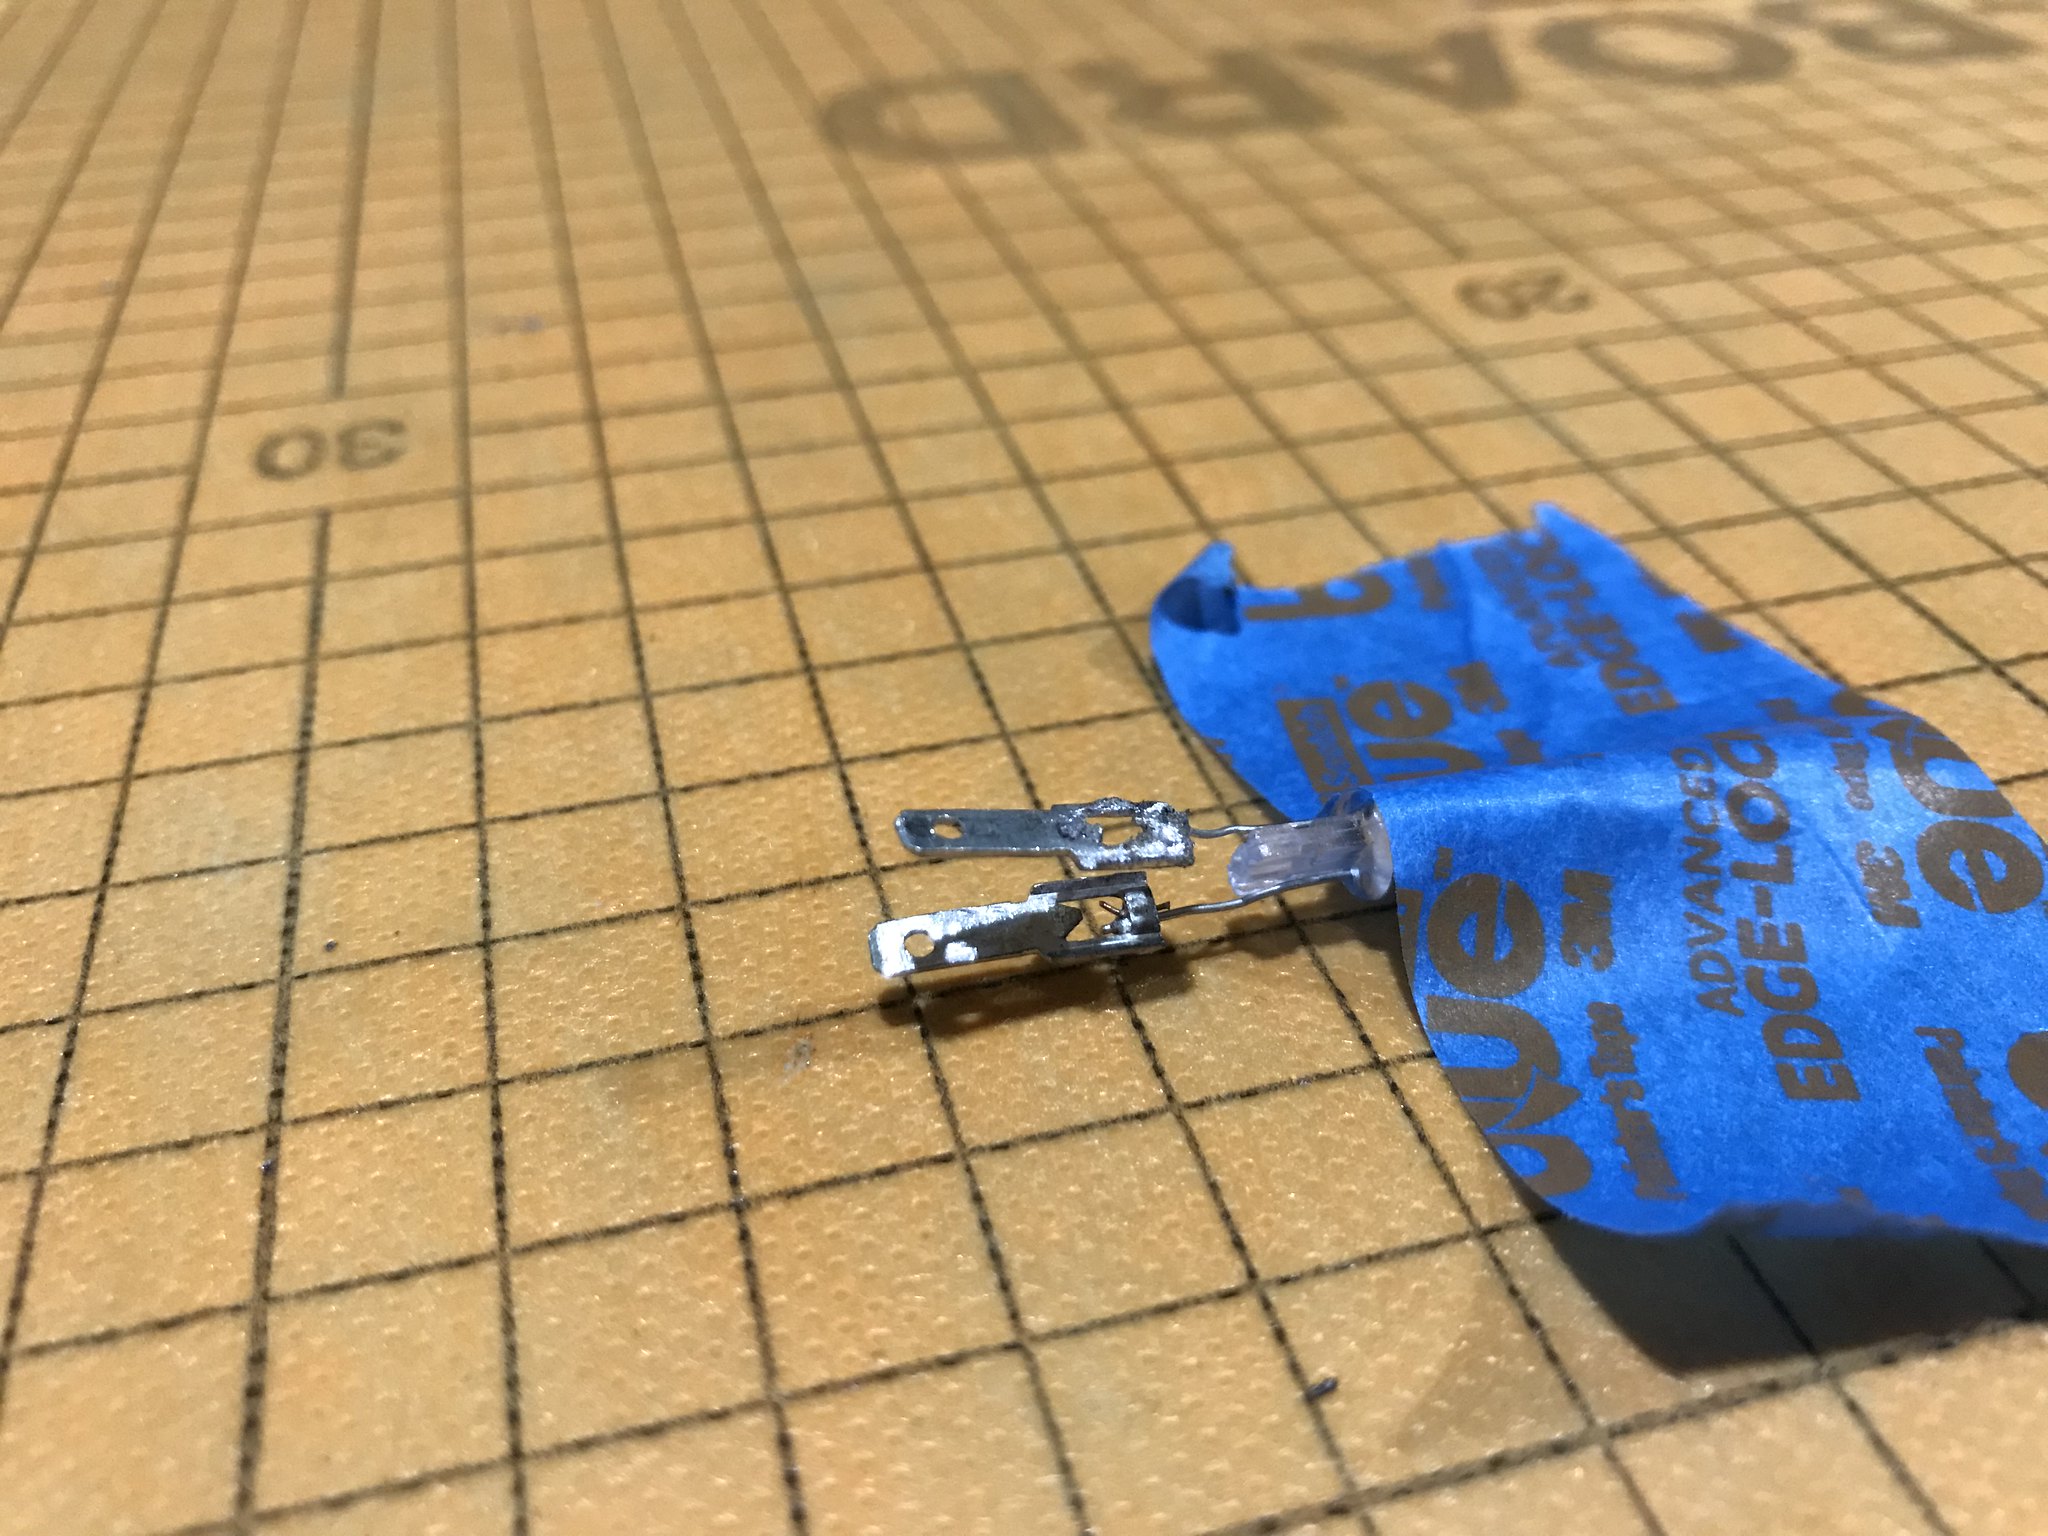
Then moved on to preparing LED light and then soldered first pin on (I will always get soldered on and then afterwards clean up weld to make flat)
Both pins soldered welded on
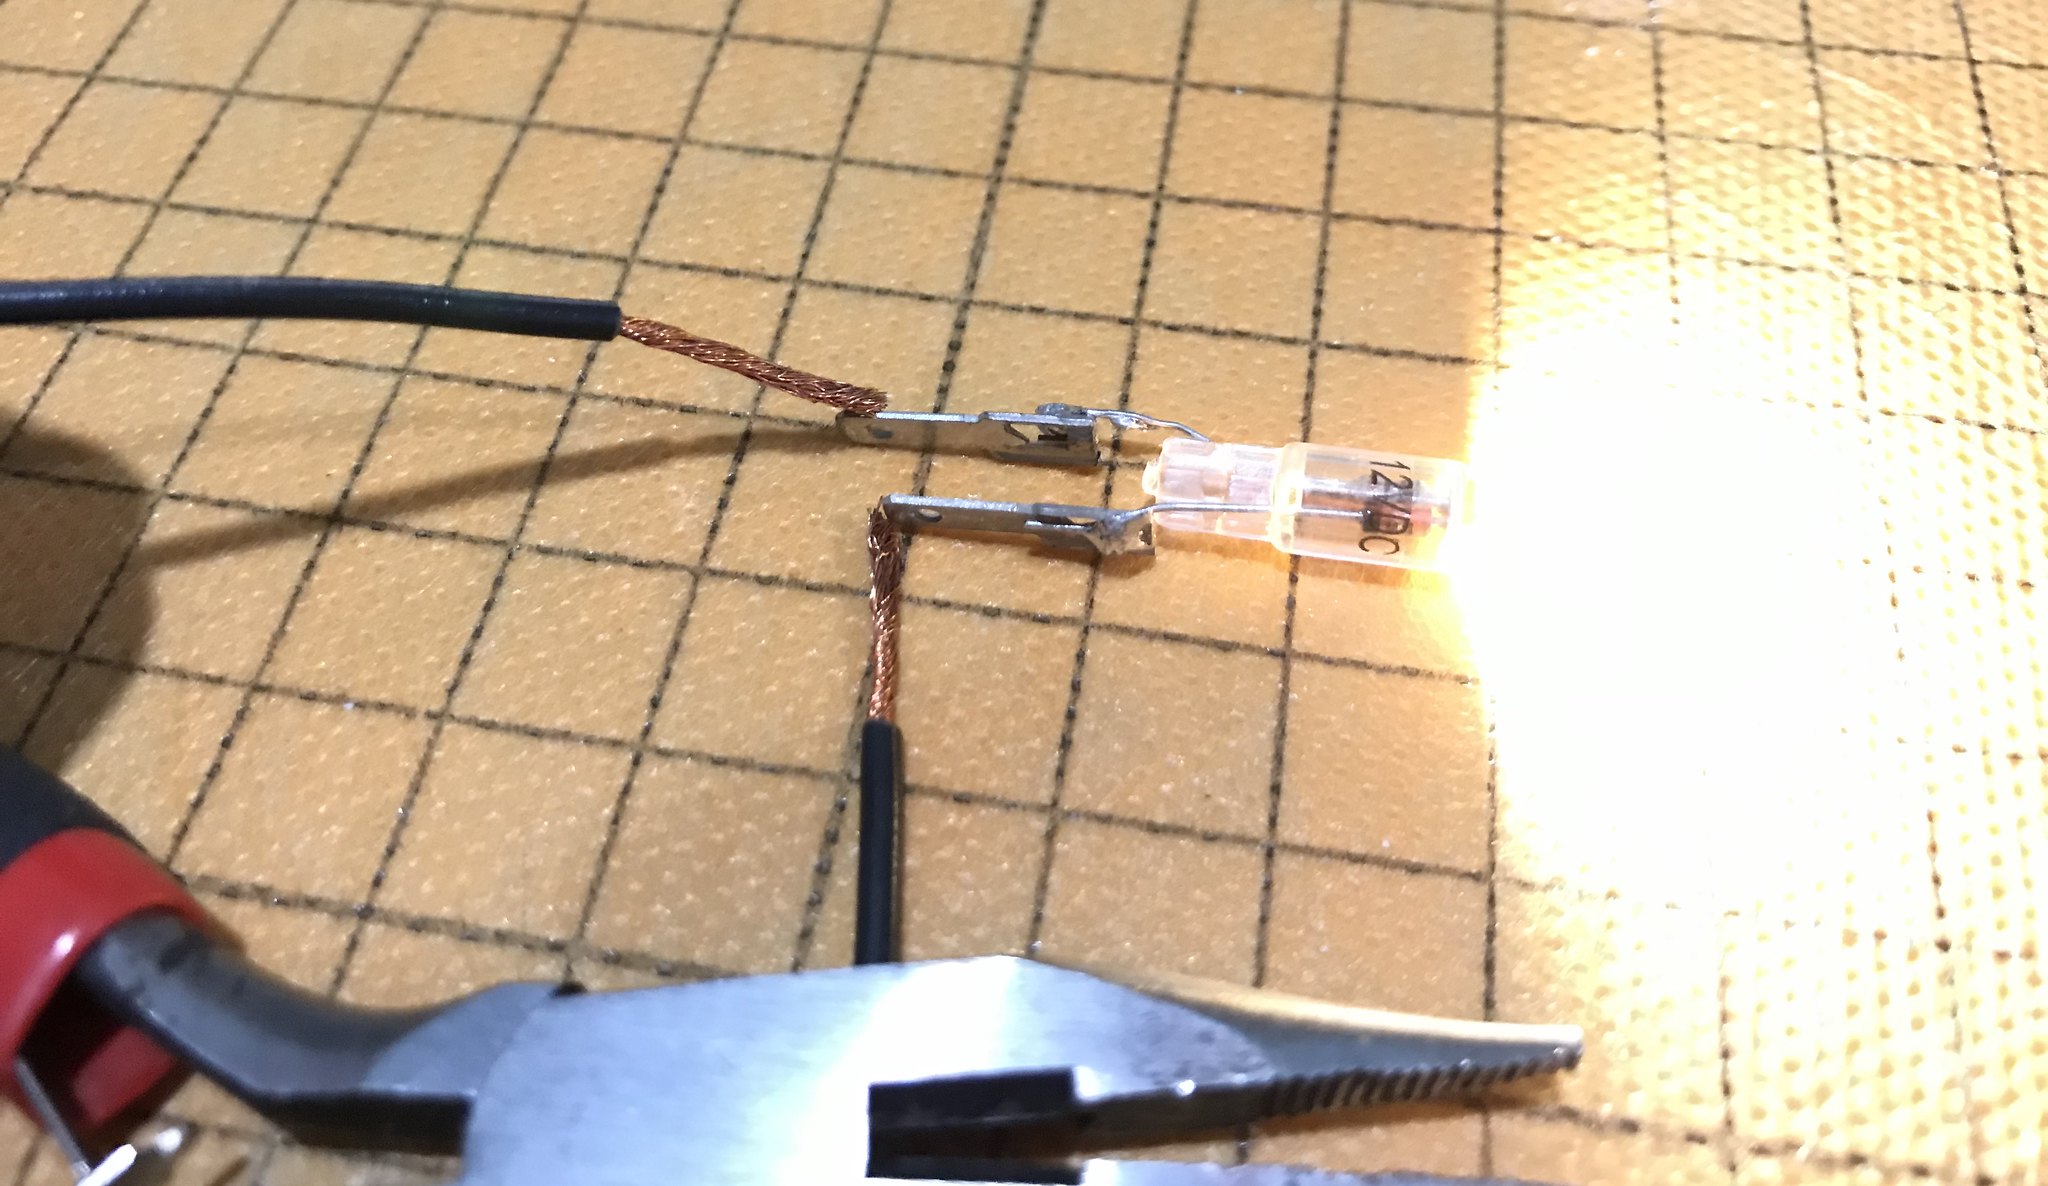
Key to now test bulb (I always test each new bulb before trying to install as well)
Now time to install into unit. Key you do this part gently to start, you need to make sure each pin goes down into the bulb unit slows of each side and then using small screw driver you can push down on top of pins to get it down 30% into unit as you can see below.
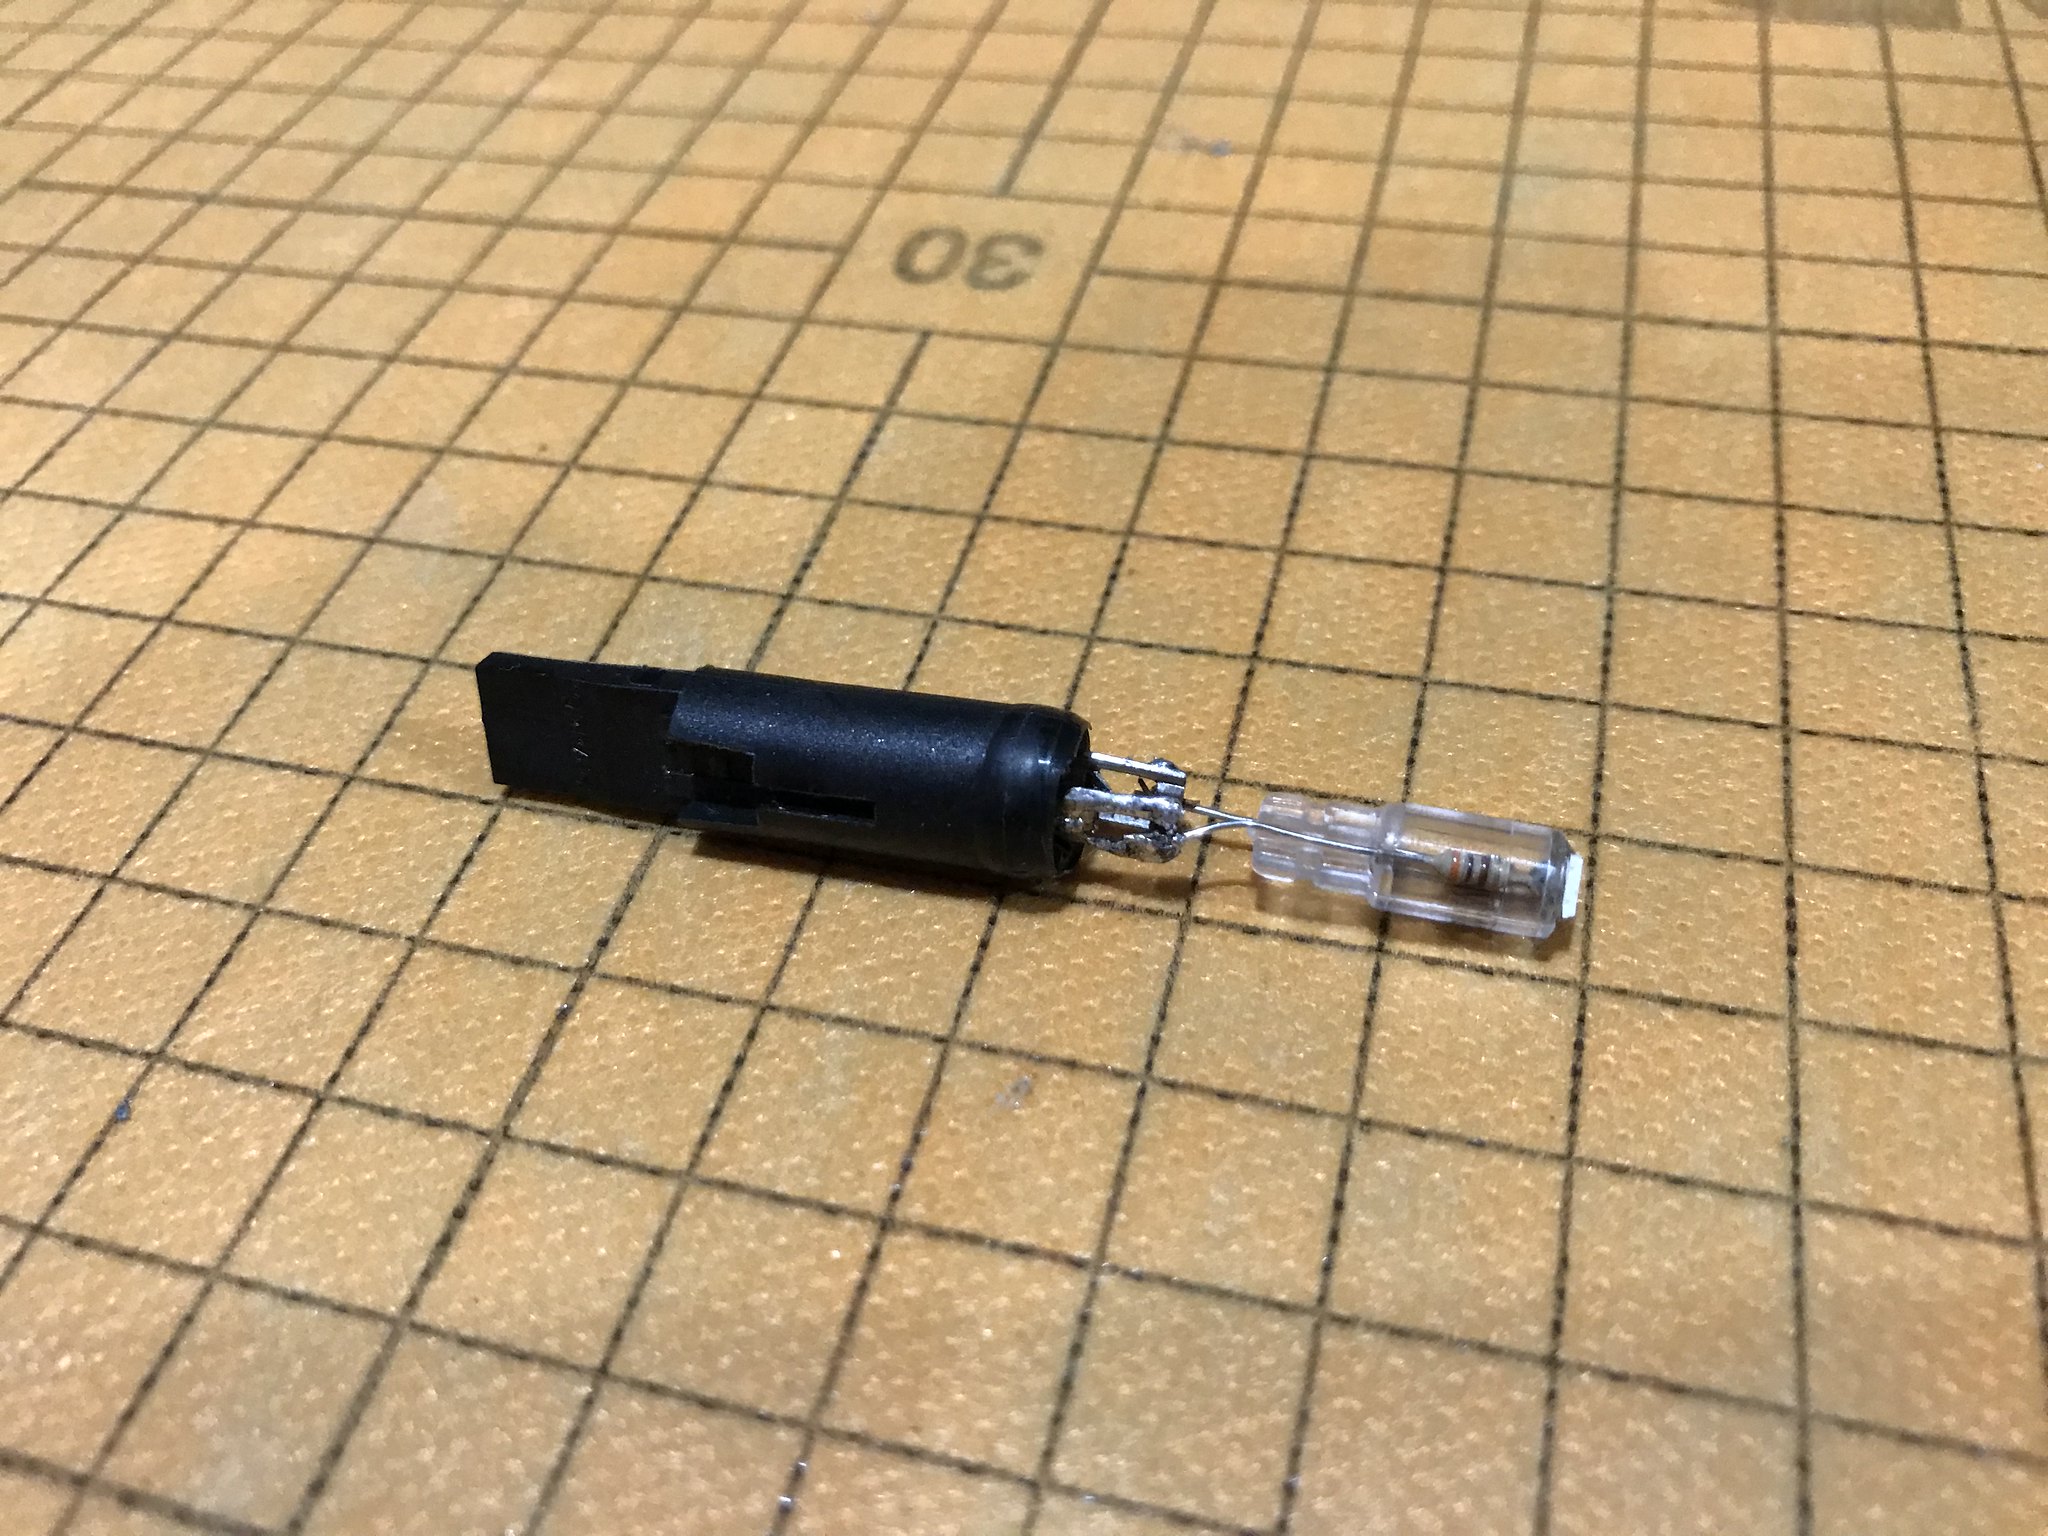
To get bulb and pins to sit completely in unit as below, I use two ways. 1. Keep pushing top of pins down with screw driver until the bulb gets in the way, this then allows the pins to show on each side of unit and I then use a pointed screws driver to put into the pin hole and pull pins down - works really well.

Time to test again to make sure LED is ok and working

Now I just repeat this process again to all the interior lights...
This is the unit I used with some electrical wires to test out the bulbs
I tested out one or two of the LEDs in the car.
Compare OEM to LED

LED is on the left the other two are OEM - but both will be replaced to LED.

Then replaced the light switch bulb to LED and can also see much better now the dashboard with LEDs
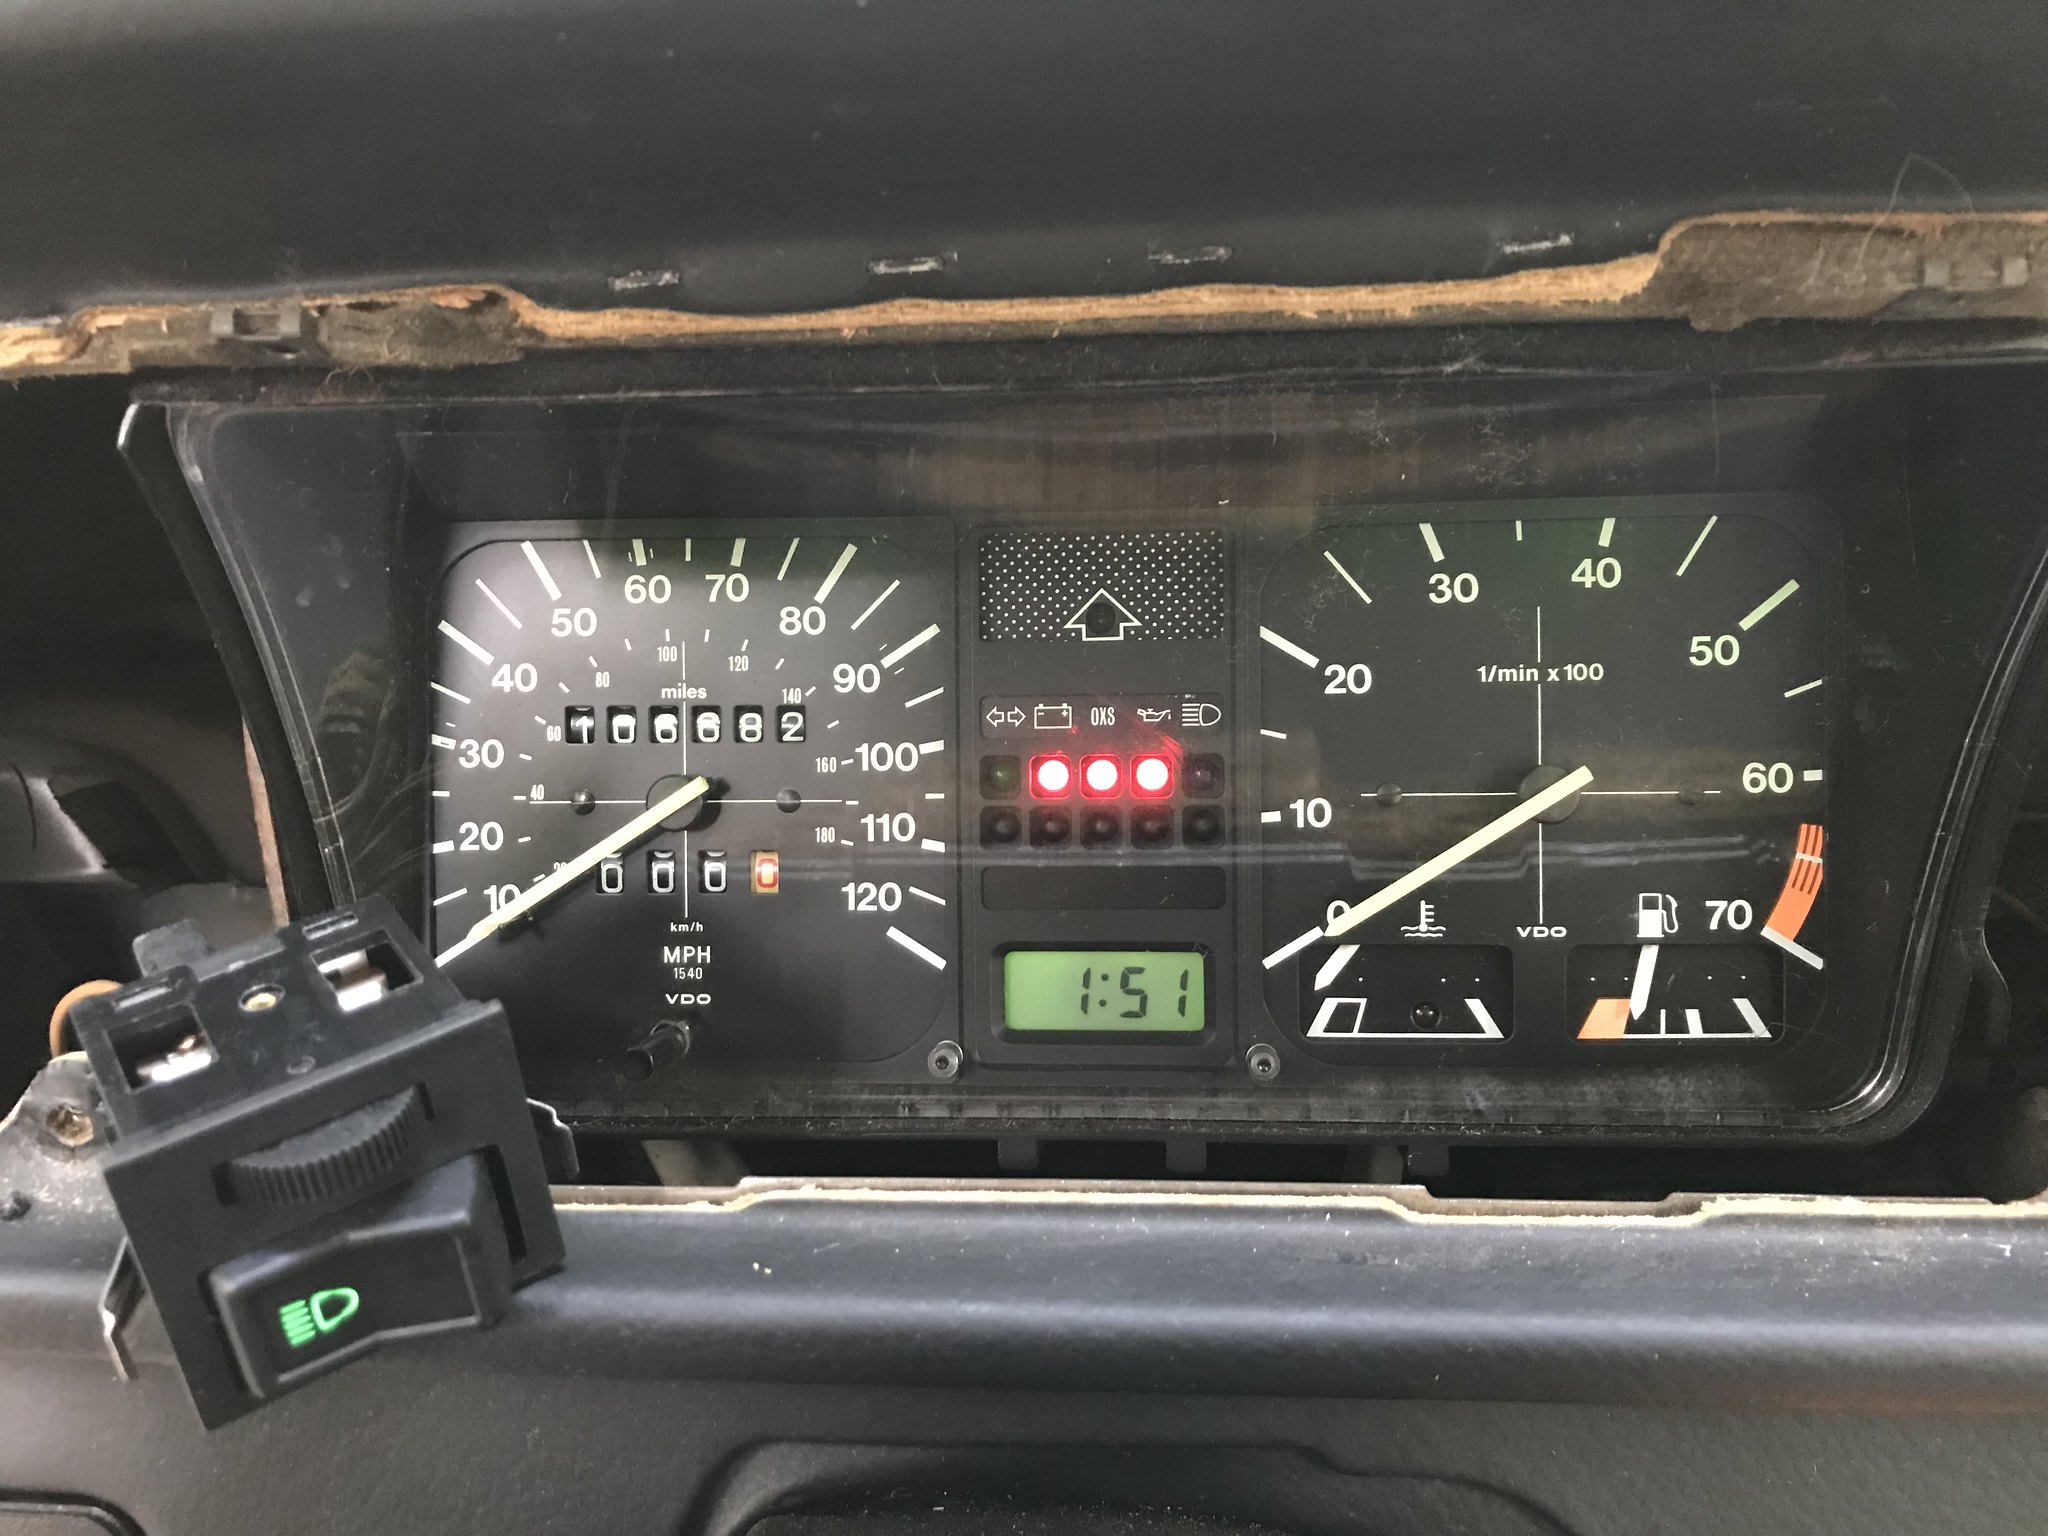
What dash looks like at night...

Well I for one am happy now I have all the wiring working and lights as I want it, just got to finish up few more units to LEDs and then we can put the dashboard all back together, or can I? (will explain in next update)
Hope you all are getting your VW fix on of fixing or installing new parts.
