Winter is here and so many heating problems this hopefully will help the chaps who wish to do the dreaded Heater Matrix removal. 
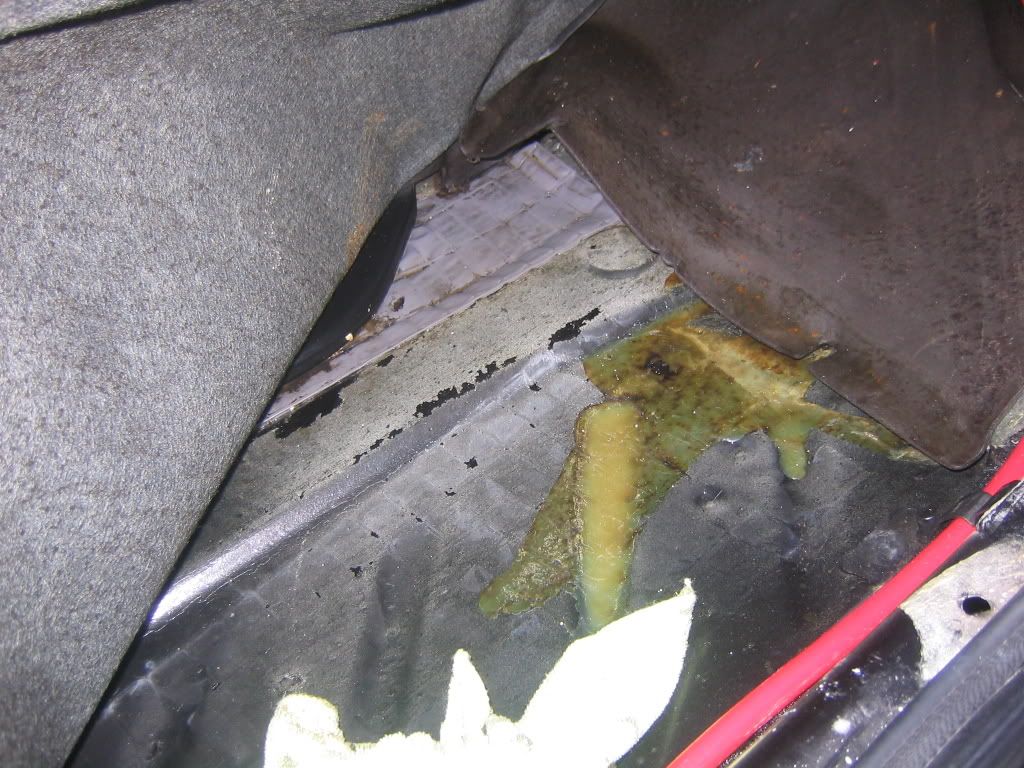
Well a small update after the thermostat, water pump and cooling pipes for the water system so the heater matrix finally went and leaked on the footwell.
It not a nice job, but hopefully I can do a pictorial of the job and update my project at the same time.
It should only take about 3-4 hours, but as the postal strikes made the delivery of a new Matrix slightly delayed this caused a few days worth of work on and off. Plus I decided to clean up the air vents and re-grease heater control mechanisms and seal the sound proofing that had fallen foul of age whilst ripping out the vent system during this little big job!
So here we go!!!!!

First thing I would say to do is undo the two nuts from the firewall side there are two one located mid placement on the firewall the other directly above the two heater matrix pipes. (2X10mm Nuts)
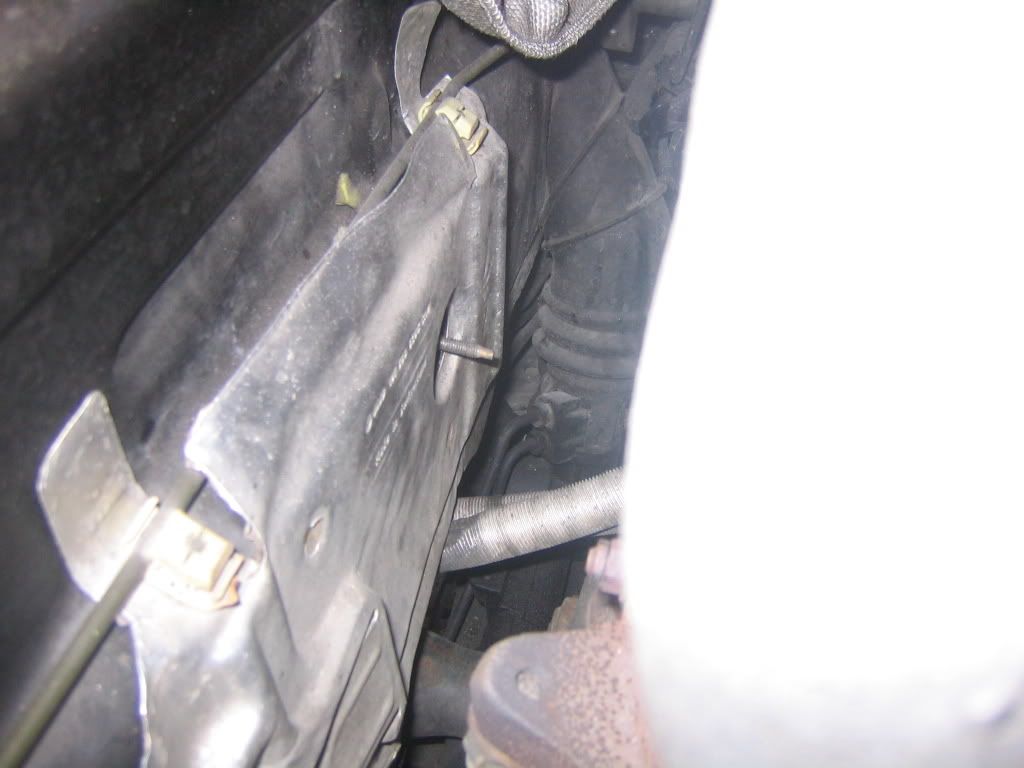
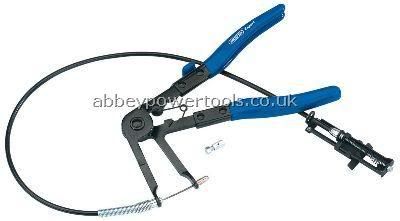
Now depending how easy you can get to the two matrix pipes (Do this when engine is cold) you need a tool or pliers to crimp the clamp to enable you get off those sods off. I have a tool called a (DRAPER EXPERT 230mm FLEXIBLE RATCHET HOSE CLAMP PLIERS) that makes this easier shown here £20+ and I use it all the time as the Rallye has so many hose clamps just to get to engine components.
Contrary to other users I have to say
only the lower half of the dash needs to be removed. Removing the whole dash might make it easier, but I had no problems getting to the heater matrix by not doing this.
The other issue is that I have taken dashes out and it tends to rattles or strange noises suddenly appearing after as you run the risk of missing some screw fixtures/ breaking bits.
Now top tip get your self a container to keep your bits you can use old sweets containers or any box with no holes.
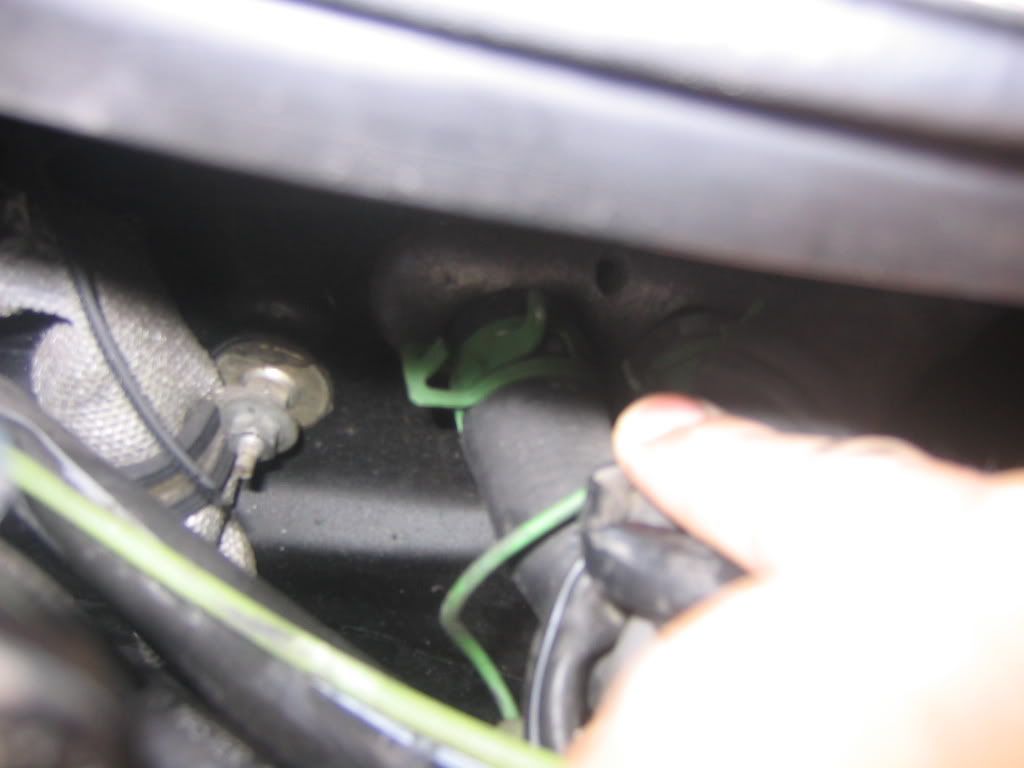
So once the pipes have come off from pulling at them you’re done in the bay for now.
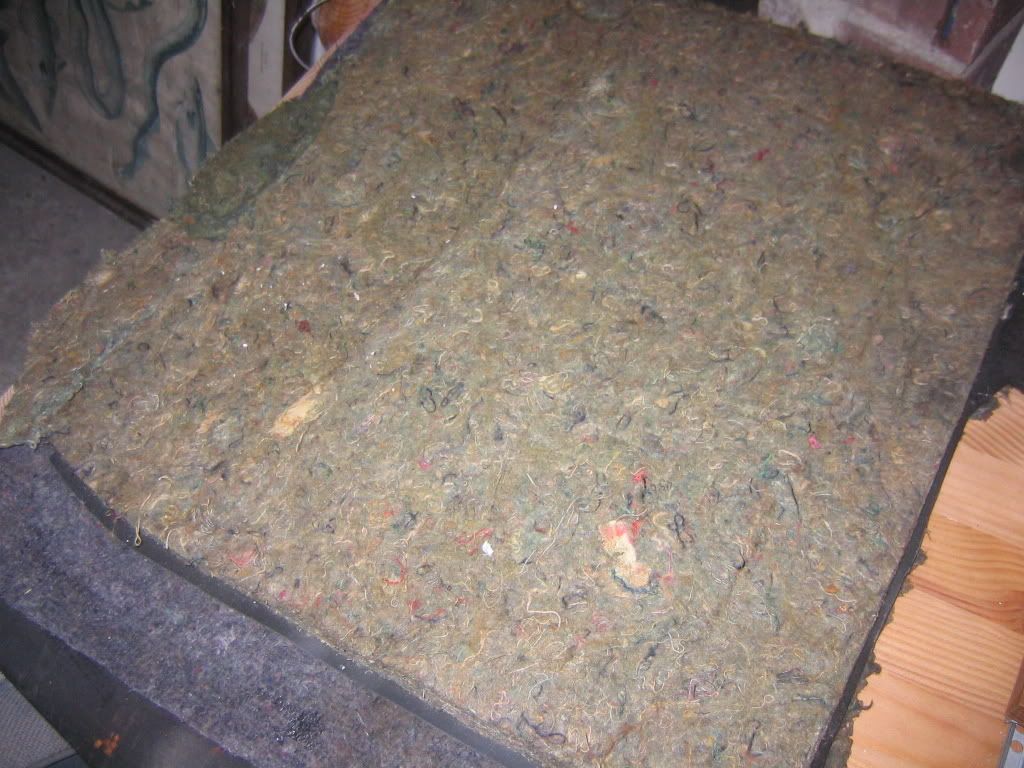
On a side note water has proberly flooded the footwell so you need to remove the underlay and try and soak up any water on the carpet, also check any signs of rust on the floor plan you can always spray some waxoil in there it won’t do any harm just make sure you have not blocked any drain holes with the wax. If the underlay is beyond salvage i.e. stinks like a pair of pants worn for a month. You might need to find a Tat yard and just nick some form other cars I found an MkIII and cut it into size perfect!
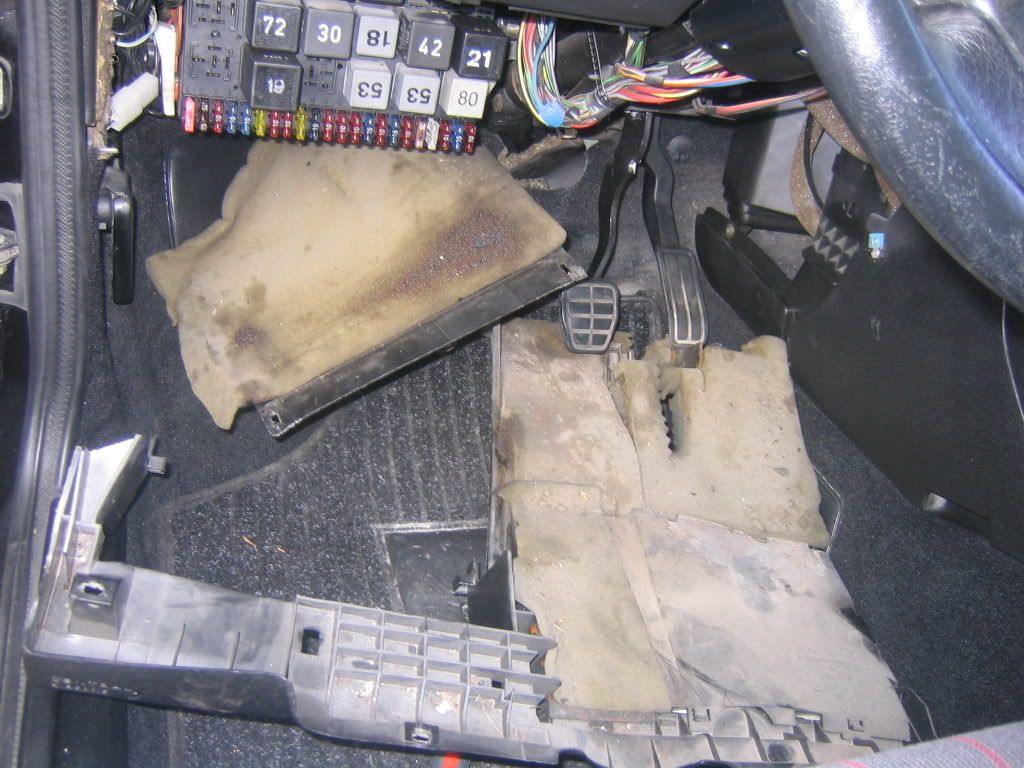
To start the dismantling of the under dash I’m going to skip a bit of this as all you have to do is unscrew and remove, but I have added pictures here to show what it should look like.
The transmission tunnel is easy three screws and the whole centre will slide off these two plastic retainers, also one screw near the gear stick.
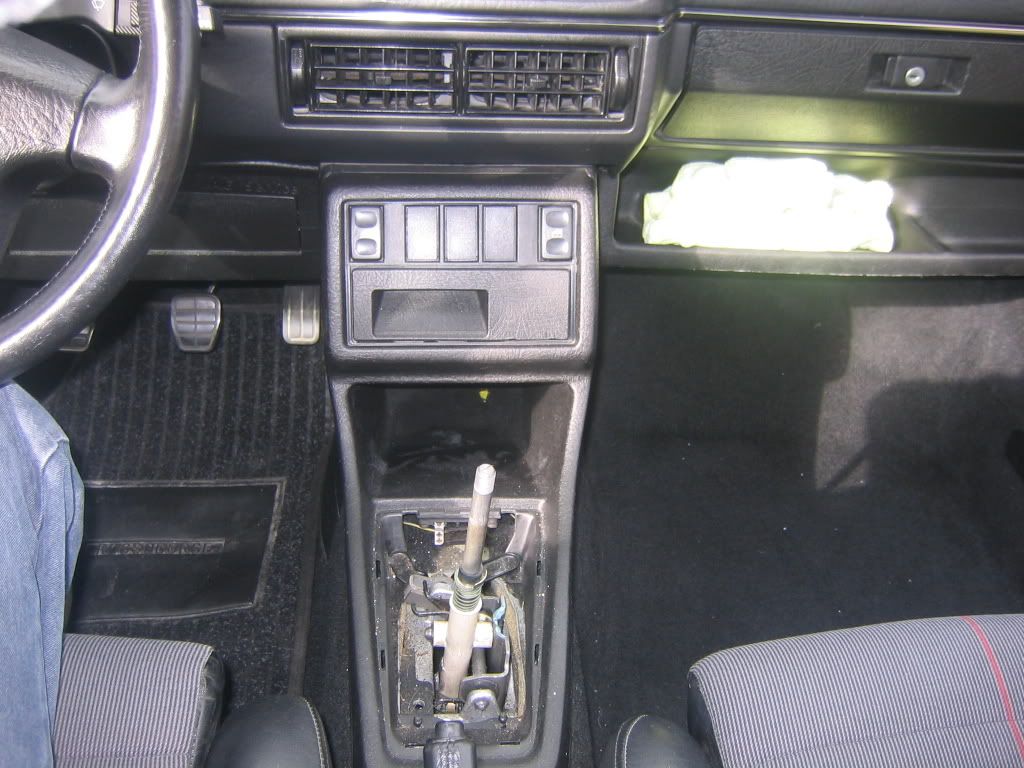
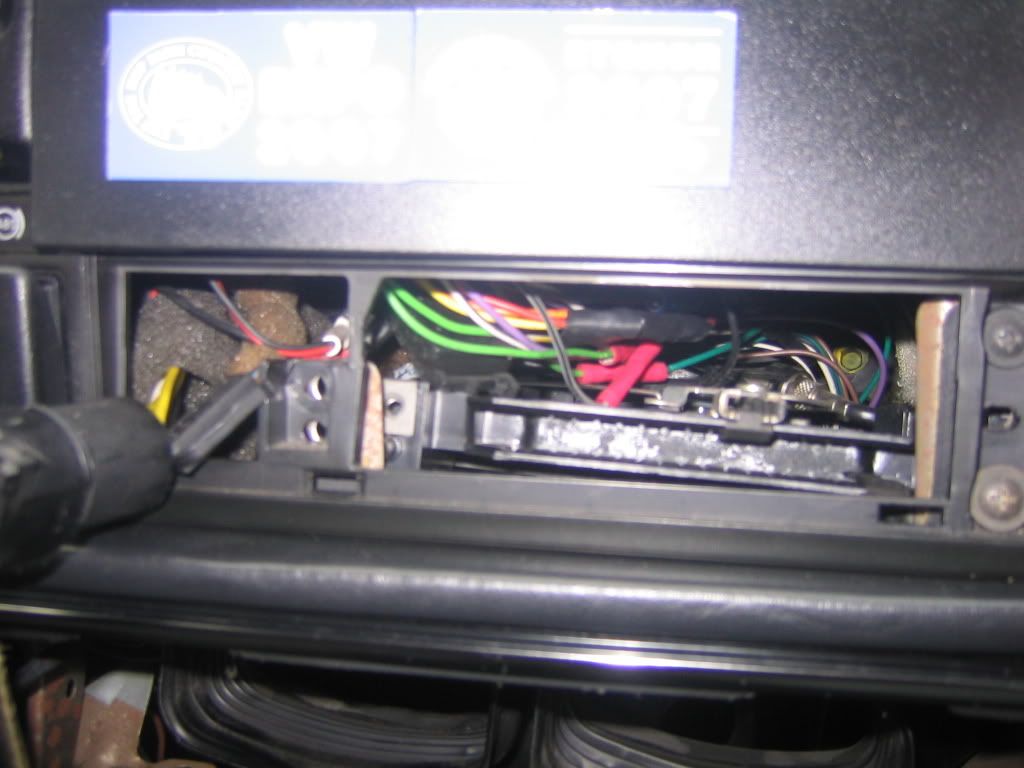
Removing the heater controls is the first thing I did three screws and the whole thing just flops down. The reasoning behind this is that some guides will say undo cable wires to the heater vent box, but take the whole system out in one as long as the heater controls are feed through the centre column.
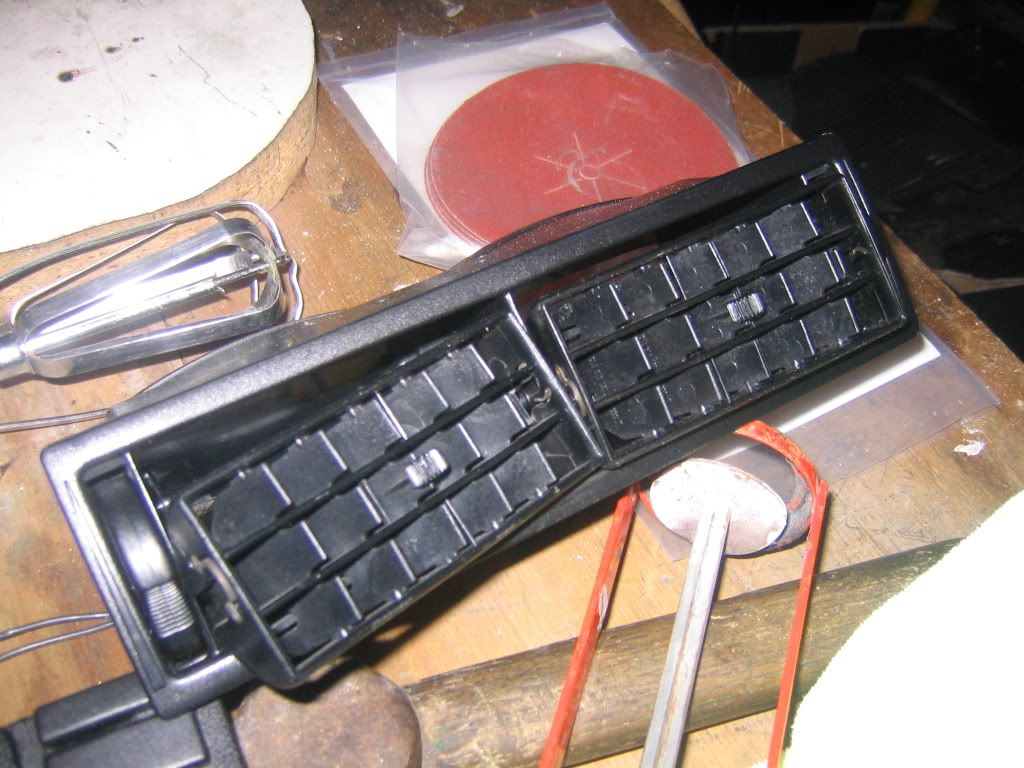
Right this section I recommend that you remove the front vent section first as this aids the removal of vent channels in the heater system. Shown here they just pop off using a flat head crew driver from the side.

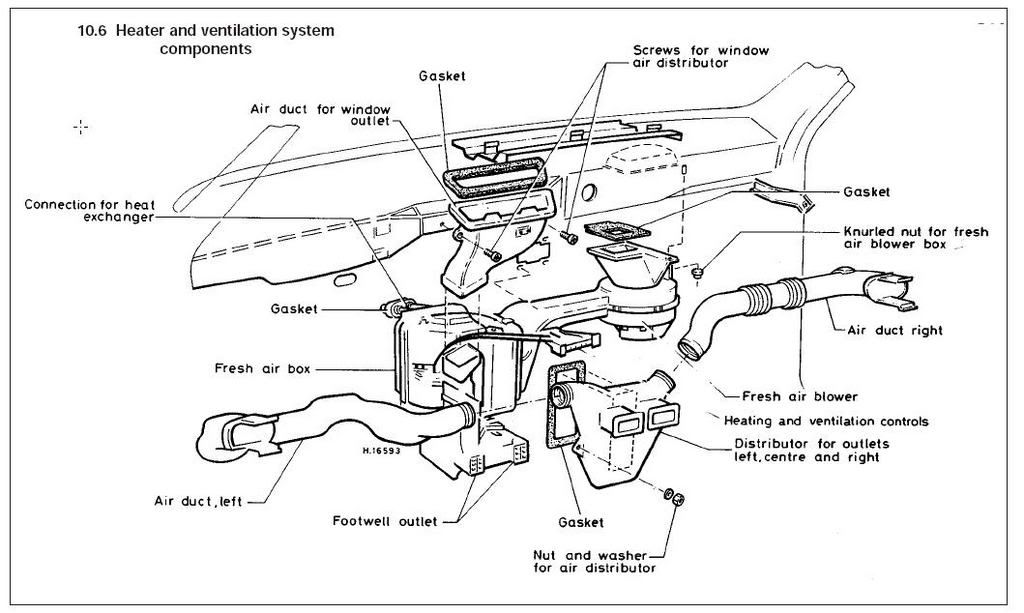
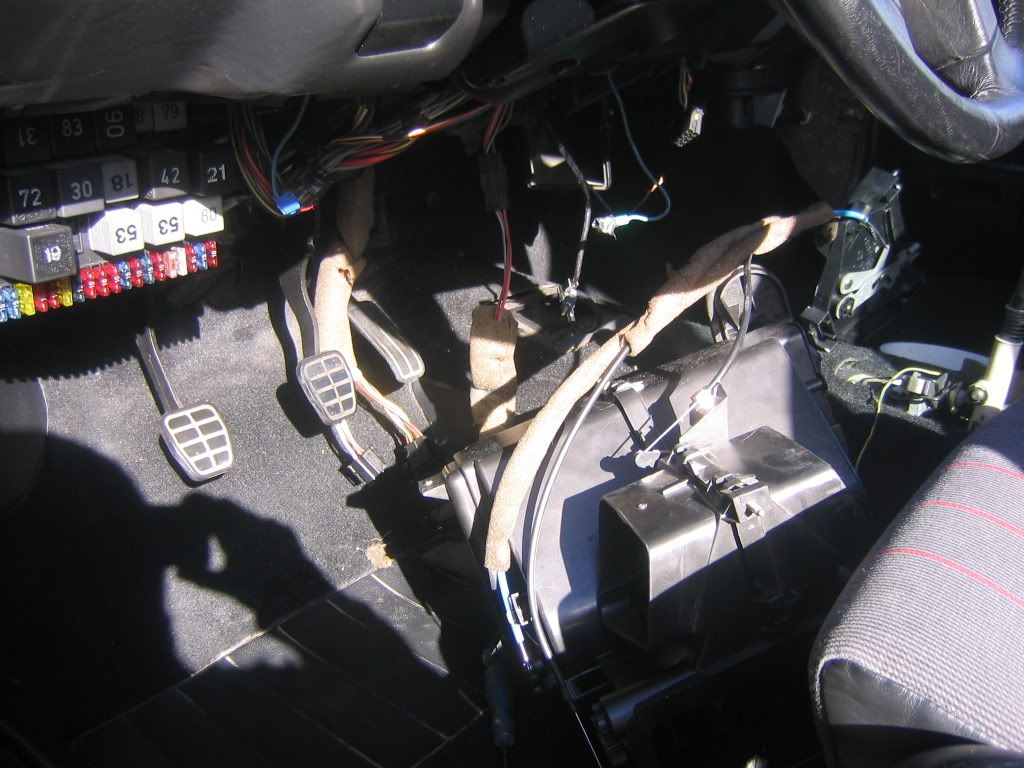
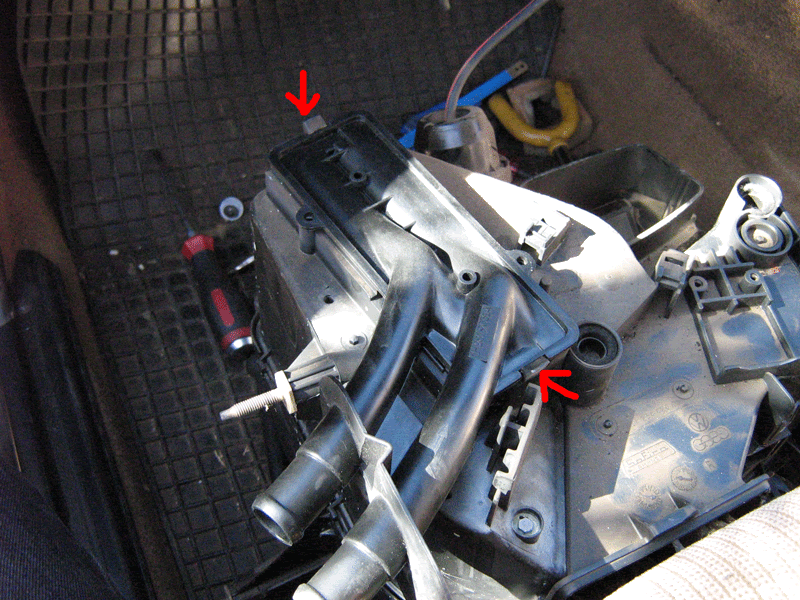
Now the reason why we do this is that there are metal clips located near the blower side. This will be on the other side on a UK car as mines left hand drive but essential identical layout here is a snap shot of the whole system use this as a reference to where or how bits fit together.
Right the hardest bit for me was the this vent section it branches off to the side vents with a bit of smart manovering you can wiggle it out its made from soft plastic so don’t worry it's tough enough to hit against the dash brackets.
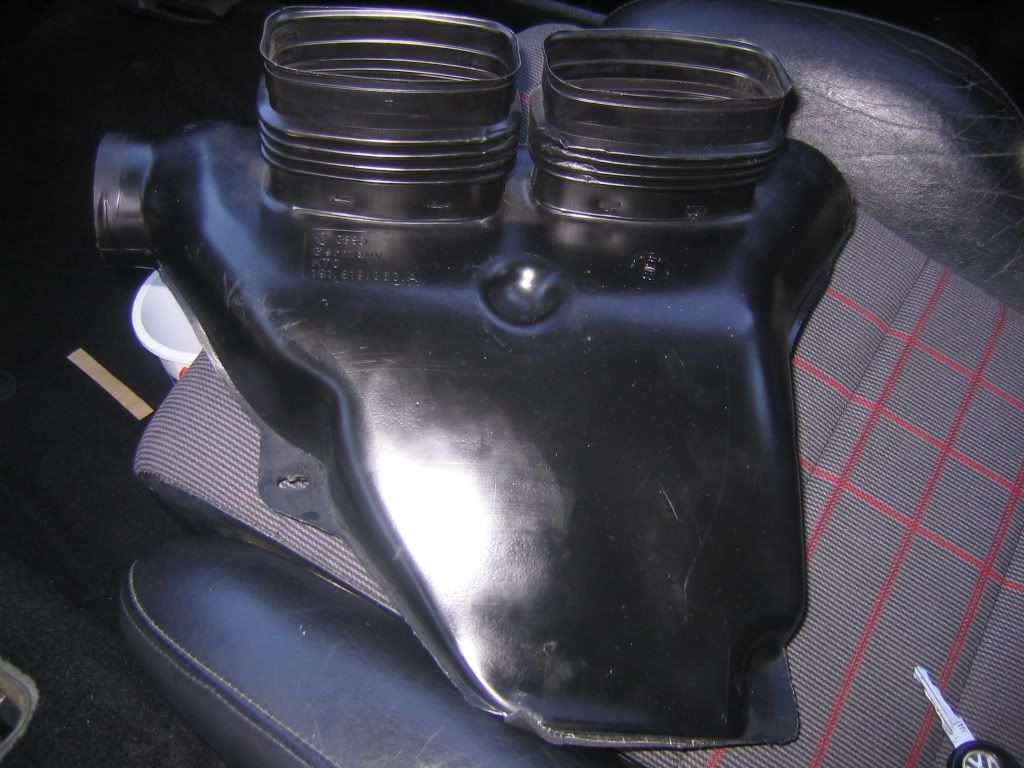
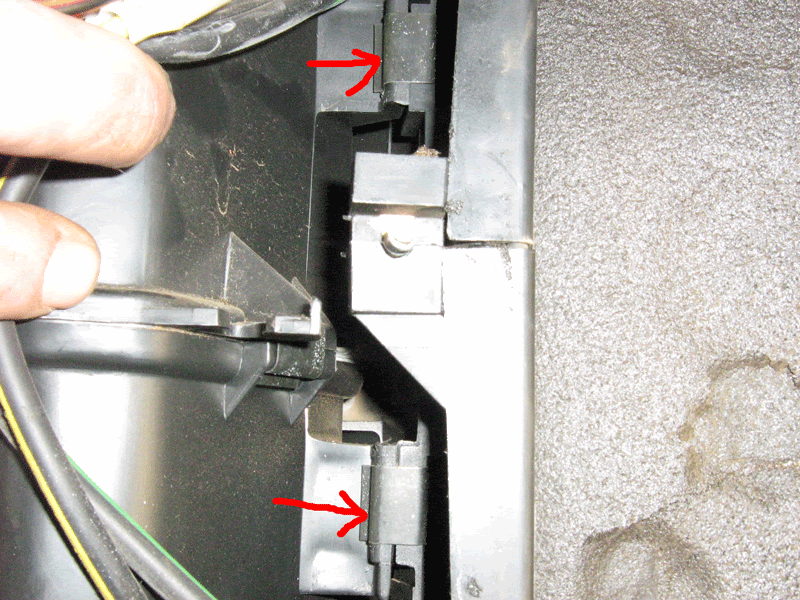
There are five in total metal clips to separate the blower from the central vent.
Once you have taken the easy visible ones off with a knife or flat head crew driver there is two more one top which you can get to via the centre vents and the one behind. You will find it blind strechting behind with your hand and with your legs on the seat With you're head mashed on the carpet wall. A torch at this stage will come in handy, but still have a limited view. (Some clips will fly off suddenly so try not to lose them.)

In this bad picture the final clip is just behind that blue wire don’t worry you will see it for sure!
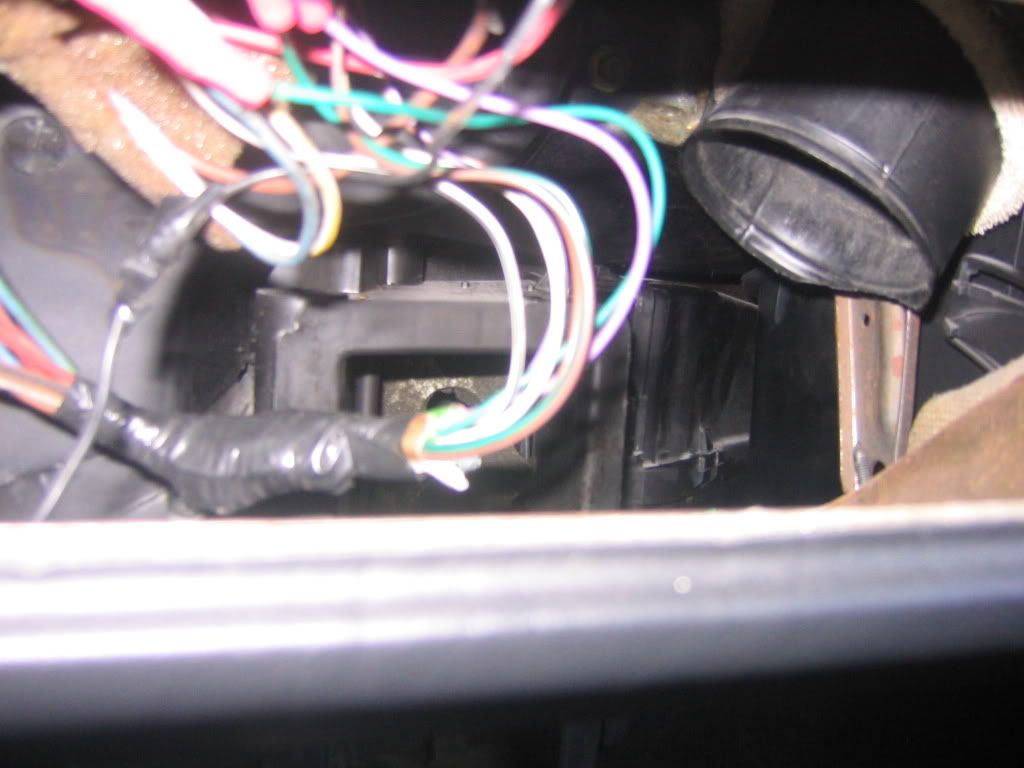
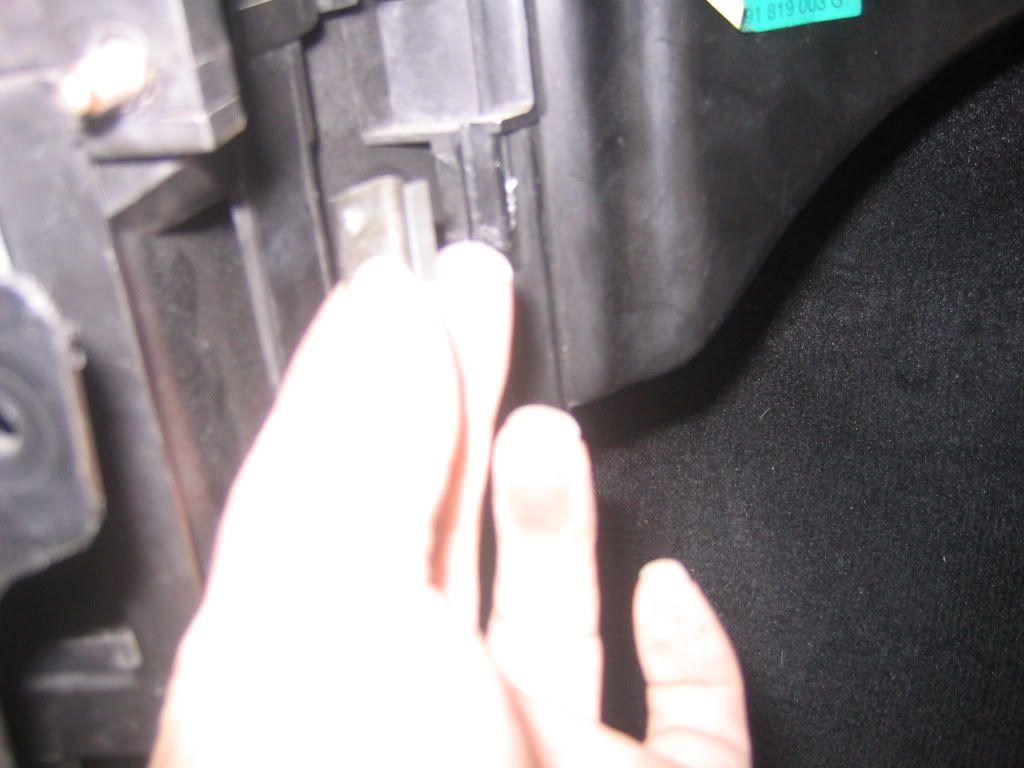
The final metal clip I can’t show a piccy except that you will need to feel for it behind the blower tunnel, its all in line with the other clips just behind your view.
The easiest method is get your legs up on the seats like a hand stand but your neck should be shoved into the back of the carpet so you can at least get a torch/screw driver to feel for the clip put it off and all is good!
Now the bottom sections of the vents to the trannie tunnel. Really easy a couple of screws and pull towards your gear stick it will come out.
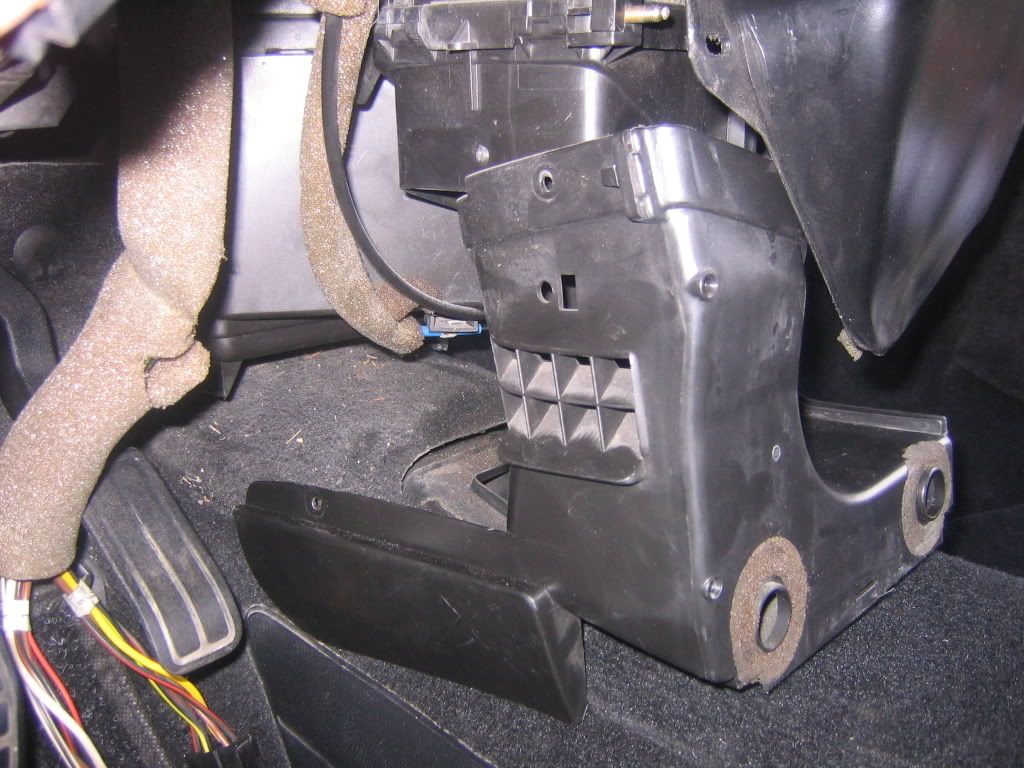
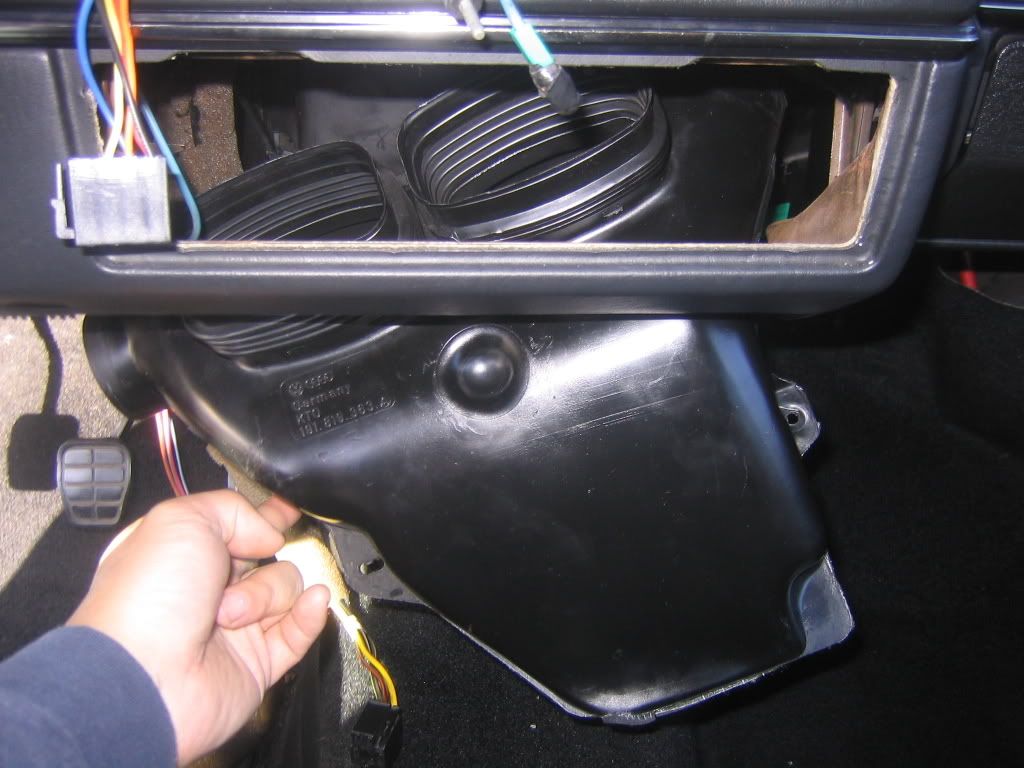
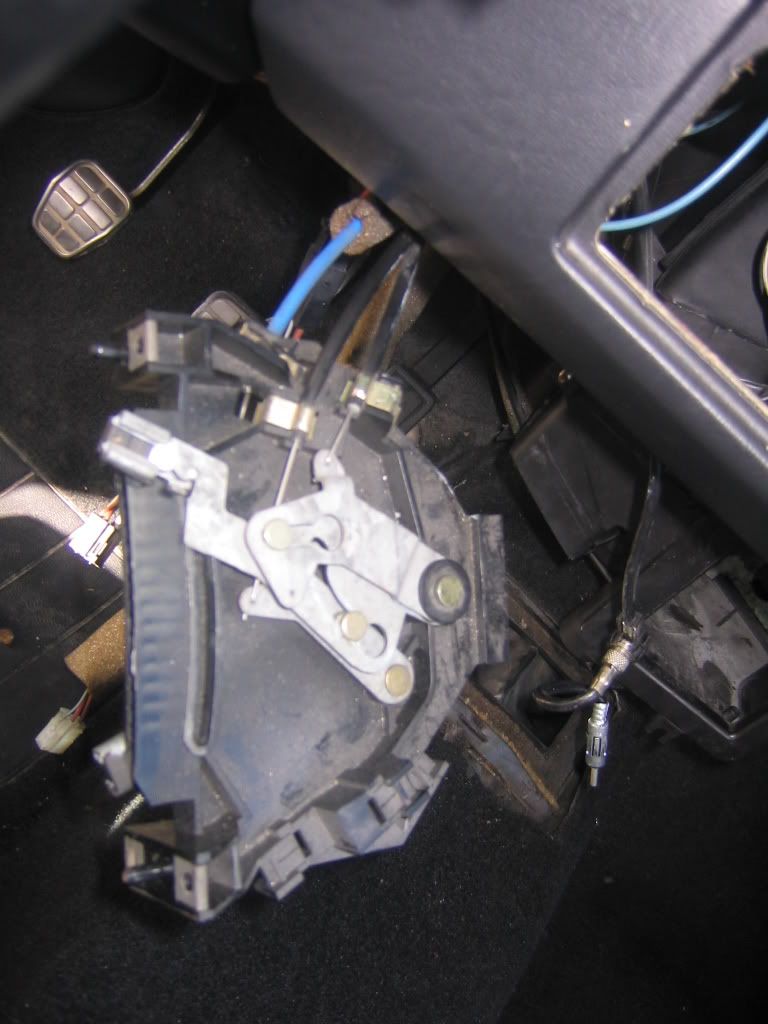
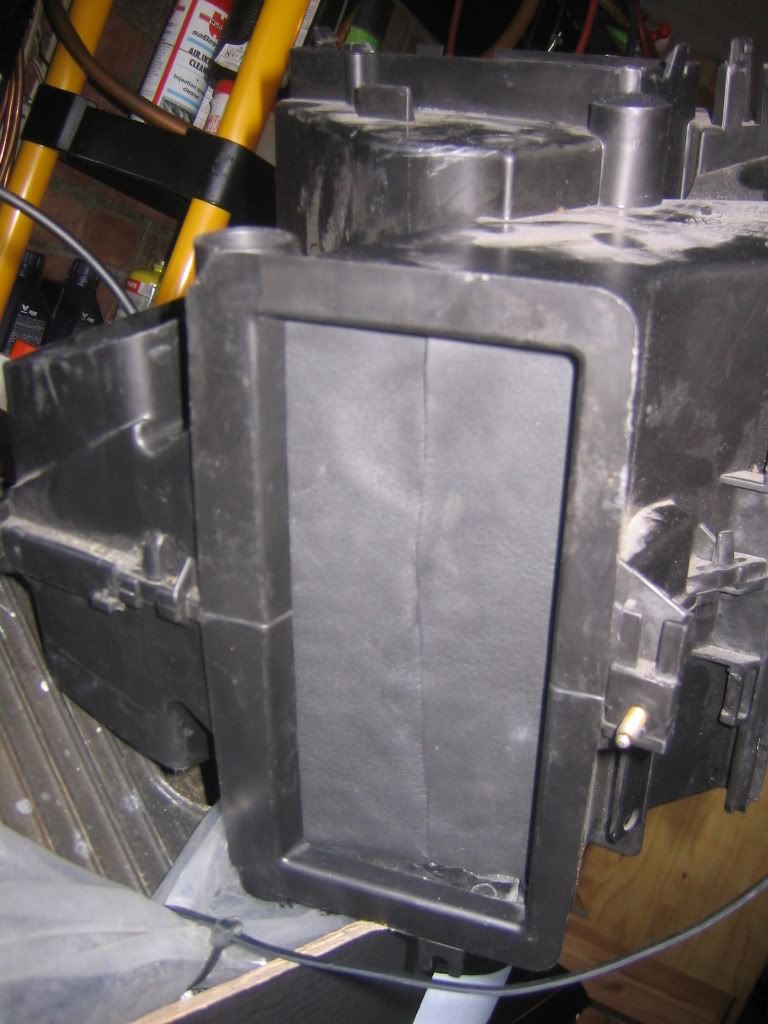
It should look like this which means only the central vent box needs to be pulled out.
All that hard work in the firewall makes it a breeze from now on.
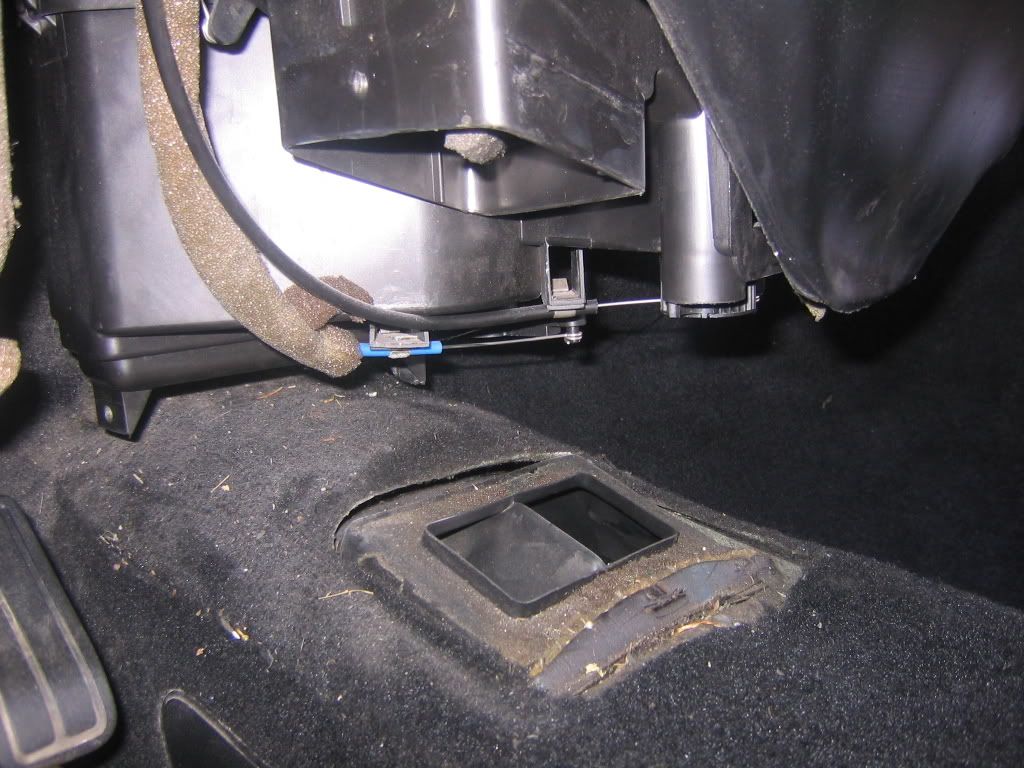
Remember unscrewing and taking out the heater controls before, it pays to plan ahead!
 Well done you have now cut arms and you have scratched up hands!
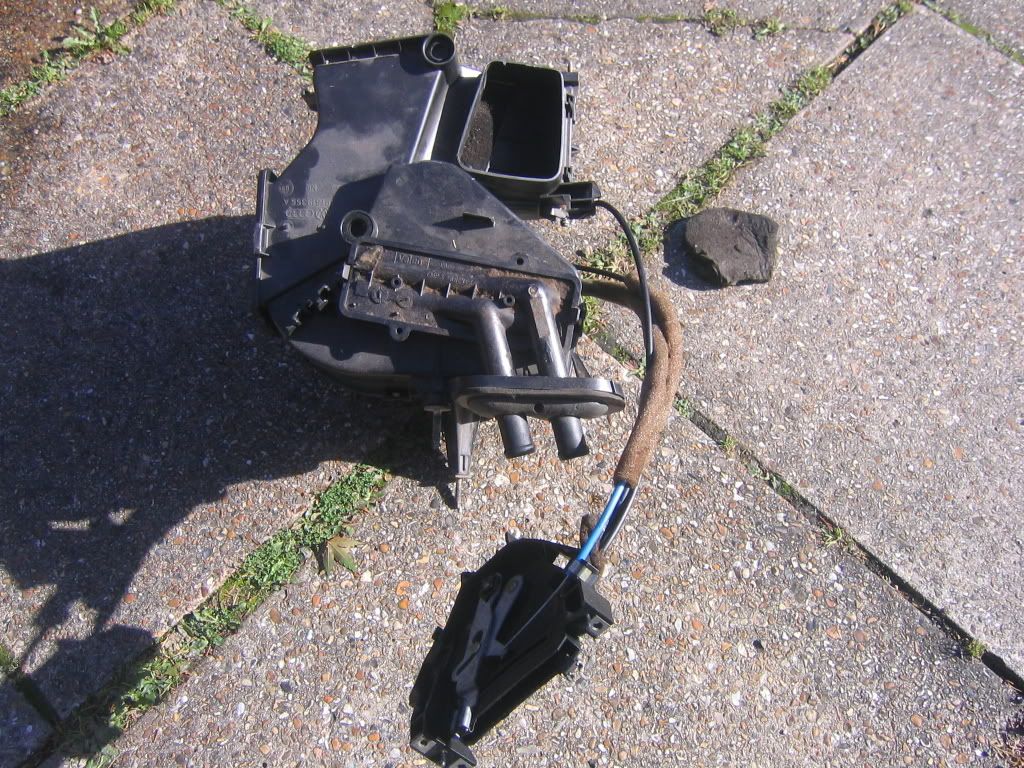
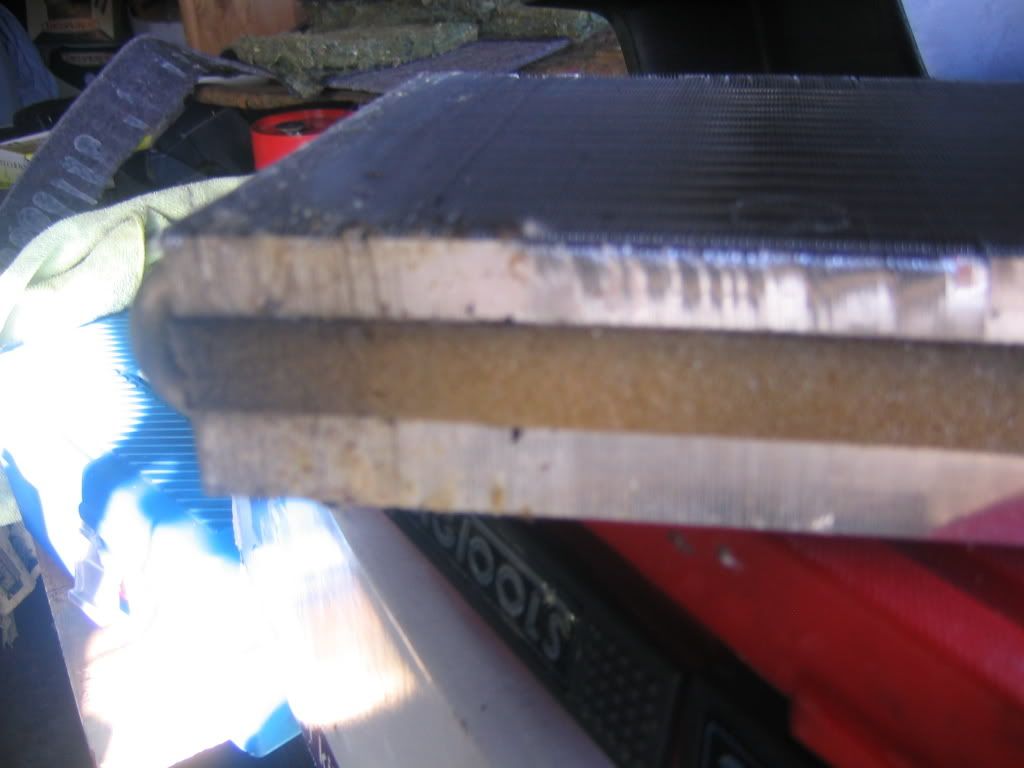
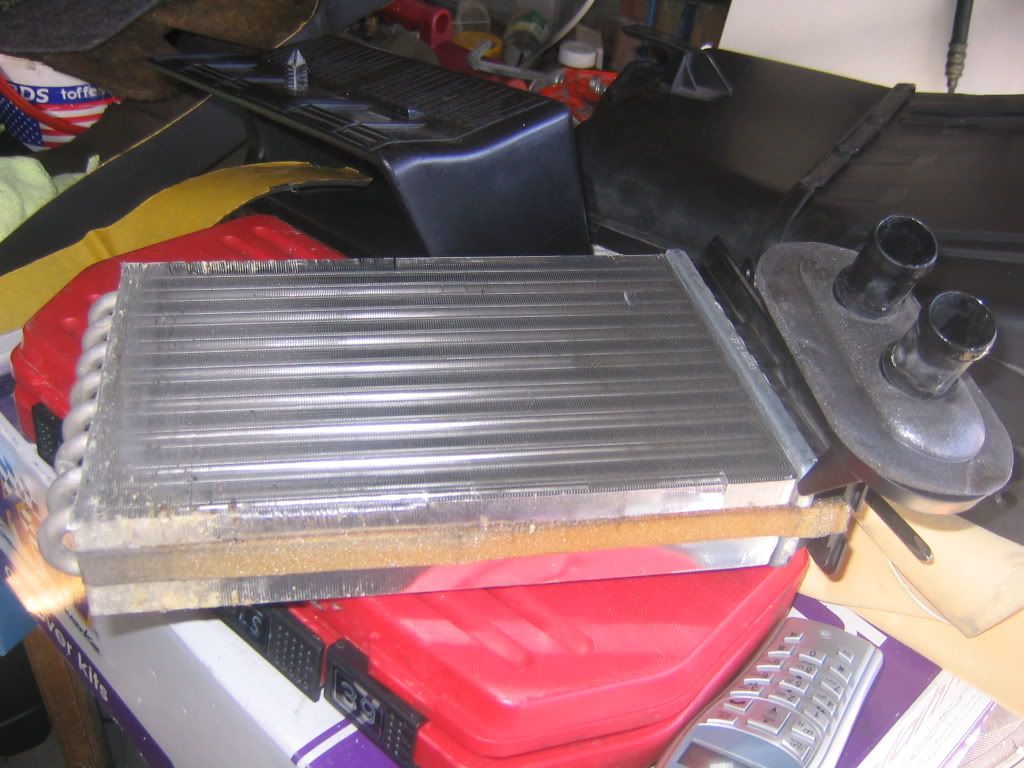
So remove the old Matrix simple push tags and pull out. Here is one I abused earlier you can see water marks on the bottom of the Matrix
Now you should have located the brackets for the new heater matrix shown here
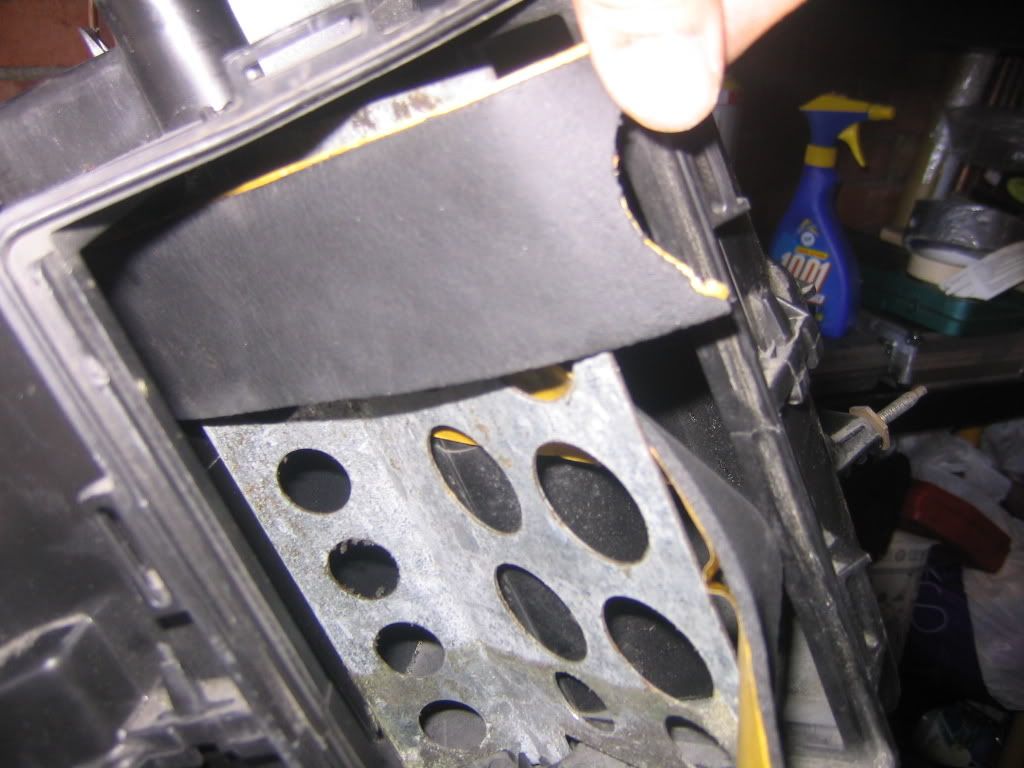
Ok fun bit the Foam from various vent doors had been simply blown off so when your Centre vent box is out fix and repair any foam trust me after 18 years it would have degraded. I found some sticky closed cell Neuroprene foam and started to get to work.
 Remember to use the new gaskets supplied with the new Heater matrix!
The new heater matrix will come with sticky foam this will aid the insertion of the Matrix in the housing without damaging the fins.
A little neat trick is to put some oil on the plastic pipes the rubber pipes will slide on much easier if your firewall is cramped.
You might want to test the heater by not fully putting your whole lower dash in so check 4 any leaks you can get to parts easier.
In combination with Rubjohnny's guide it should make this job much easier. 
Keep rocking!
http://cgi.ebay.co.uk/Heater-Matrix-RHD-VW-Golf-mk2-mk3-Polo-Passat-Jetta-NEW_W0QQitemZ260091814850QQihZ016QQcategoryZ9889QQcmdZViewItemThis is a good supplier for left hand matrix £35 but GSF do a Right hand one for £30 but not sure of quality some come from Brazil some from Germany, mine comes from Germany and its from a MKIII which does not suffer from the high pressure failure hence better material.
