I mentioned in my initial review of my R, that I found the interior a bit lacking in colour. Well today I have rectified that a little.
Swapped the white footwell standard LED lights for some blue ones.
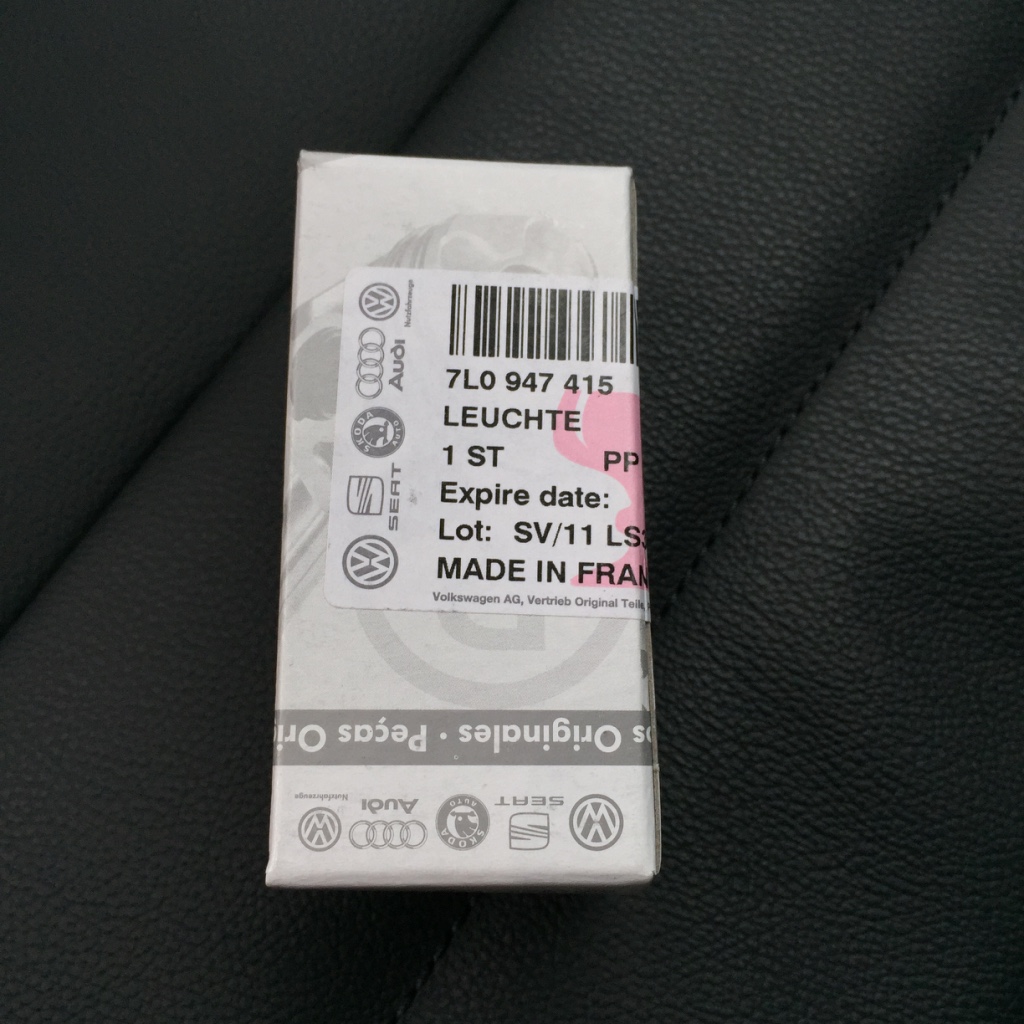
The standard white LED light units are unfortunately sealed so in order to fit blue LEDs you'll need to replace the whole thing, you can't just swap the bulbs over like you could on the Mk6. You'll need to order 2 standard Mk7 Glovebox light housings that come with tungsten bulbs fitted.
Available from Trade Parts Specialists (TPS)
https://www.thetradepartsspecialists.co.uk or order via your VW dealer - Part no. 7L0 947 415 @ £11 each (inc VAT). Blue LED bulbs from eBay
http://www.ebay.co.uk/itm/4-x-ERROR-FREE-CANBUS-5-SMD-CAR-LED-BLUE-W5W-T10-501-SIDE-LIGHT-BULBS-BLUE-/320865983677.
Thanks very muchly to JB GTI on here for that info.  Installation:
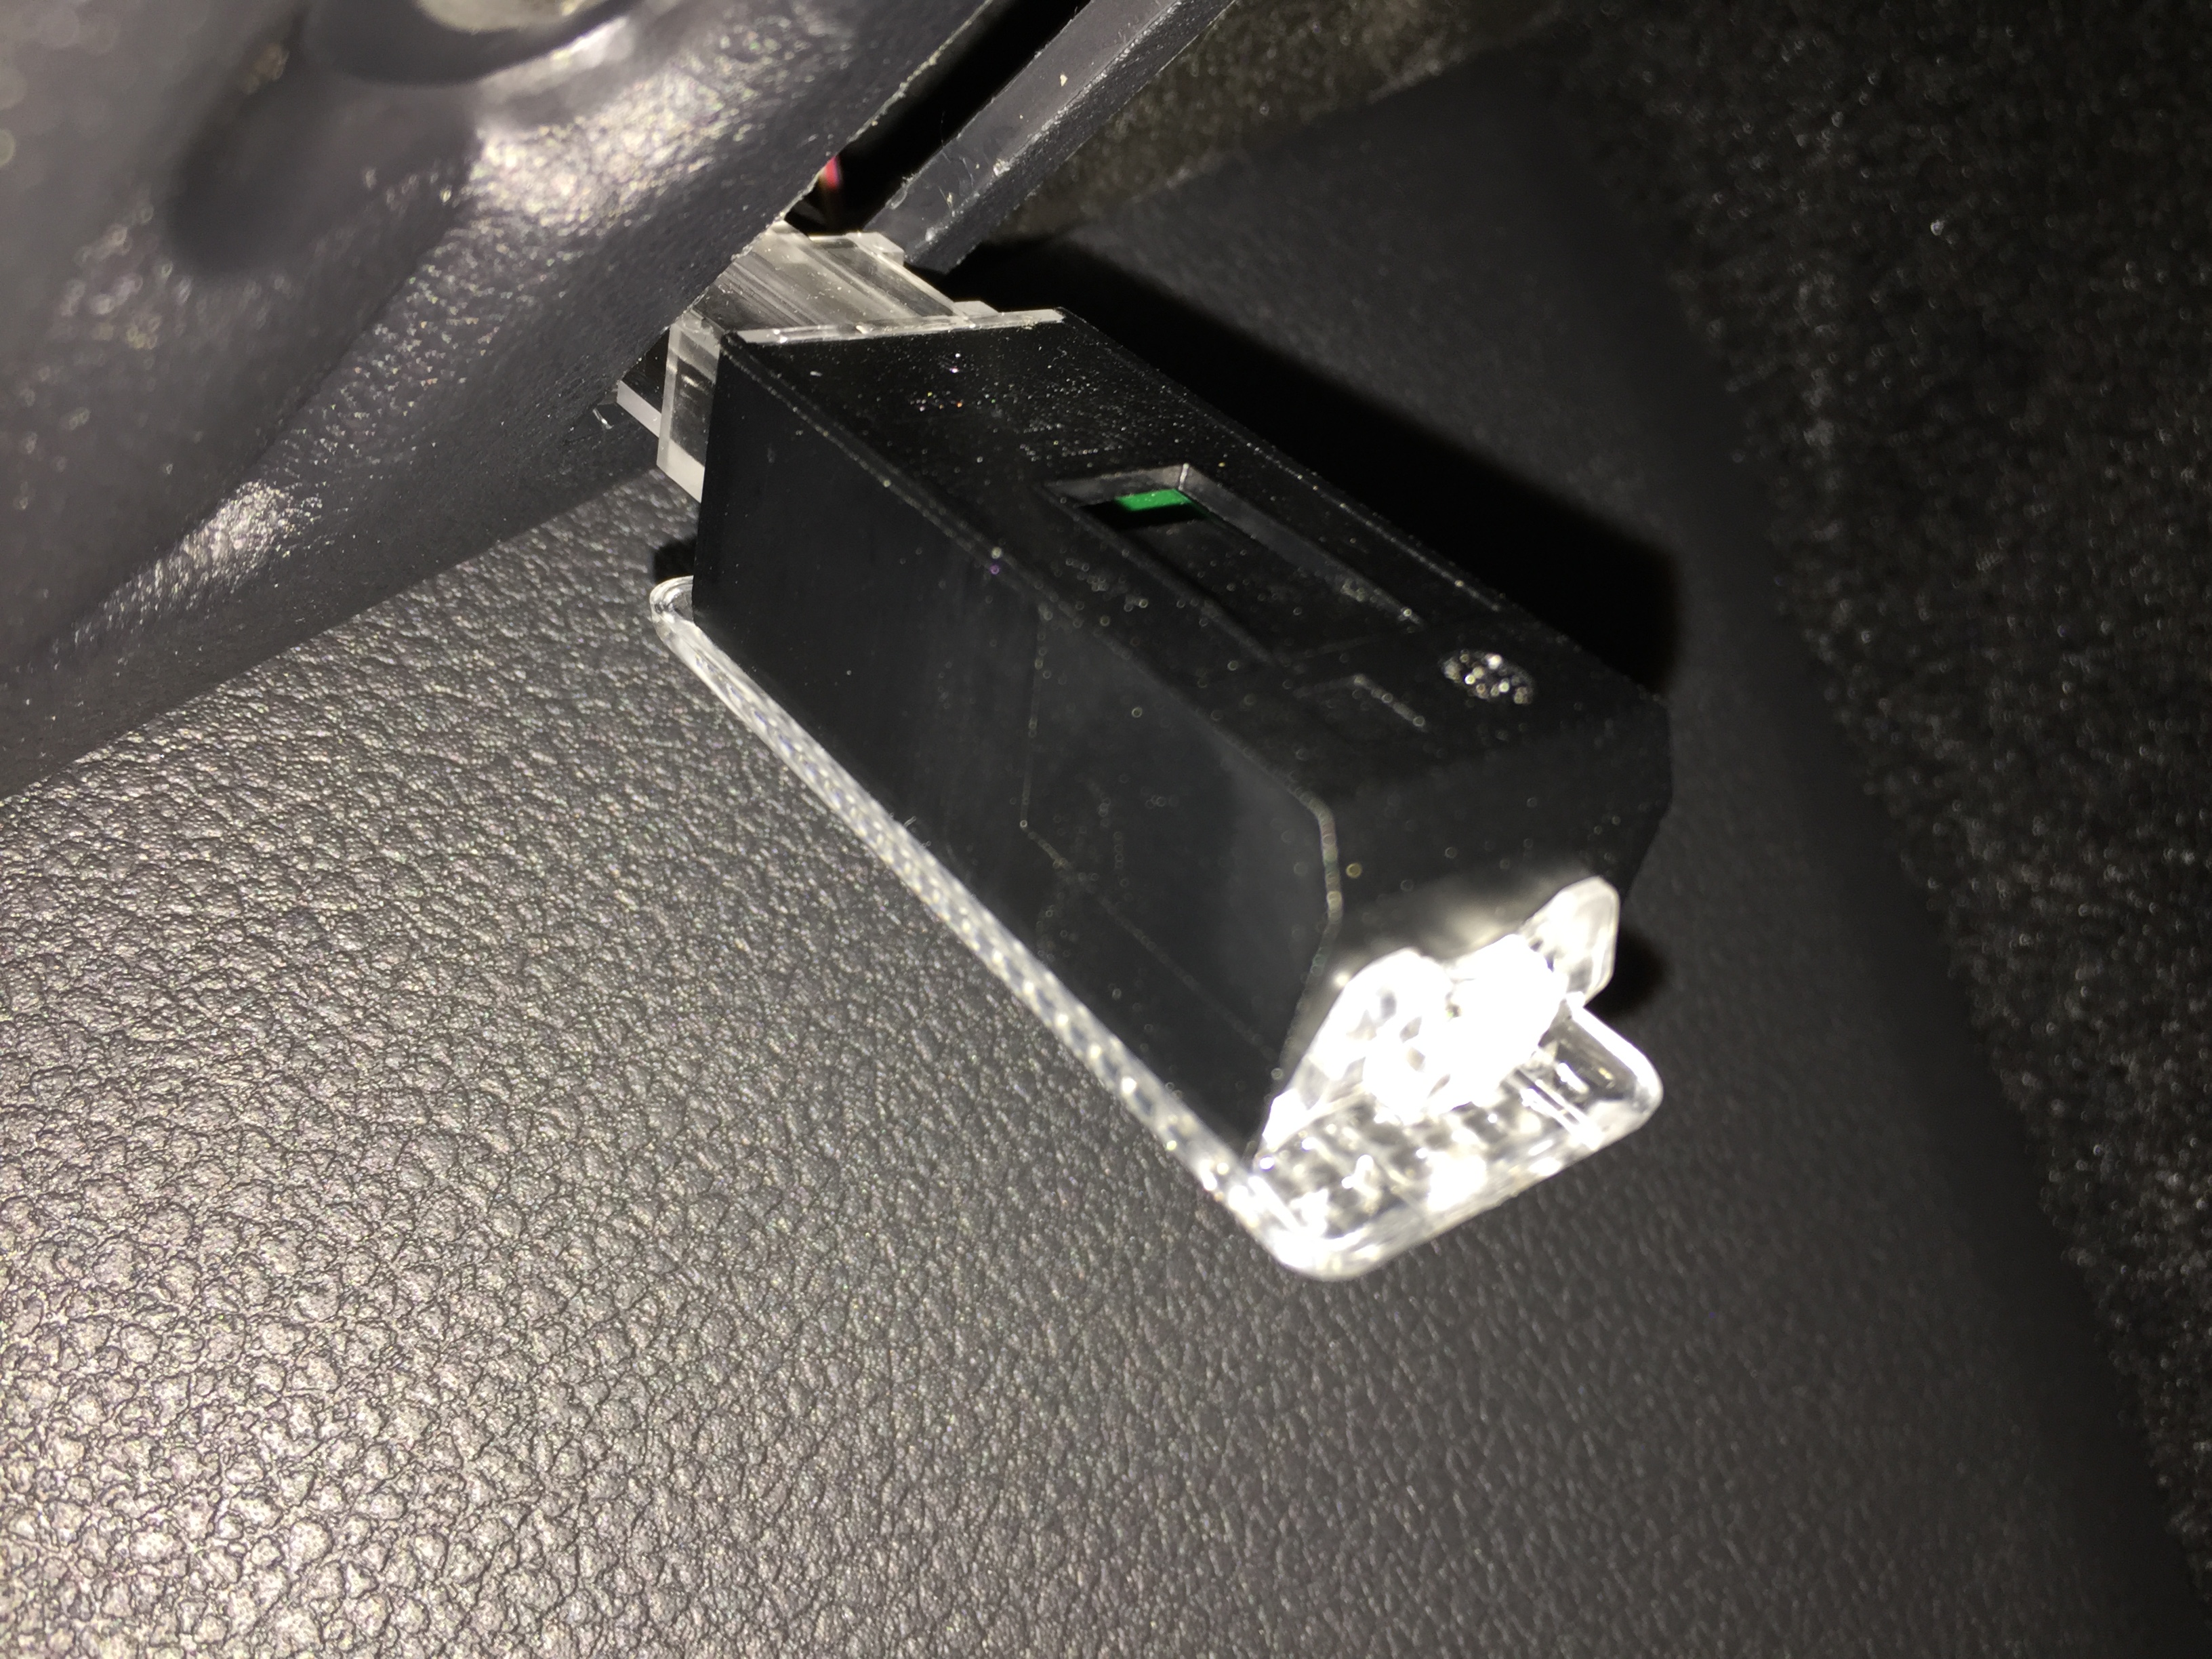
First off, remove the existing light housings. You need a small flathead screwdriver or small trim tool for this. There is a small slot at the accessible end of the light, gently push in here and gently pry one end of the light out of it’s recess, ease the other end out. Squeeze the connector to unplug and release the light unit. Set the lights aside.
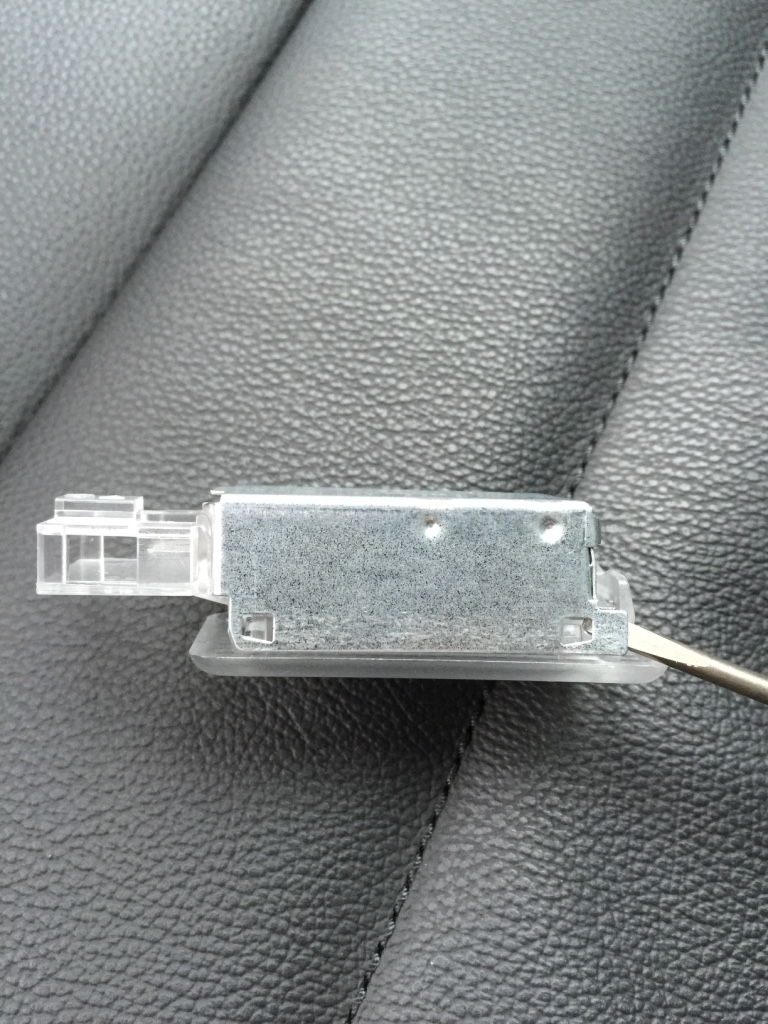
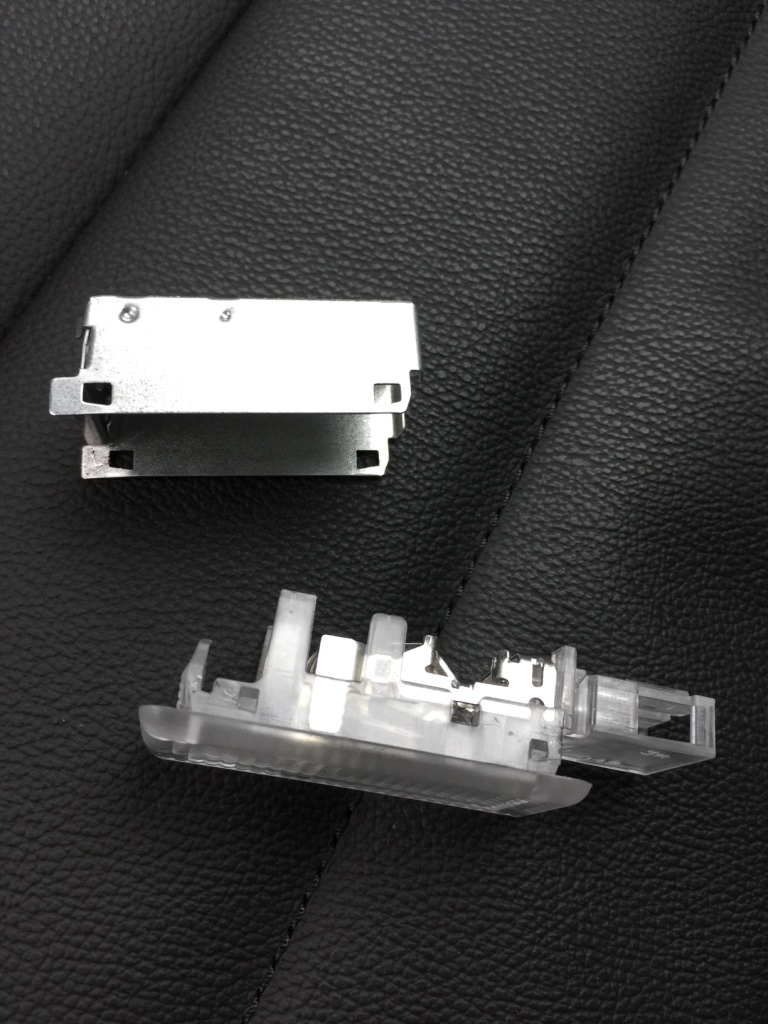
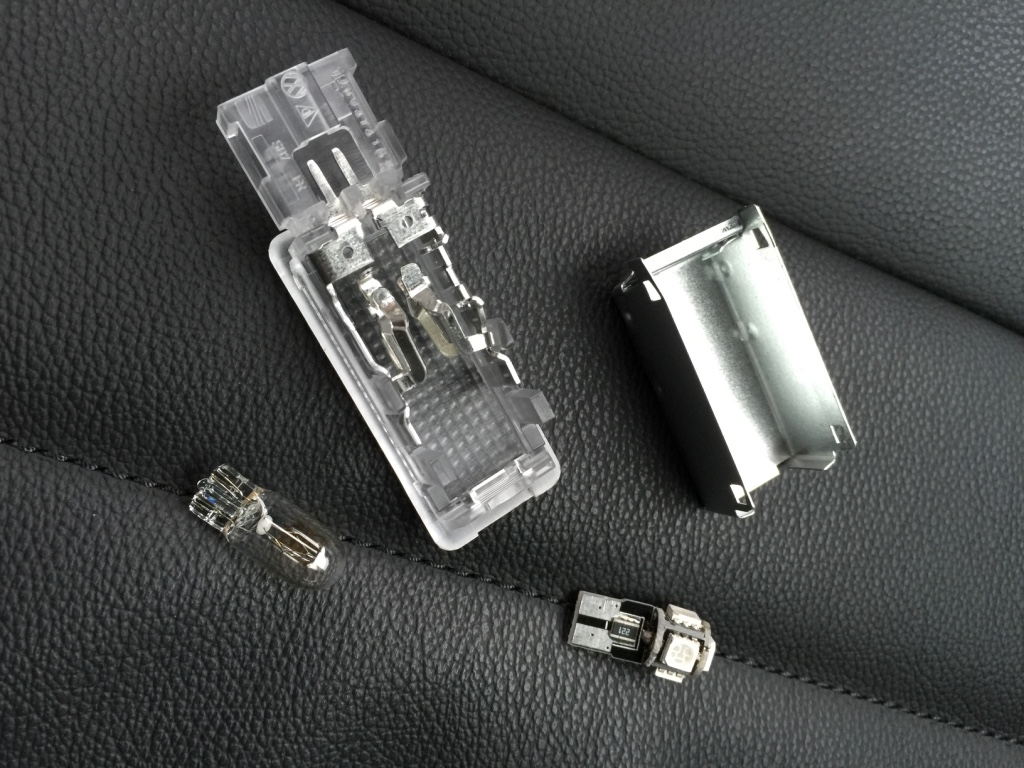
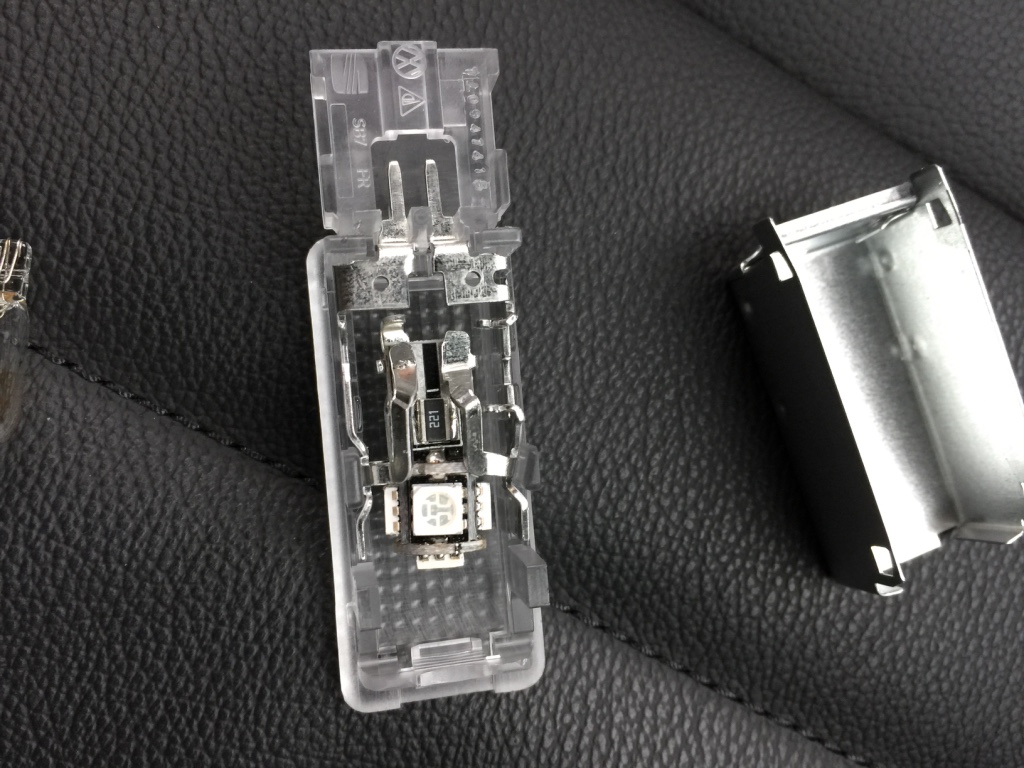
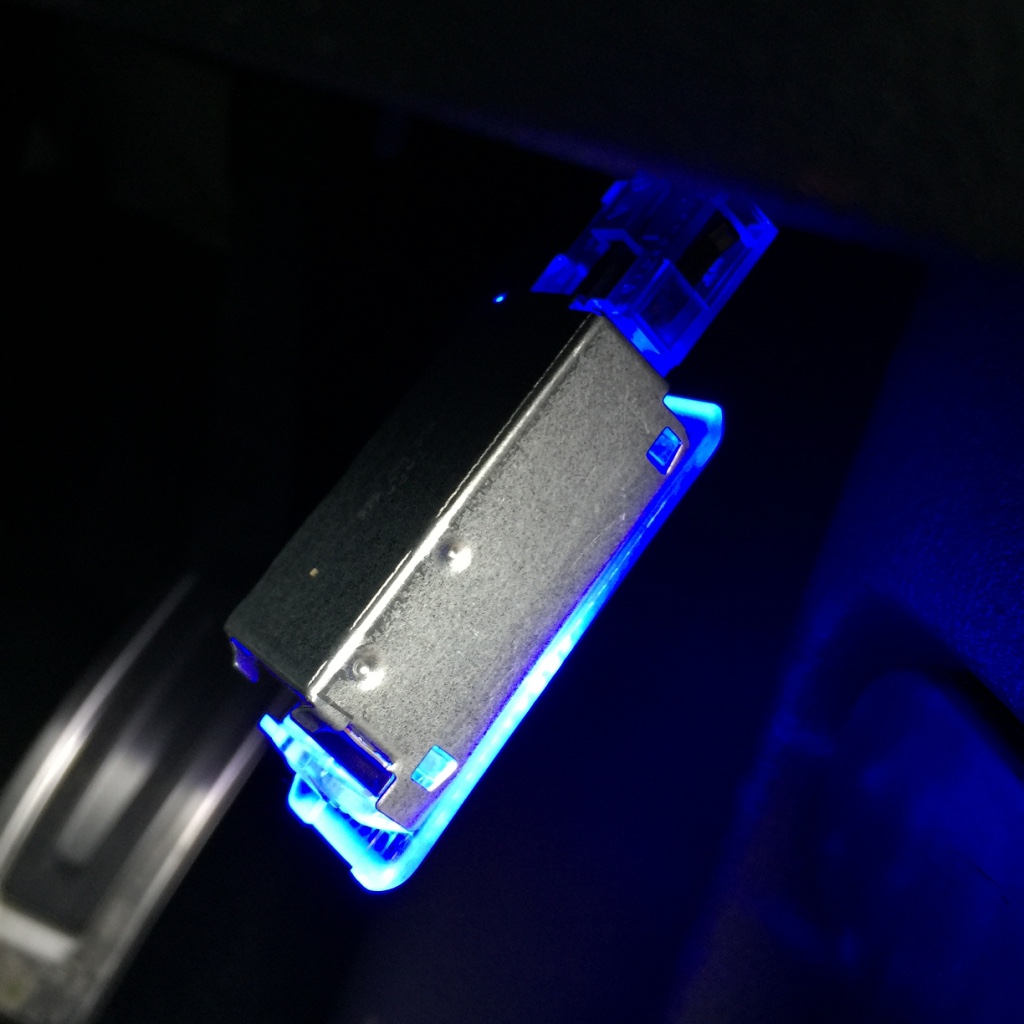
Onto the replacement light units. You need to remove the metal casing to be able to access the tungsten bulb within, use the small flathead screwdriver to pry off the metal casing. You need to get the head of the screwdriver just under each of the 4 corners and slightly bend the sides out on either side, then you can slide the casing off. Remove the existing tungsten bulb and replace with the blue LED (sourced from ebay). You may have to push the bulb in quite forcefully or ease the metal holder just a little to accommodate it.
As with this type of LED you need to check you have the polarity correct BEFORE reattaching the metal casing and closing up the light unit again, so try it connected up and if the bulb doesn’t work one way, turn it around and try the other way. Once the LED is in the correct way, and working, replace the metal casing by sliding back into position and pressing any bent ends flat again. Now plug the whole unit into the connector and gently ease the light back into position in it's hole. Voila!
The driver’s side is very easy to do, a 2 minute job. The electrical wire on the driver’s side is quite long so easy to access. The passenger side, however is more tricky. The wire is extremely short and the connector sits just inside the hole, but there is no scope at all to pull it further out. It’s fine getting the original light unit out but getting the replacement unit back into the connector is very fiddly and needs two arms and hands. Helps if you have slim fingers, but if you have chunky digits, you may struggle. You can always remove additional trim (I didn't). And because it’s so tricky, I strongly recommend testing the passenger LED out on the driver’s side first BEFORE putting it in the passenger side.
Once all done, you can, via the car menu, in Lights, set a % brightness for the footwells. I set mine to 80%.
Installation pictures:Remove standard white light LED unit
Fit Replacement light unit and blue LED
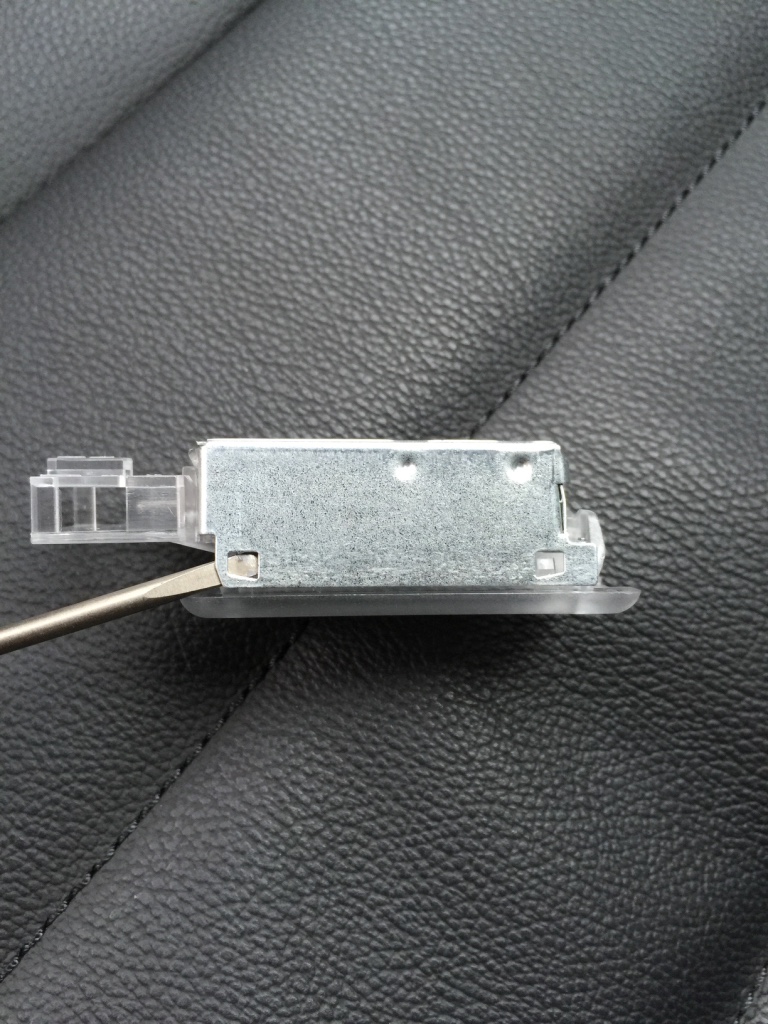
[
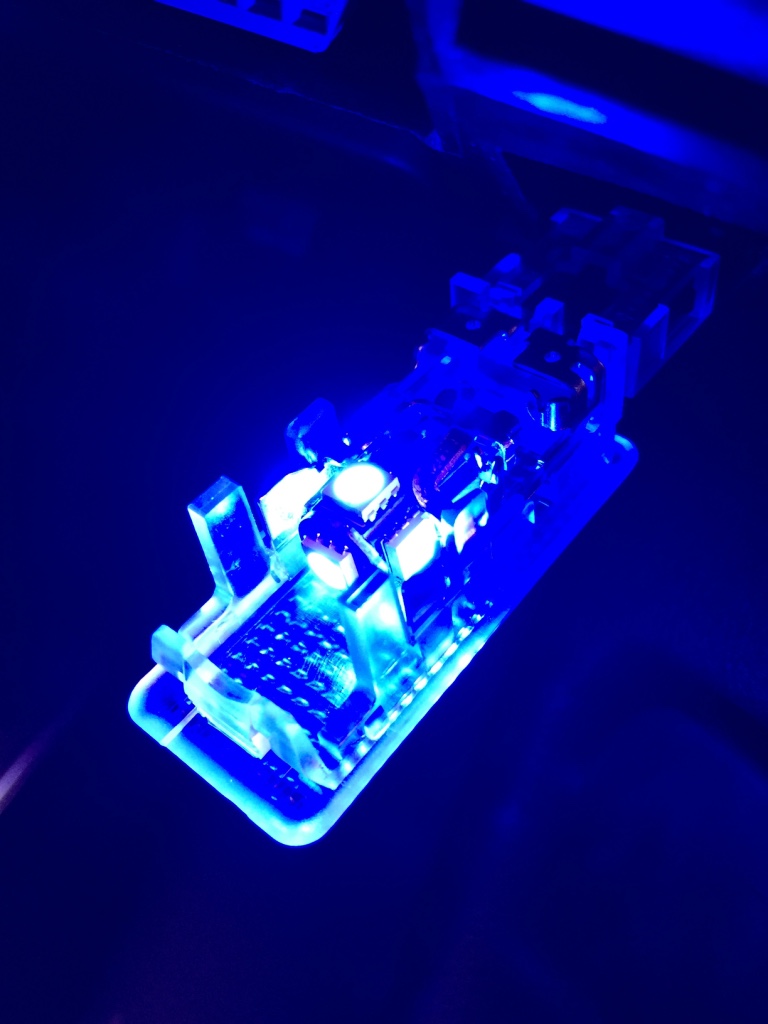

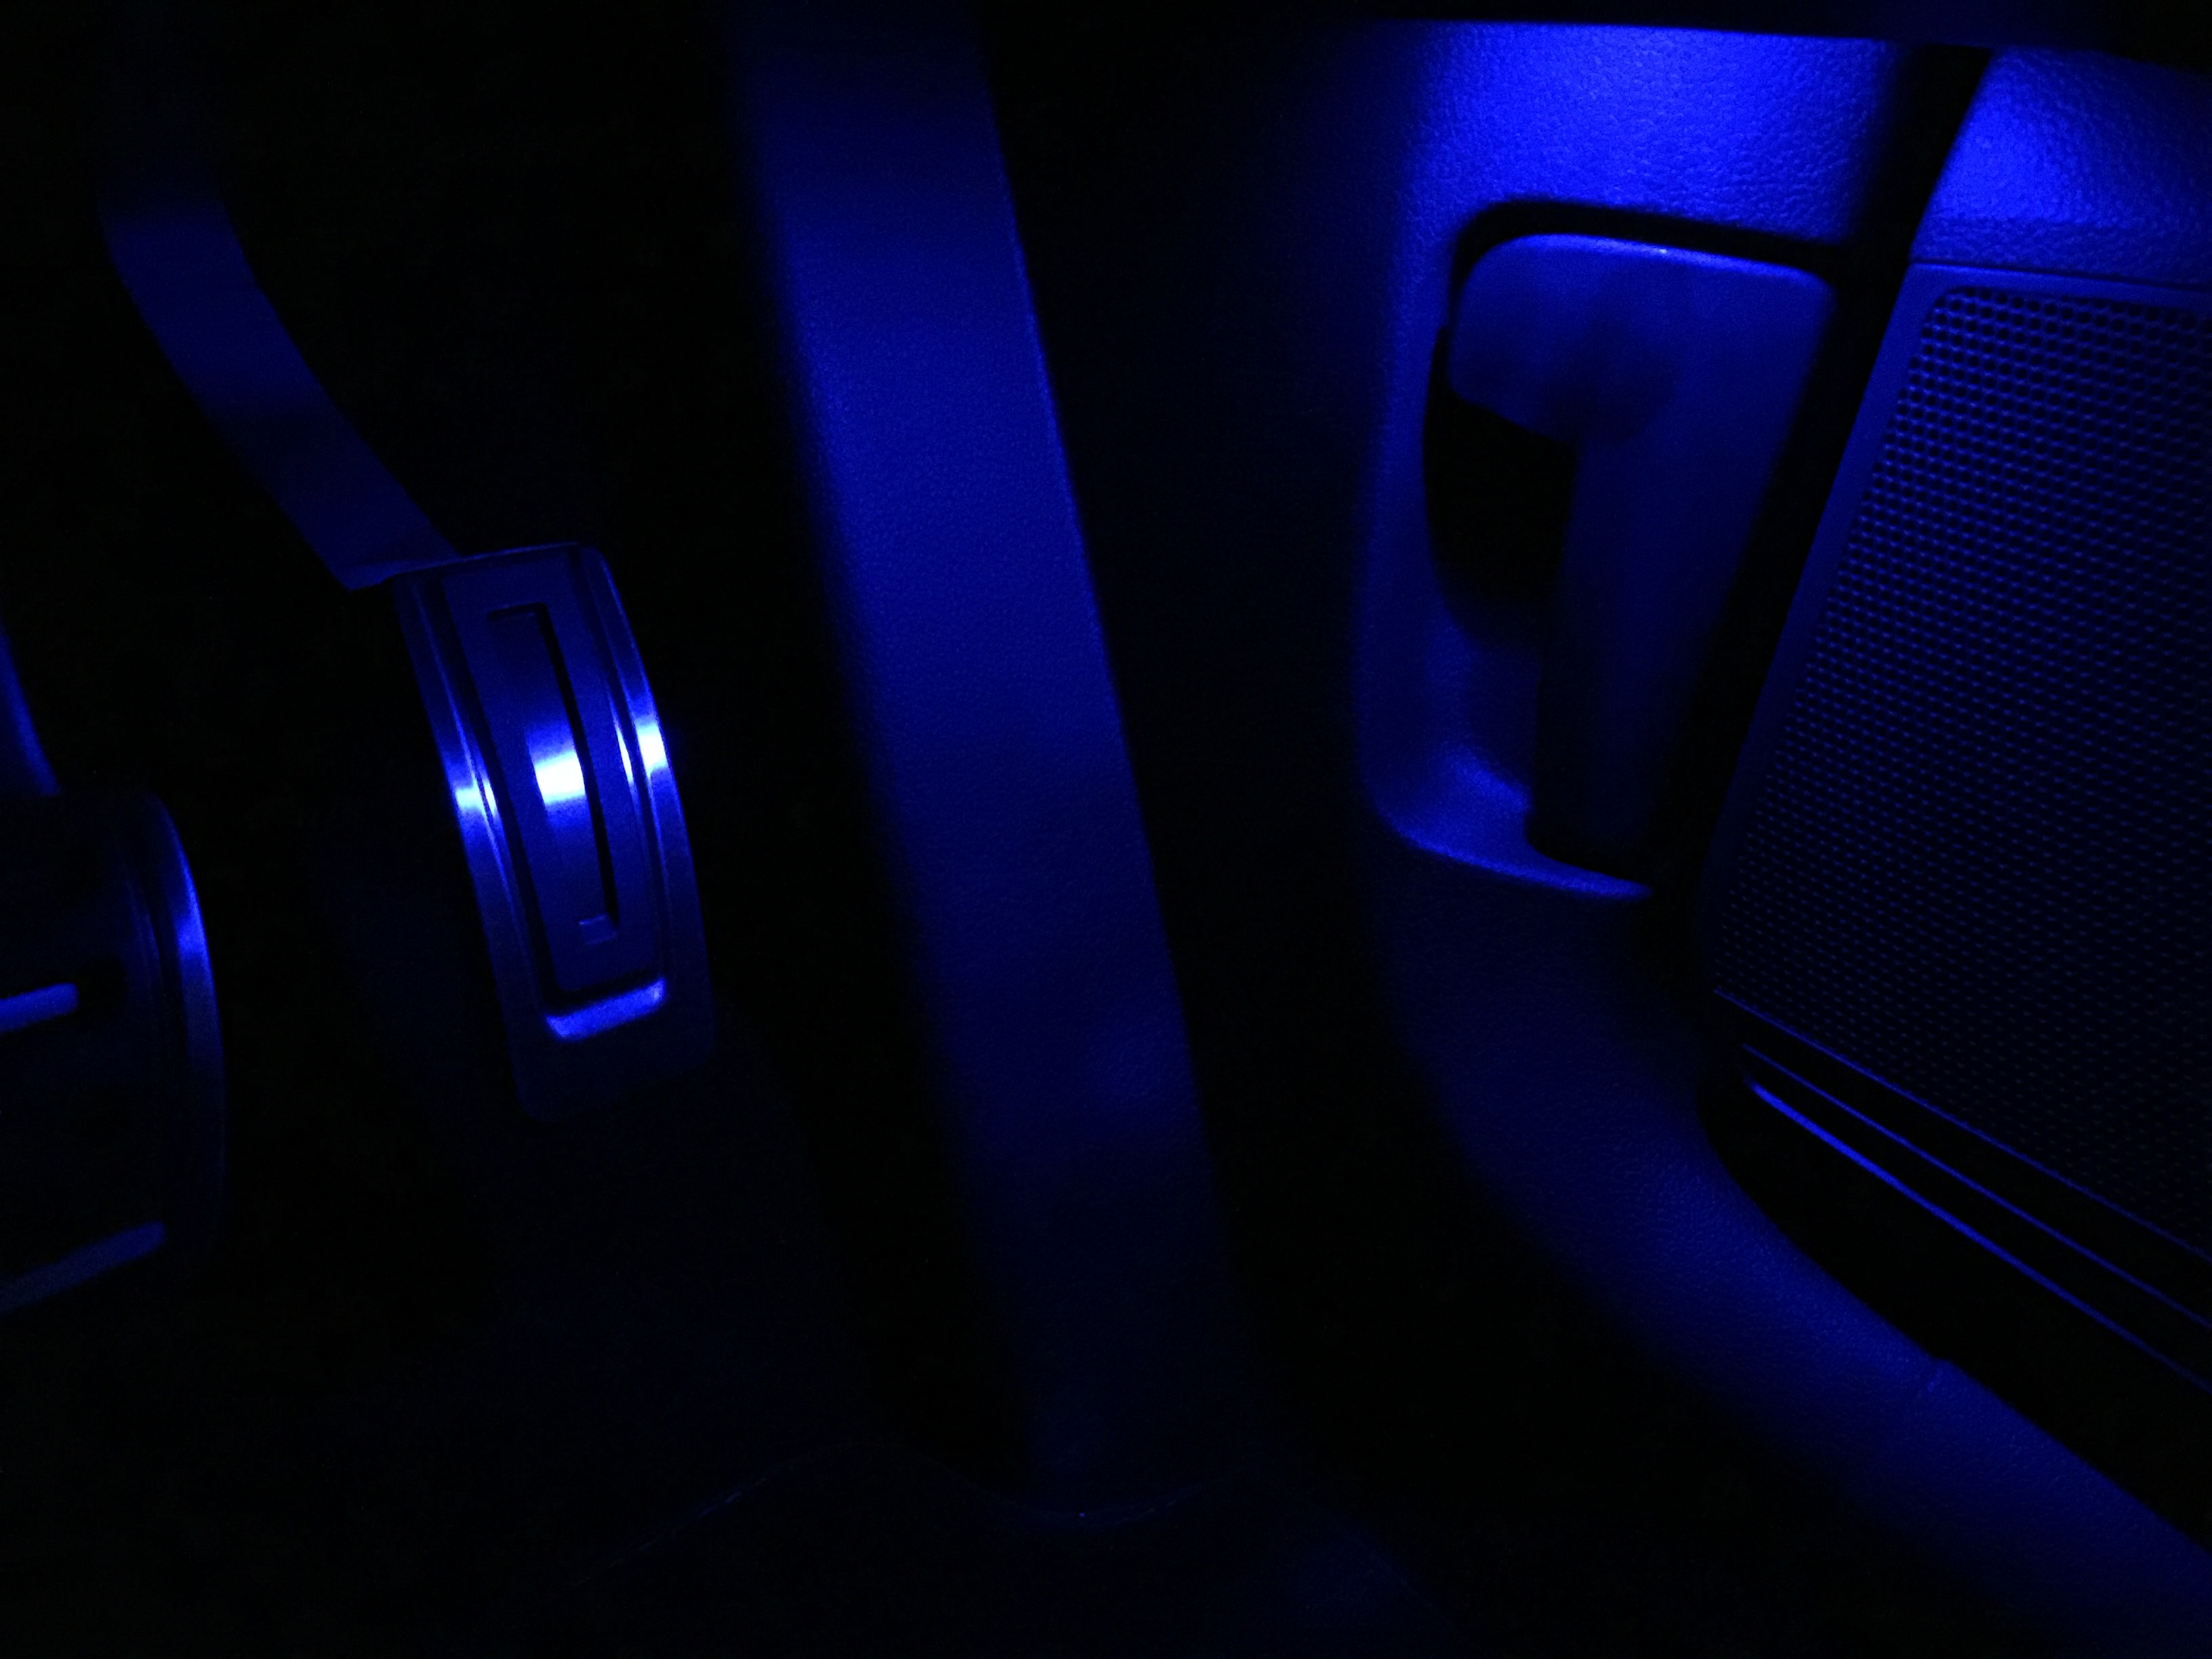
The result (with footwells set to 80%)
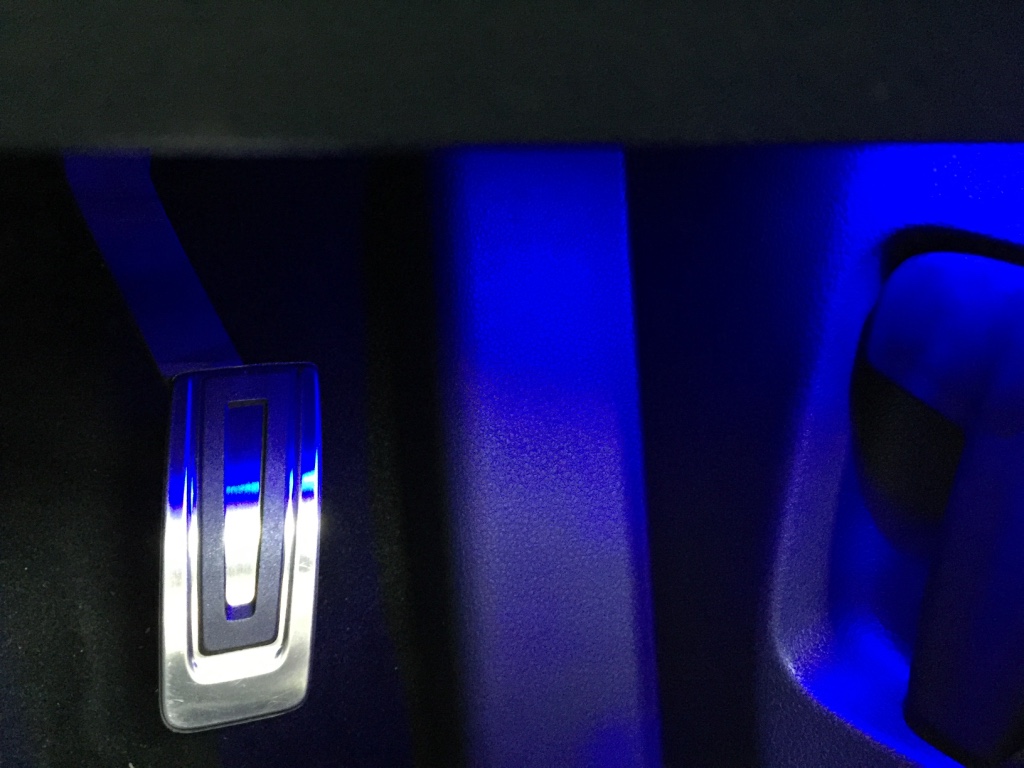
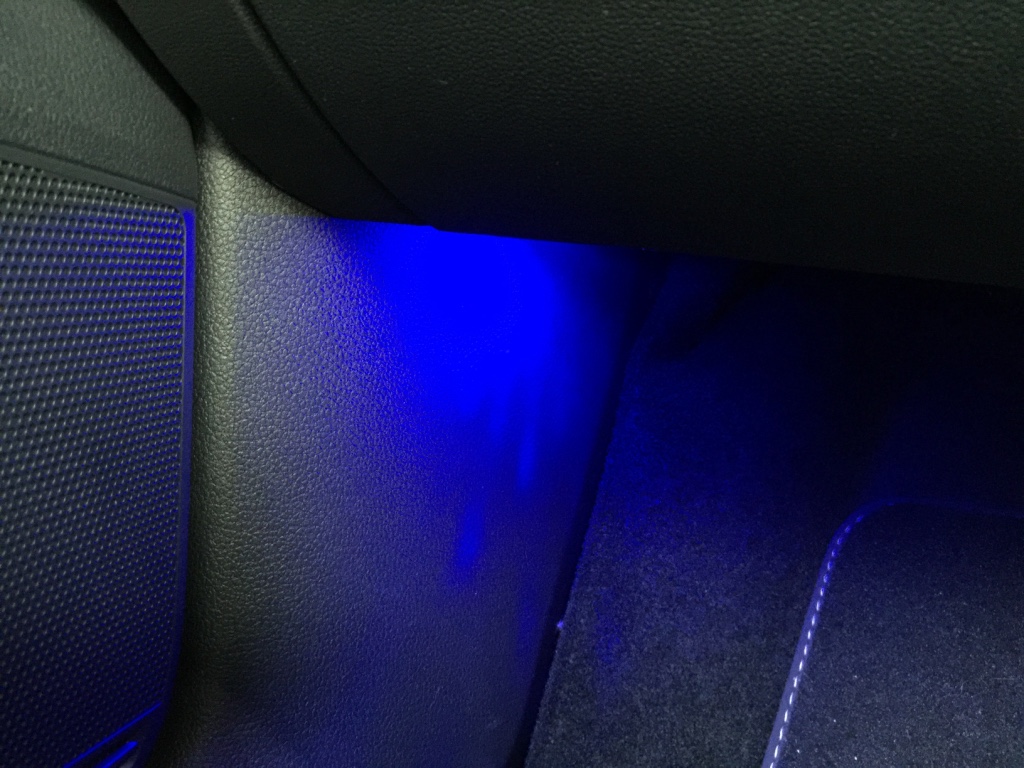
Blue LED footwells at night Look great with the blue door strips.
Driver’s side
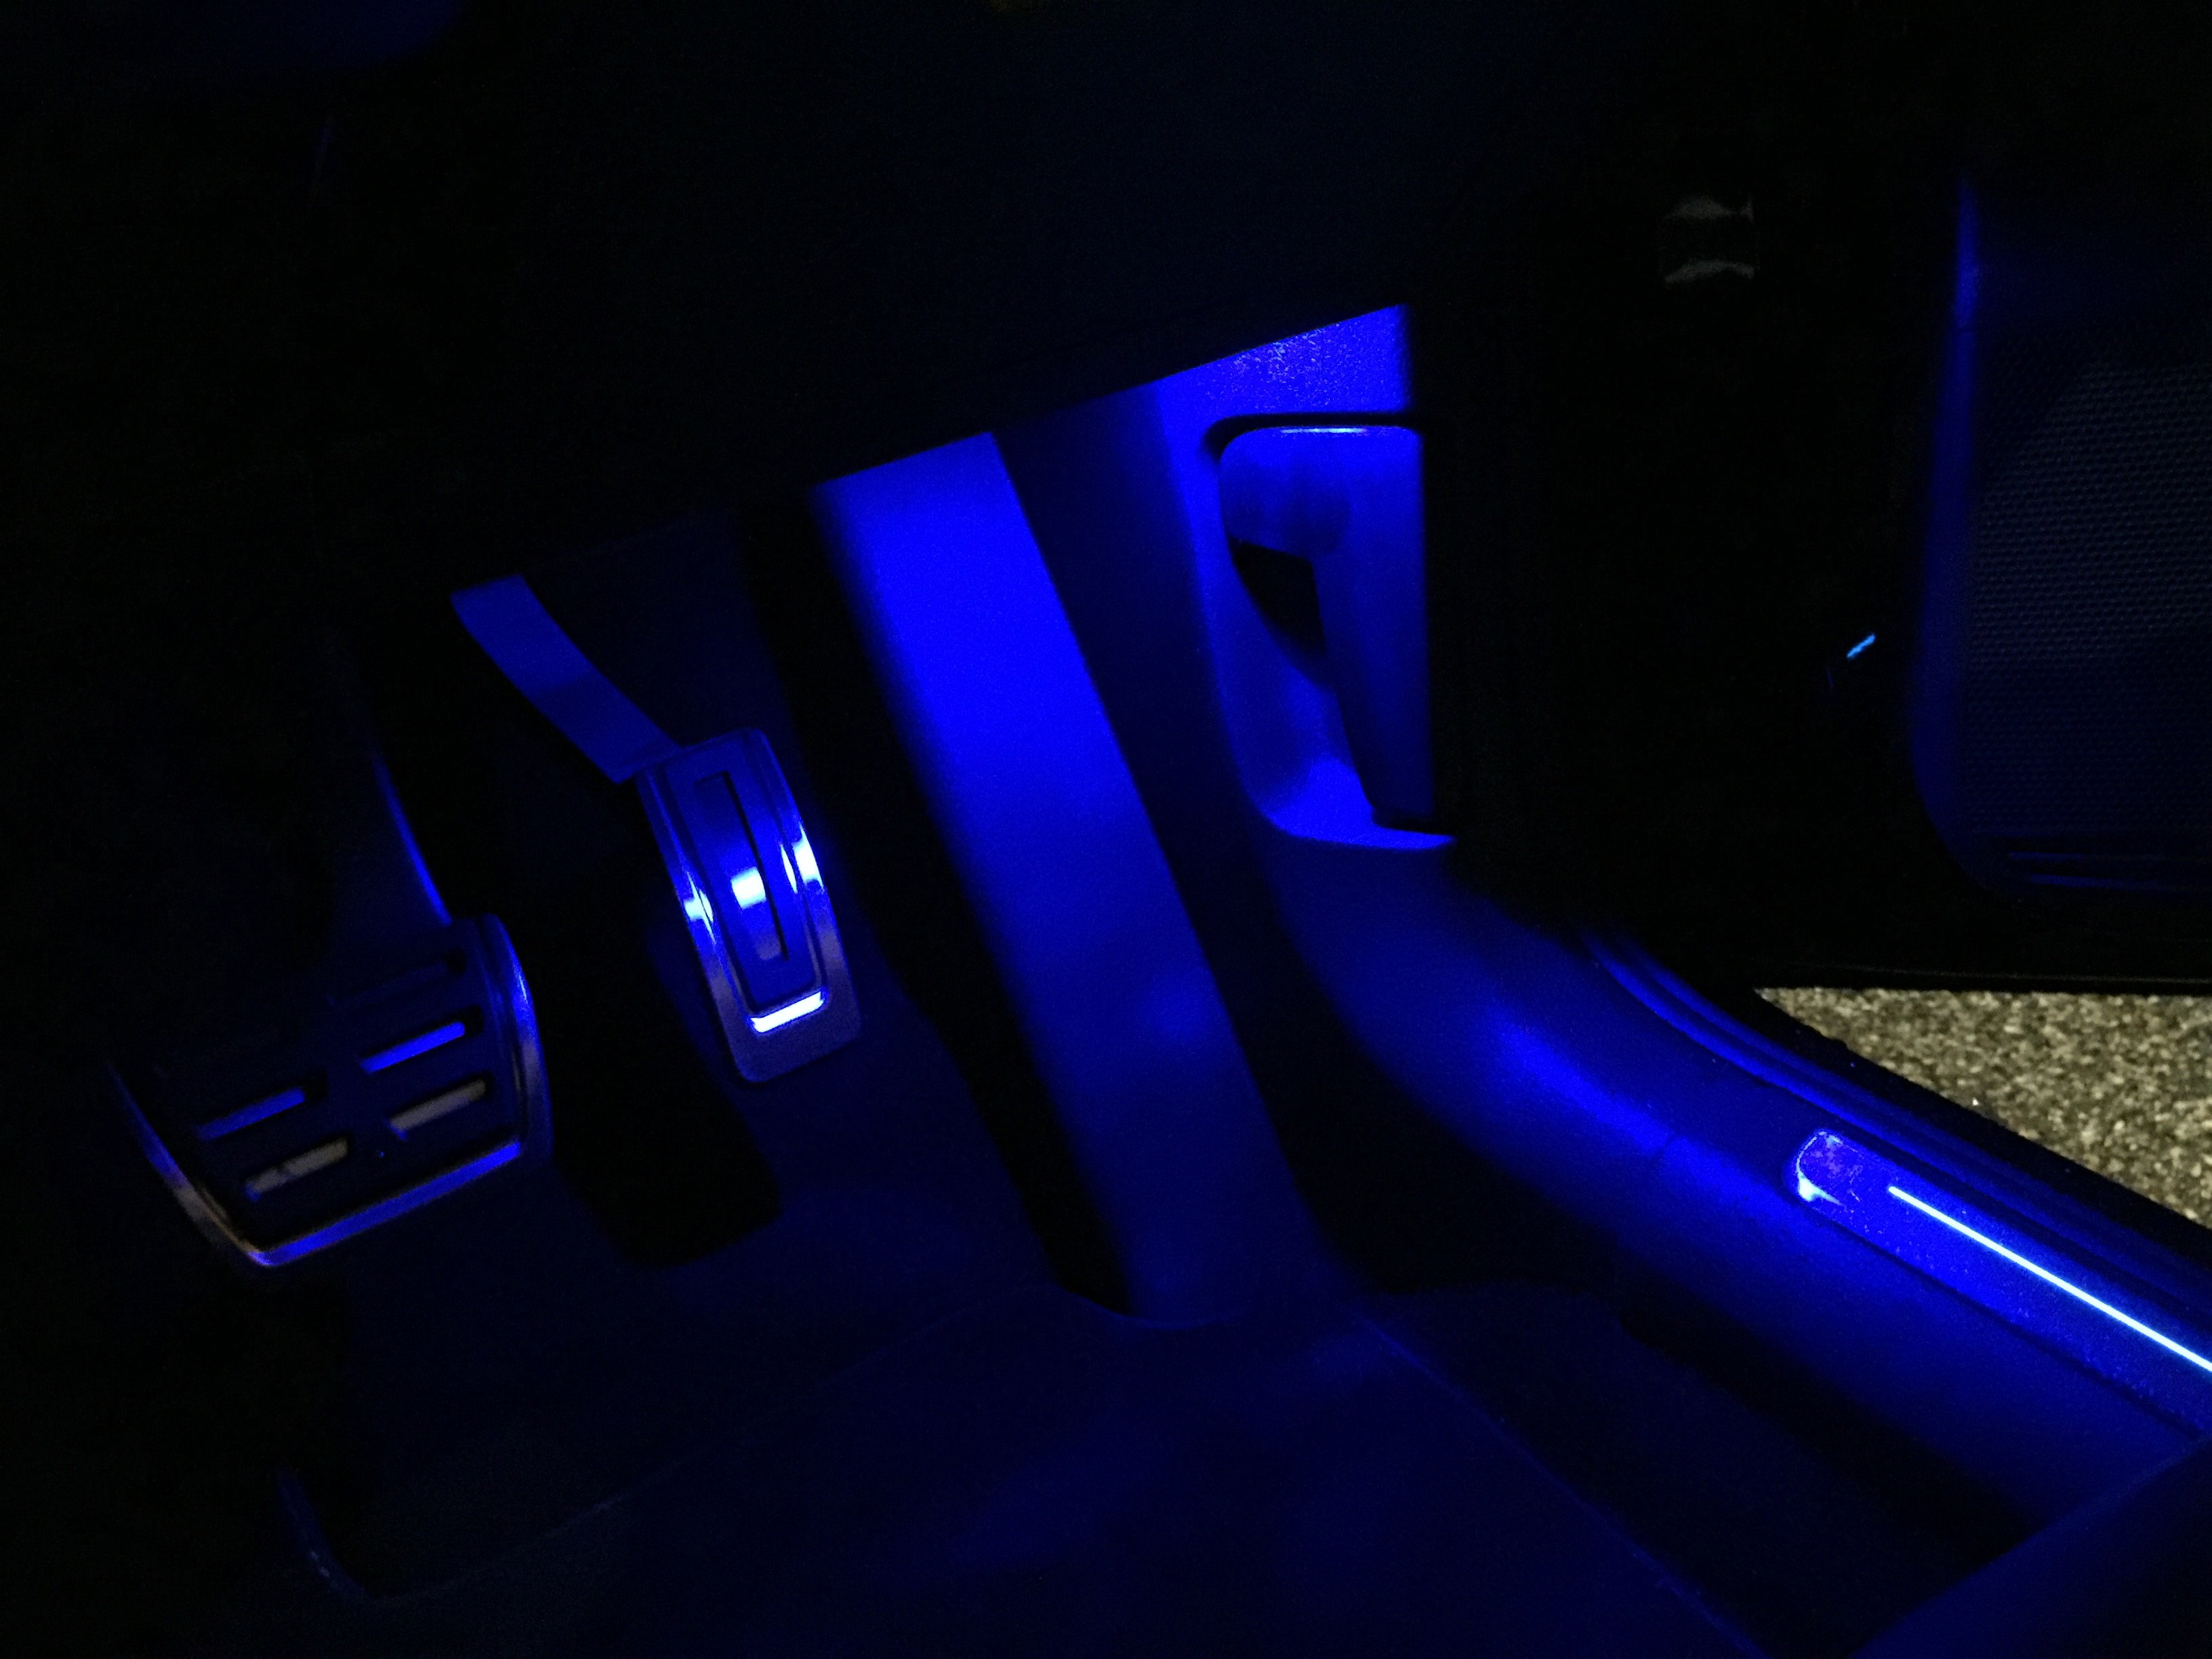
Passenger side
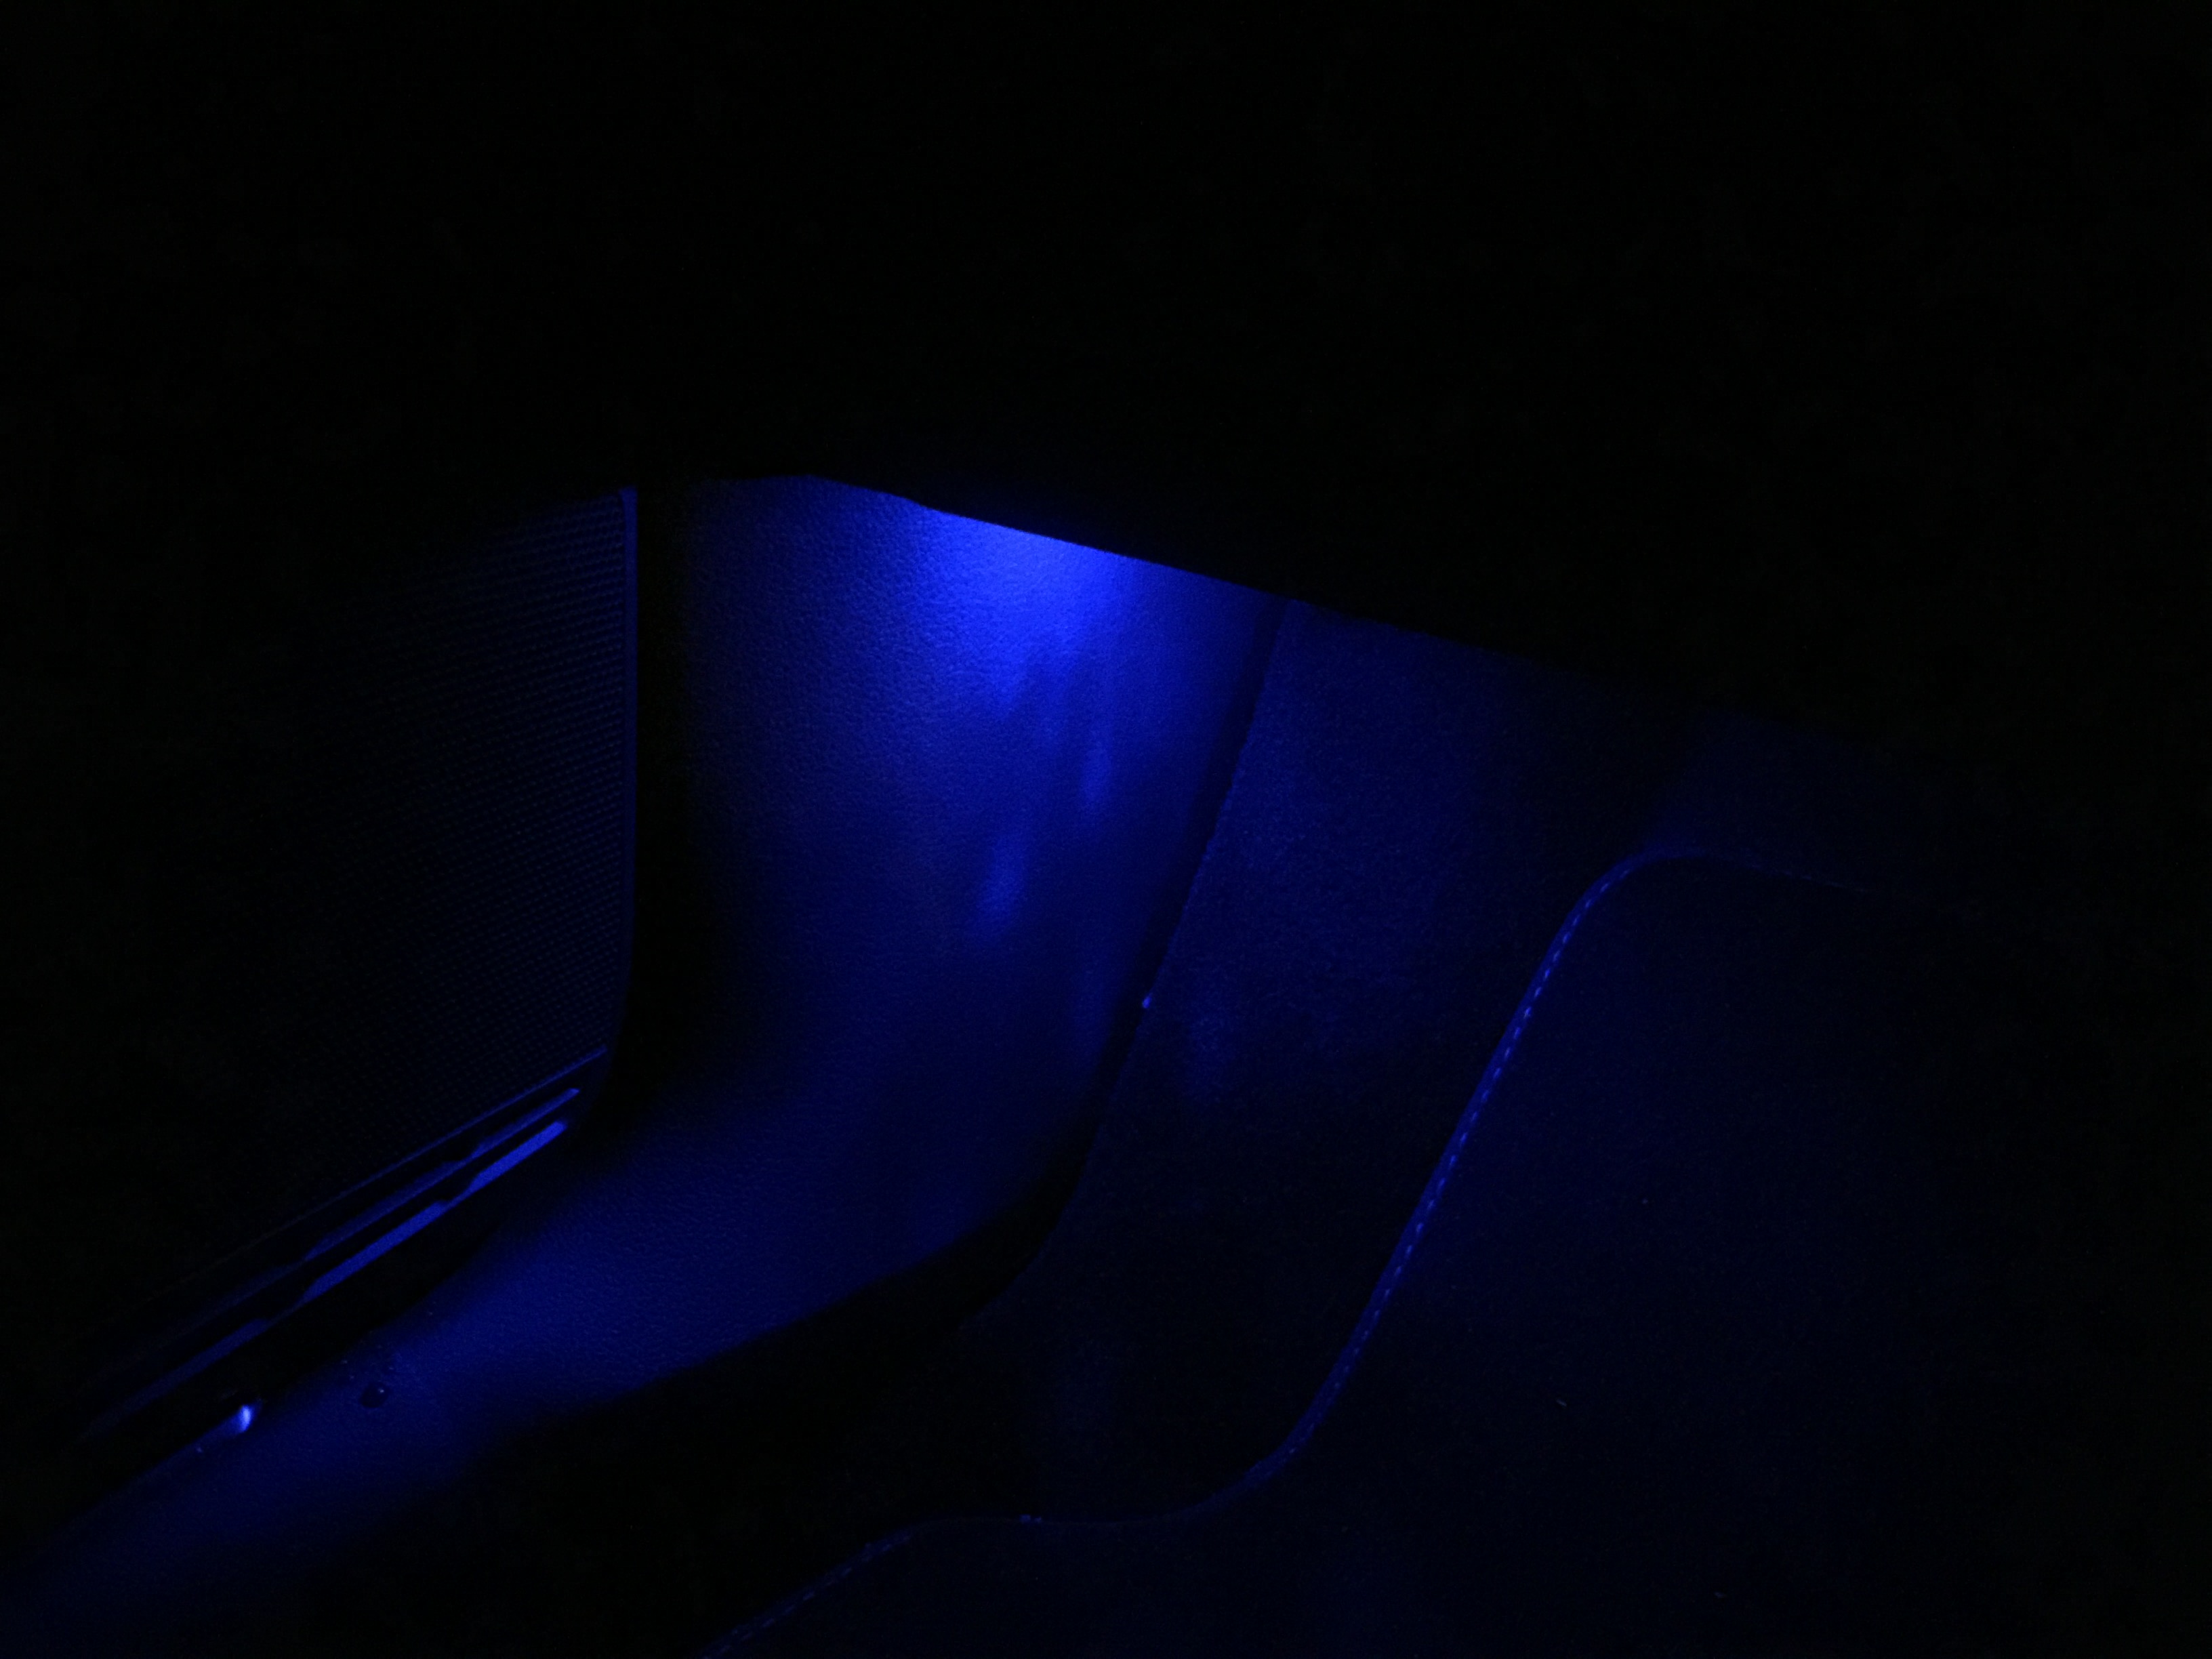
The standard white light is quite cold and harsh. The blue really adds to the ambience and injects adds a bit of much needed colour.
