Author Topic: MK3 Anni  (Read 32203 times)

Offline swainy

  • GTI forum regular
  • ***
  • Posts: 191
Re: MK3 Anni
« Reply #10 on: 02 October 2012, 14:31 »
Not really done alot recently, went straight through an MOT last month with a track rod end as a advisory.
Been trying to sort my new wheels. Had a trial fit on the rear.
Anni seats are hopefully being collected on sunday so will be fitting the mk4 seats in soon.


« Last Edit: 16 February 2013, 22:17 by swainy »

Offline swainy

  • GTI forum regular
  • ***
  • Posts: 191
Re: MK3 Anni
« Reply #11 on: 28 October 2012, 20:32 »
Made a flip key for it, kinda missed it from the mk4.


Been trimming some of the interior the last few days, not taken many pics.
Could have just bought majority of it but that's no fun. Done A,B,C pillars and sun visors, roof lining and couple of other inner trim bits next but need some more material


Took some pics of my mates caddy, been building a monster mTdi engine for it.


Offline swainy

  • GTI forum regular
  • ***
  • Posts: 191
Re: MK3 Anni
« Reply #12 on: 16 February 2013, 22:17 »
Not updated for a while, car is off the road now, deciding on what to do with it. Quite fancy ripping the interior out fitting a cage and going down that route but not sure.
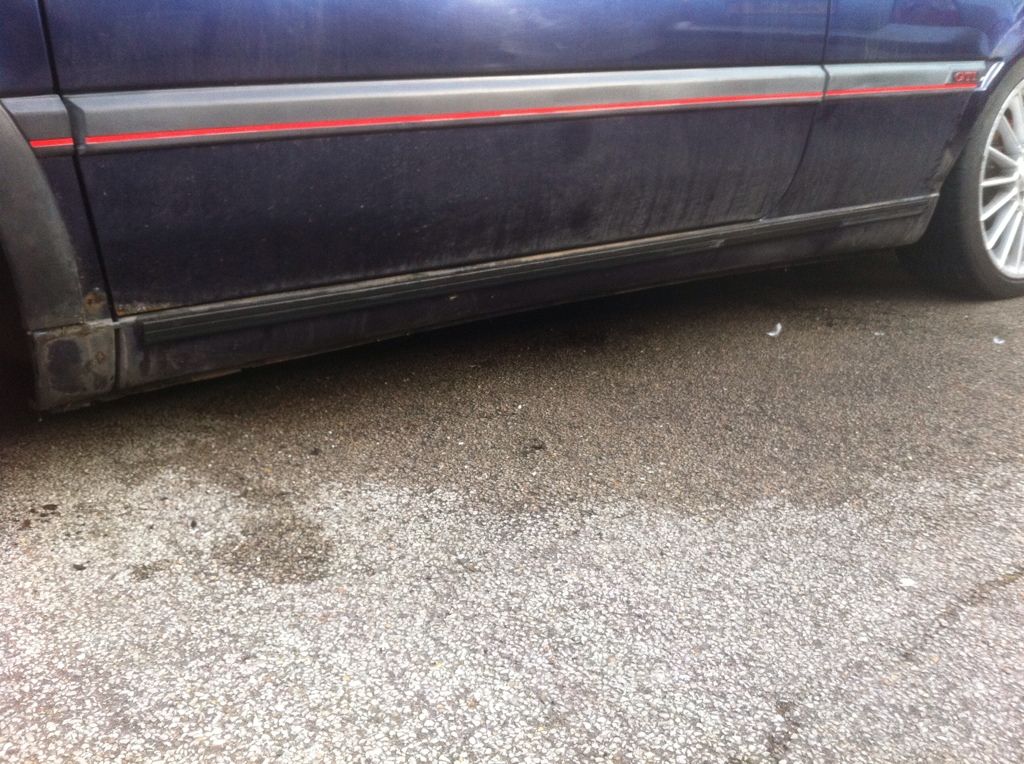
I removed the sill covers today and was pleasantly suprised at totally solid sills, took rear arch covers off too and passenger is totally mint, drivers has a couple of scabs that have been covered in black paint so will probs get them sorted when the weather pics up.


Bought some coilies for it too, turns out they are damping adjustable which was a result, especially for £50. Shame one of the rears is popped but will source a new one from fk at somepoint.
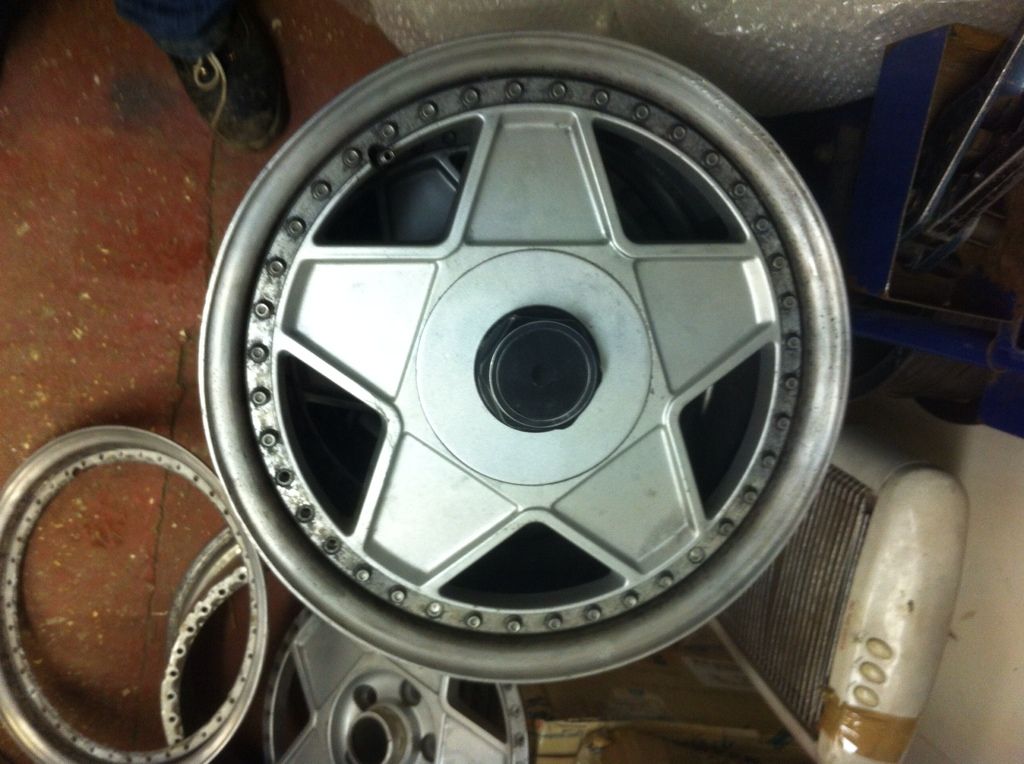
Also bought a set of Autostrada 3pc splits for it, they are being refurbed at the mo but cant decide whether to redrill the hubs to 5x112 and get them fitted or sell them on to fund an engine.


Gavv8

  • Guest
Re: MK3 Anni
« Reply #13 on: 16 February 2013, 23:08 »
Ahh the ritual mk3 de-plasticking moment, always a bit of a nail-biter that one... :grin:

Offline *Jonnyg*

  • GTI forum regular
  • ***
  • Posts: 181
Re: MK3 Anni
« Reply #14 on: 17 February 2013, 01:35 »
Nice mk3 dude. Seen that caddy a few times, its gorgeous.


Would look fat with some banded steels on tho.  :evil:
** Tuned diesels - kinda like a guy with a huge cock and premature ejaculation. **

Offline swainy

  • GTI forum regular
  • ***
  • Posts: 191
Re: MK3 Anni
« Reply #15 on: 17 February 2013, 10:10 »
Cheers, yer was worried about taking it all off.l

Yer he keeps butchering me for the splits but he has some 8.5 and 9.5 corvette wheels to try and make fit.

Offline swainy

  • GTI forum regular
  • ***
  • Posts: 191
Re: MK3 Anni
« Reply #16 on: 24 March 2013, 19:43 »
Had a few hours spare this afternoon so went out and had a fiddle about, managed to get the front coilies fitted, they are wound all the way down and the sump is about 2cm off the floor. :D
I stripped a few bits out the bay that wont be needed and started getting it ready for removing the engine/ tidying the bay up.
I'm off to pick up a vr6 head and bottom end tomorrow night for a bargain thanks to lowlifedubber, got a few plans for it.


Gavv8

  • Guest
Re: MK3 Anni
« Reply #17 on: 25 March 2013, 20:22 »
VR Turbo??...... :evil:

Offline swainy

  • GTI forum regular
  • ***
  • Posts: 191
Re: MK3 Anni
« Reply #18 on: 25 March 2013, 22:47 »
It's gonna be on ITBs to begin with but a turbo could be a possibility in the future, I have read up on turboing with ITBs. ;)

Offline swainy

  • GTI forum regular
  • ***
  • Posts: 191
Re: MK3 Anni
« Reply #19 on: 30 March 2013, 20:30 »
Had a few plans for the weekend but as usual didn't get much done.
Tools the Abs pump out and drained the power steering fluid, tidied up inside as it had turned into a bit of a dumping ground for various bits.
Wanted to strip the rear end down to make my drop plates but didn't get round to it. The steel I've got is 20mm so will act as a spacer aswell.
Got the VR block home and have wire brushed it all down ready to paint. Need to clean the head and get all the valves lapped in the can start building it.