I was contacted by Adam (Patch) to see if i could help him get the hang of his rotary polisher , after many pm's we decided that a full correction would be the best bet for him to learn the do's and dont's of machine polishing.
Patch’s VW :
Products used in no particular order :
Blit Hamber Surfex.
Meguaris next gen car shampoo
Meguaris Clay
Meguaris Last touch
Meguaris #4
Sonus SFX 1 pad
Sonus SFX2 Pad
3M ultrafina
Various Mf’s
Various brushes
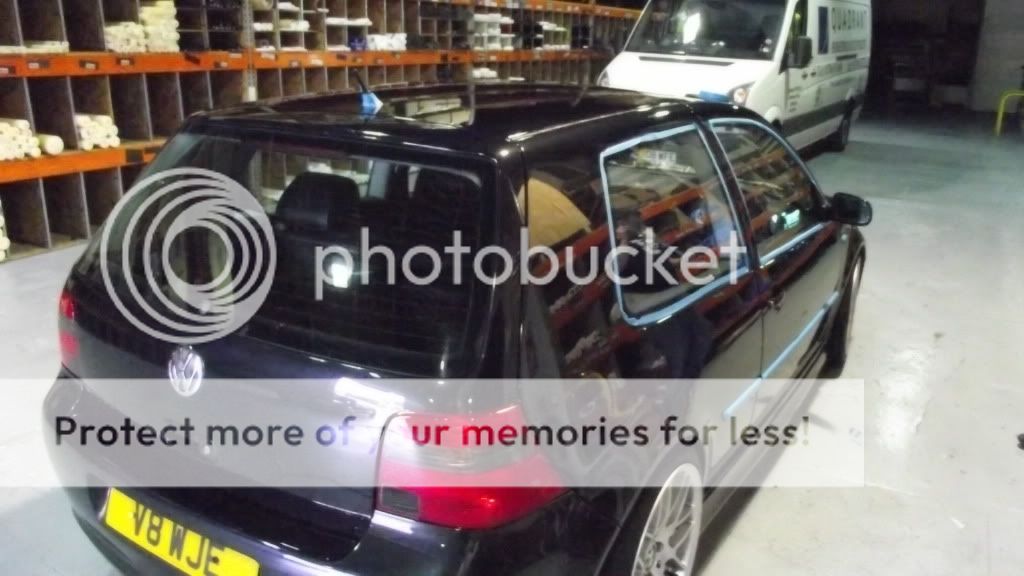
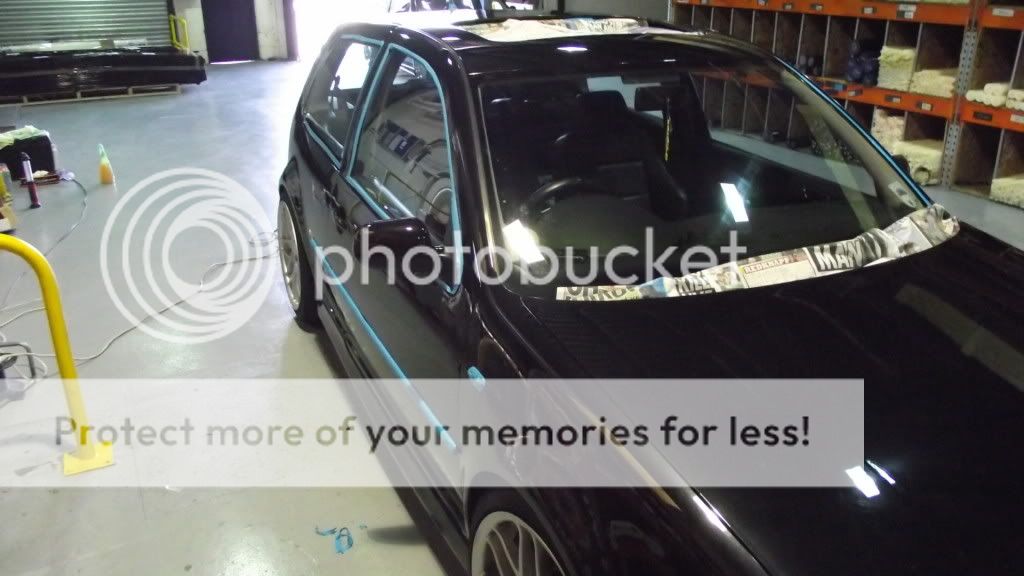
Here’s what the car looked like on arrival :
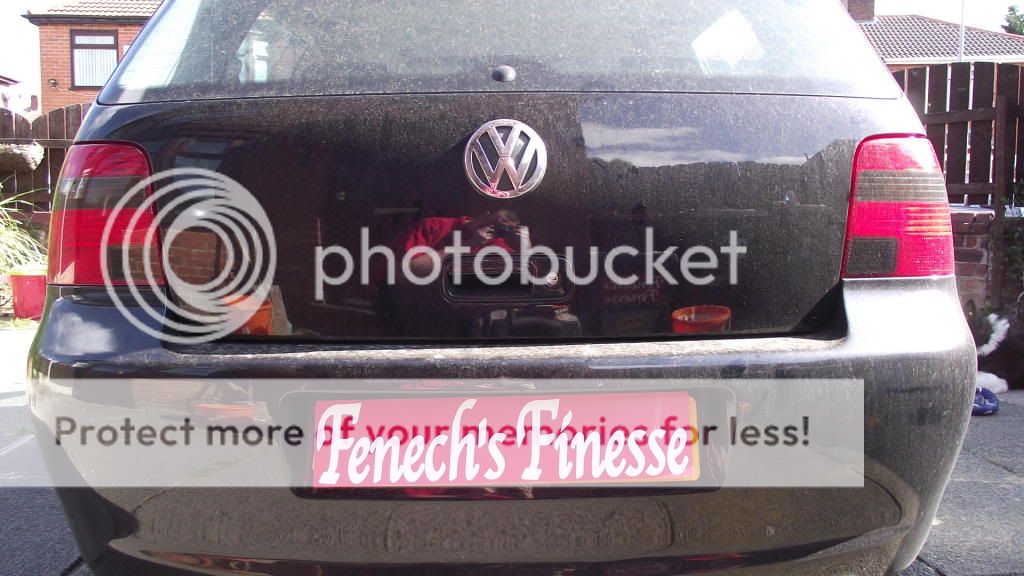


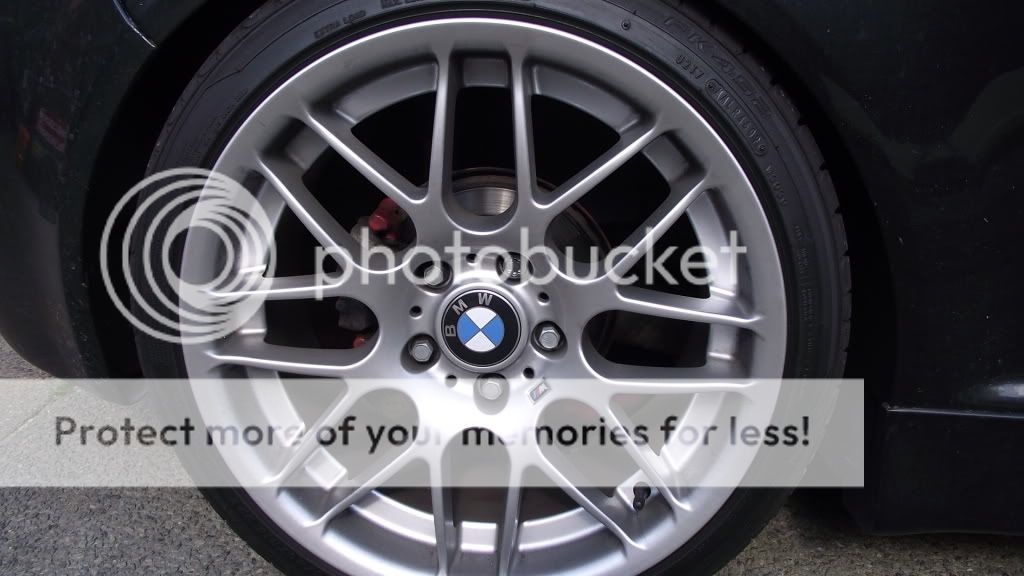
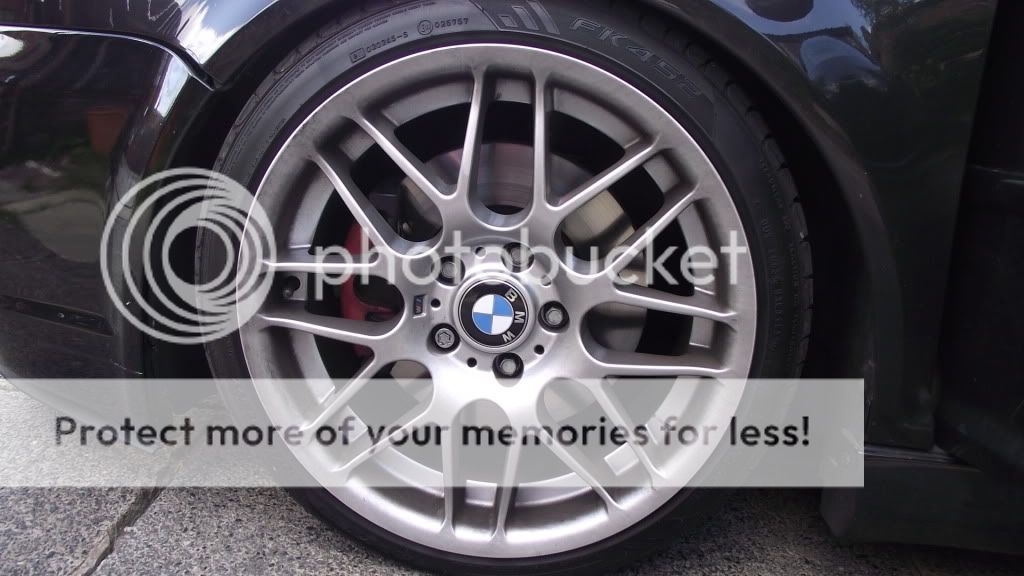
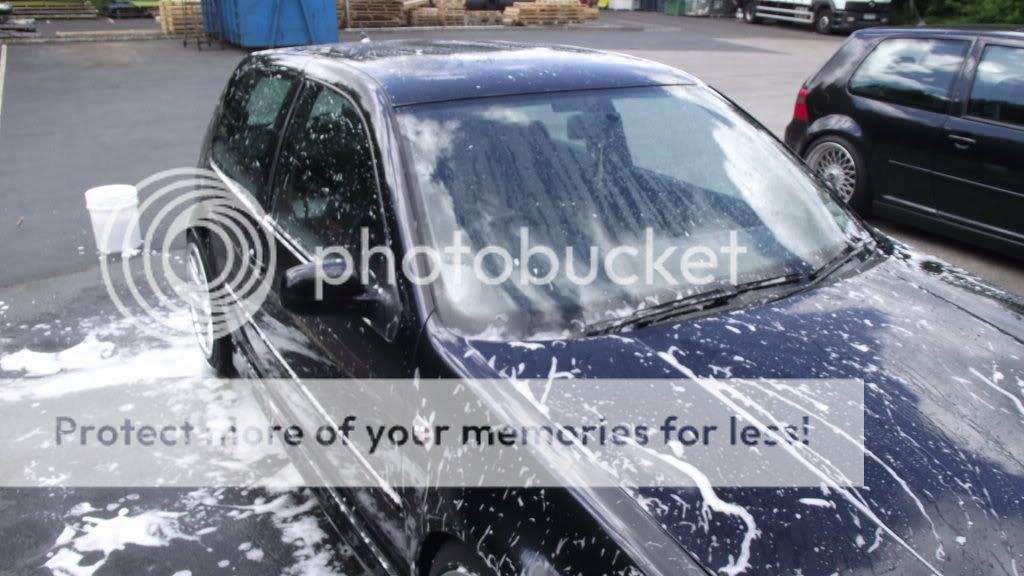
Generally the car wasn’t too dirty, firstly we began by cleaning the wheels , there isn’t any pics of this stage as the wheels are to be removed later on in the detail, after the wheels were cleaned the bodywork was then washed :

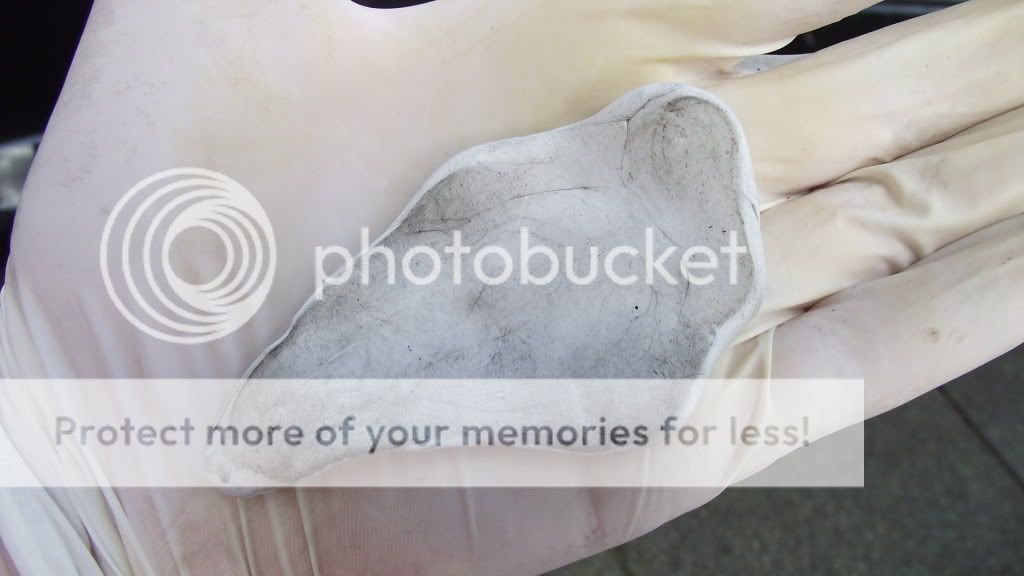
And then clayed , the car was in fairly good condition this being the worst the clay got after the whole of the car had been de-tarred and clayed :
Paint depth readings were then taken to ensure that there was enough clear coat on the car to safely polish (after reading the Adam had already had a go at polishing the car with the harshest pad and polish combo I was a bit worried), the whole of the car was generally very healthy reading over 135 in some areas.
All exterior trim and plastics were then taped up to prevent staining by the polish :
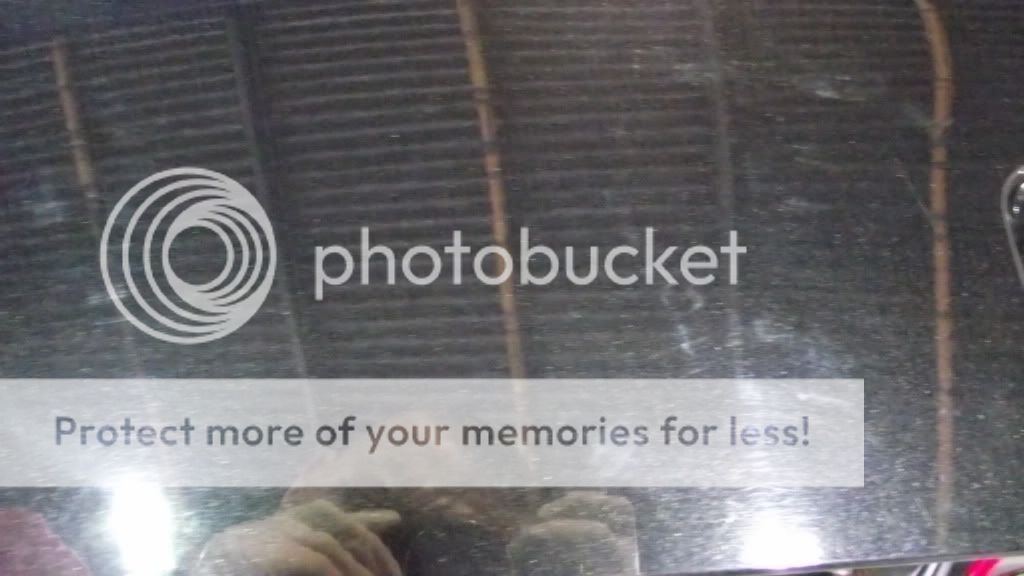
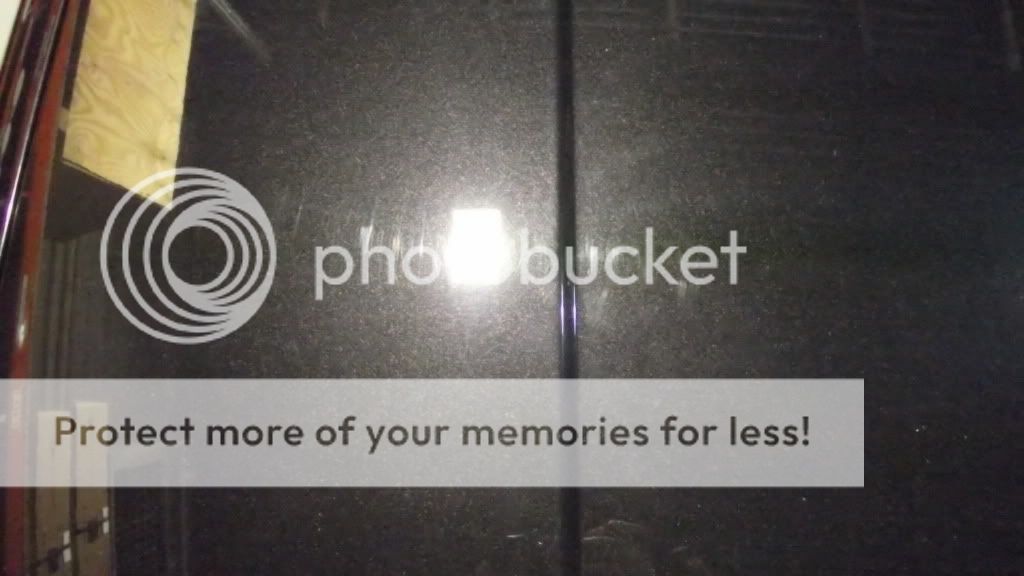
After various testing (we spent approximately an hour trying to find the correct combination) we settled on megs #4 on a sonus SFX1 pad , this being typical VAG paint it was rock hard each area requiring 2-3 hits before I was satisfied with the correction ,the paintwork was then refined with 3M Ultrafina i love this polish for black cars it really does make it look like a mirror. Here’s some before shots of the paintwork :


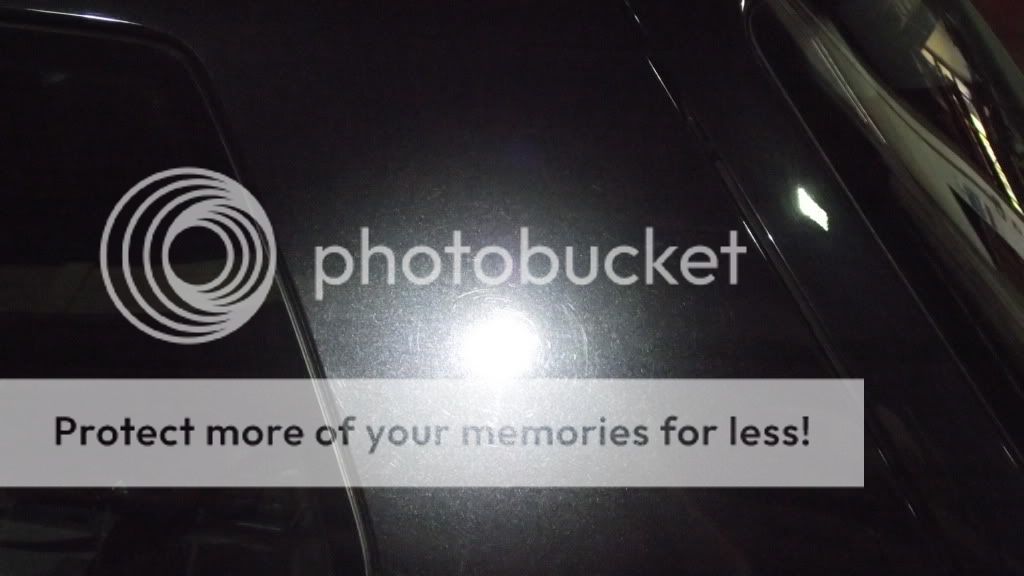
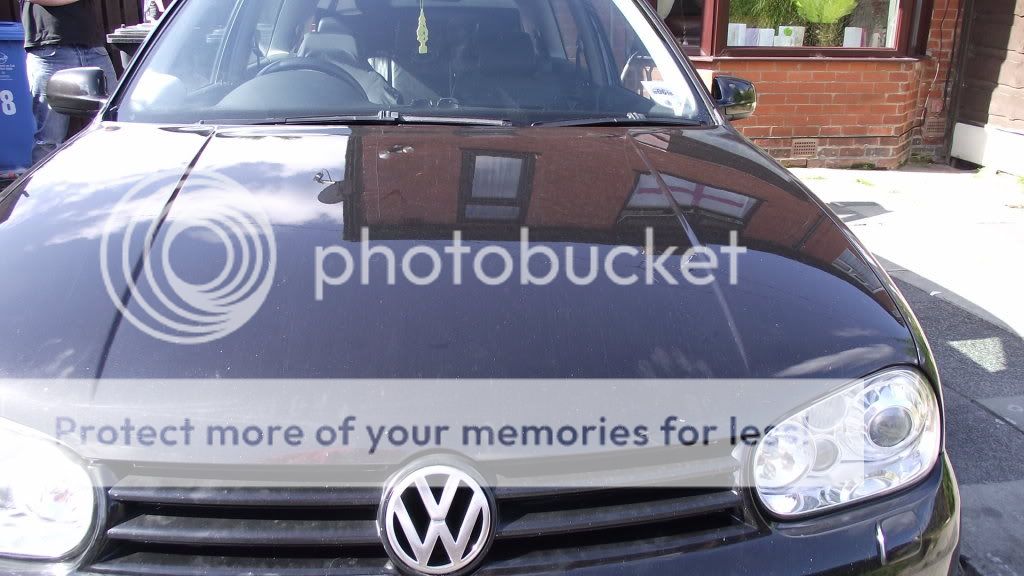
Time was now pushing on it was 1:30 ish by the time we had begun polishing the bonnet , it was stop and start for me as I was getting some uncertain looks from Adam whilst he was using his rotary , we started on the outside of the bonnet (left and right side) and then worked towards the centre , whilst Adam did the first set on the centre of the bonnet I completed the driver’s side wheel arch , after the bonnet and arch had been refined the car was then moved outside in the direct sun we were greeted with these beautiful results (no lsp has been applied at this stage):


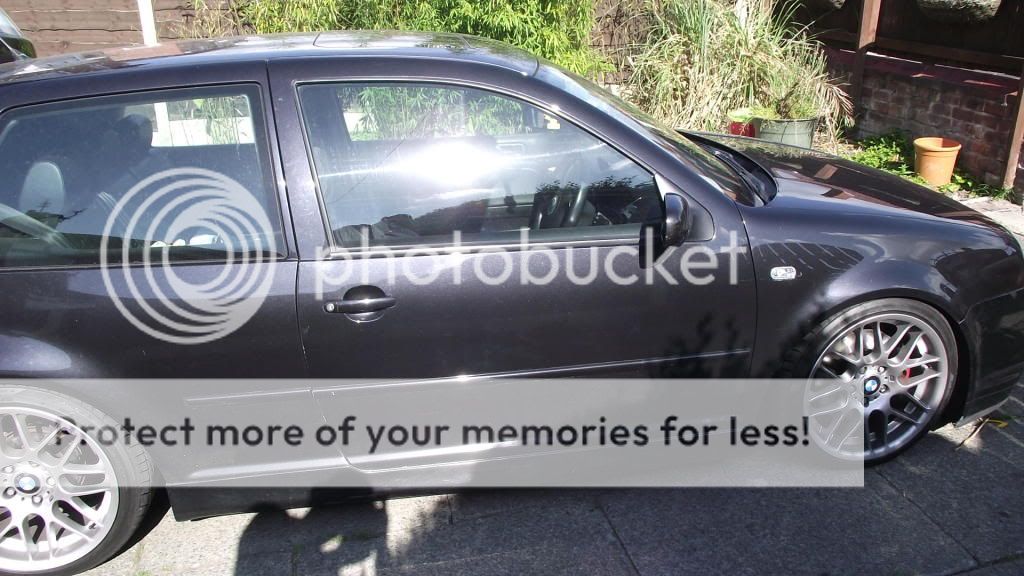
The tape was removed and the top half of the door polished (Right hand side of the tape) whist I completed that Adam set about correcting the rear wing , it was at this point my camera decided to play up so the car was rolled outside and Pat got snappy with his camera there are some cracking shots I really can not wait to get them .
That’s it for day one really not much work done as we were stopping and starting to make sure Adam had his technique as good as I could get it , the rest will come with experience . Part two will be up tomorrow night as we still have the rest of the car to finish and carry out a full wheel detail/protection.
