GolfGTI.co.uk forum
Pages: [1] 2 3
Print
Author Topic: How to: Joey Depo projector headlights (Anniversary style)  (Read 3071 times)
Wazzzer
I live here
*****
Offline Offline

Posts: 3795

Location: Isle of Wight


Golf GTI 1.8T AGU


« on: February 08, 2009, 19:01 »

Right then here goes my "how-to" for the Joey modded projector Depo lights.

First of all I just wanna say I take no responsibilty for how yours turn out if you follow my guide. This is how I did mine and they turned out ok, it's just a matter of taking your time. This isn't a mod you can do in 5 mins, it takes around 2 hours to actually get the light split apart so please budget for this.

I decided I needed to fit a set of projectors if I was to keep my HIDs. My main problem with the HIDs in normal lamps was the fact you can't see the full beam or front fogs with them fitted due to the scattered light output. This would have been an easy task if I still had standard headlights but I had Anniversary lights and wanted to keep this look. Depo make smoked versions of the projector lights but only with the single angel eye fitted, but angel eyes aren't for me.

So I ordered a set of the chrome lights and decided to "Joey" them (quite a worrying thought when you've just spent £120 on them!)


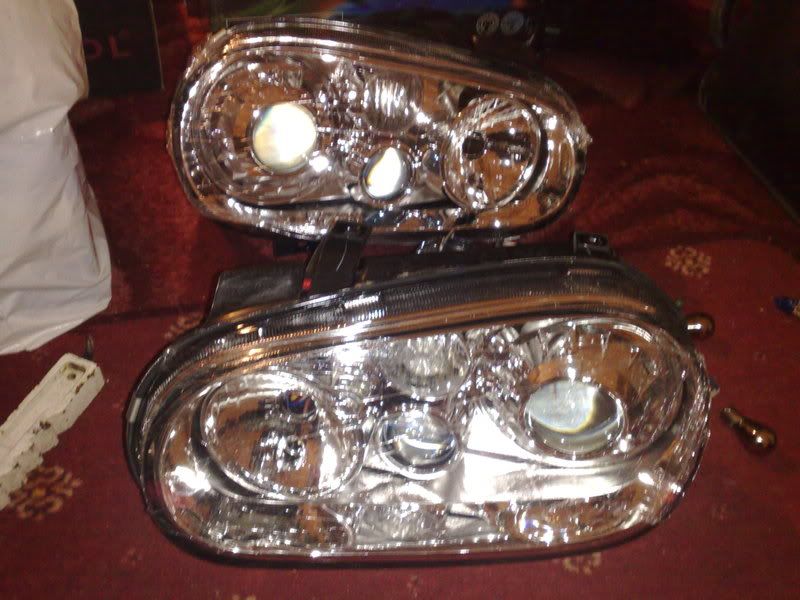
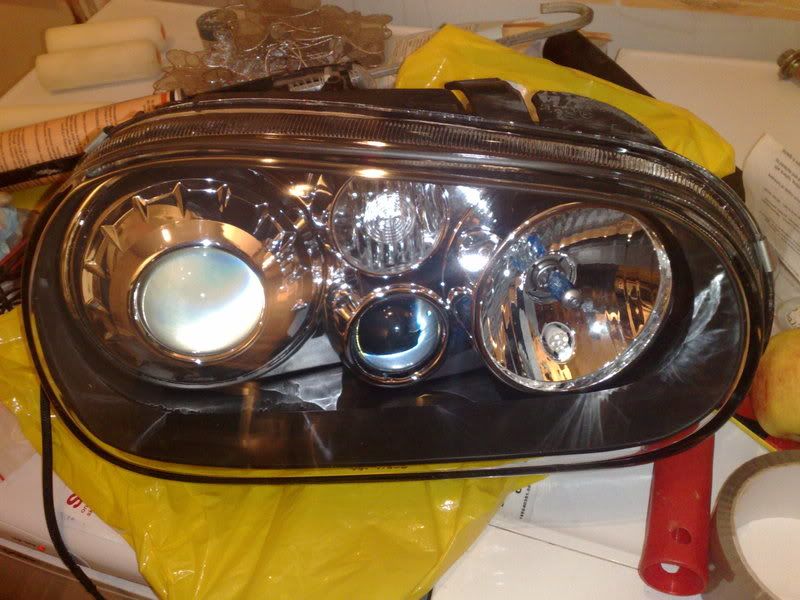
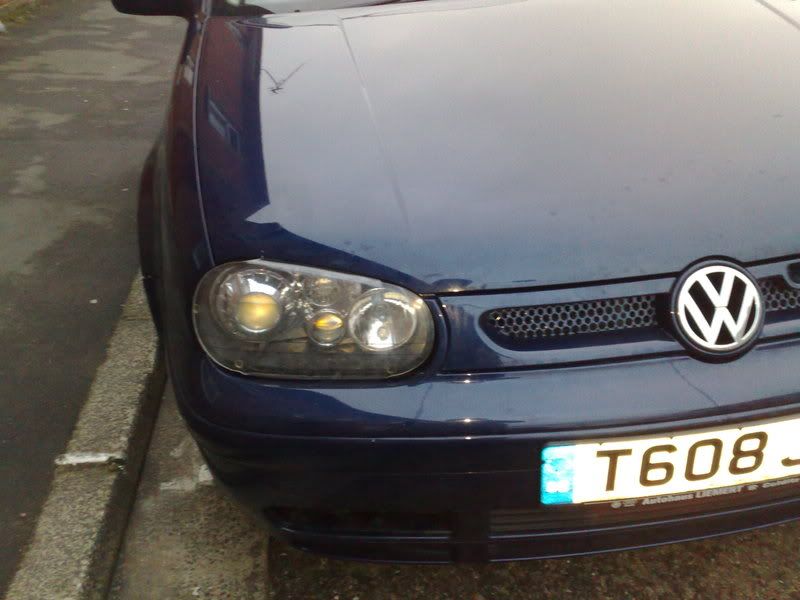
A pic of what I am trying to achieve, the Depo light compared to the Anniversary.


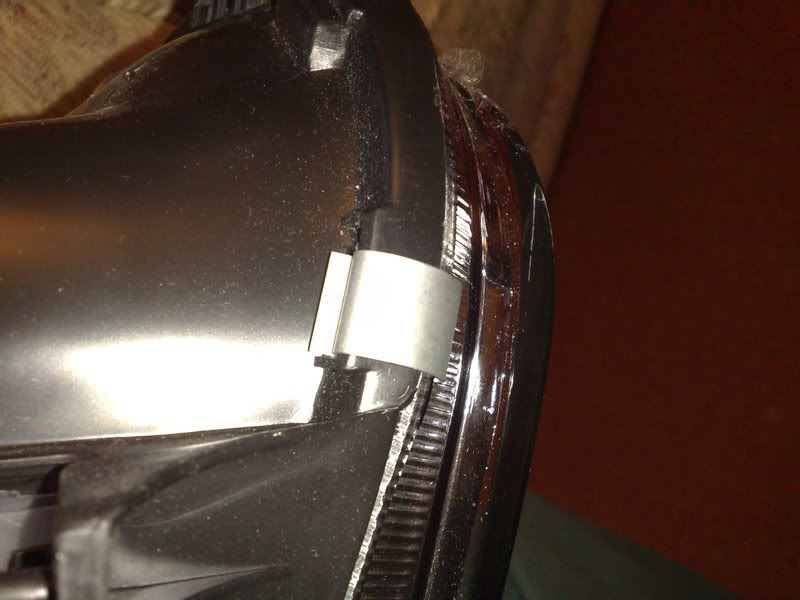
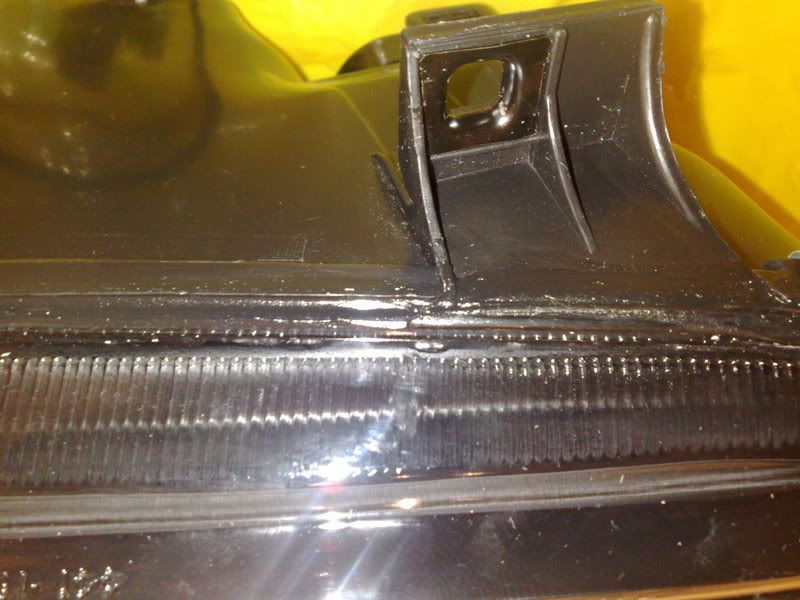
First of all you need to remove the clips that help the lenses bond to the light unit when the glue is setting. Make sure you keep hold of these as you'll need them later.


Next was to put them in the oven (this is the worrying part). Remove all the bulbs and the backing plate fromt he lights, the less in there to go wrong the better.


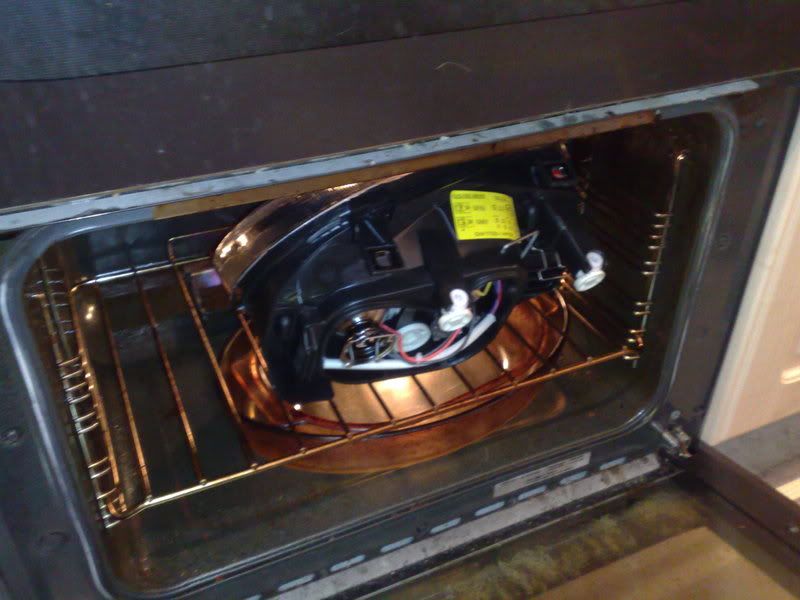
I put it on a very low heat, around gas mark 4. You don't need a raging flame in there, just enough to melt the glue a bit. Too hot and the glue will be really stringy and you also risk melting the plastic casing of the lights. I left them in for around 2 mins, but just check them to see how they are doing every minute and you can't go wrong

next get yourself something blunt like the handle end of a spoon and start picking away at the glue.


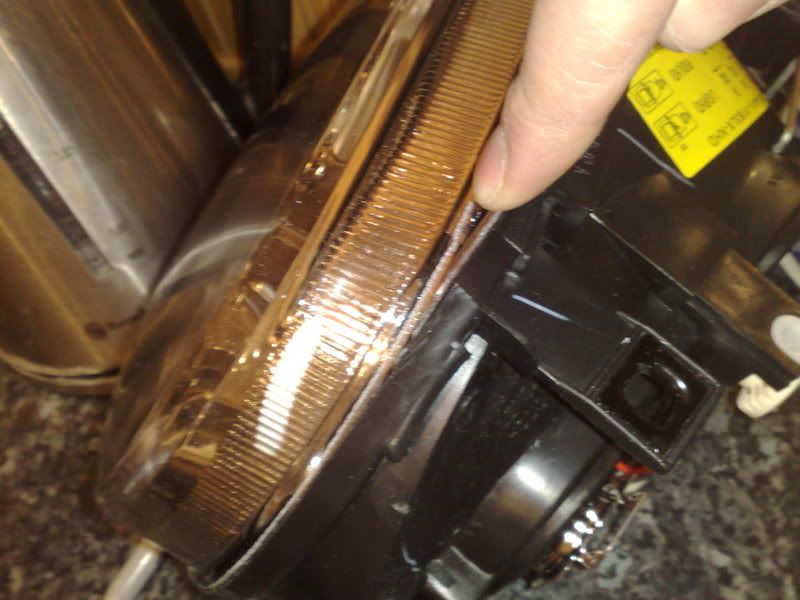
Eventually you'll be able to get past the glue and begin to lever the lens away. Be VERY careful at this point though as levering too hard will crack the lens. Don't be afraid to give up and put them back in the oven to soften the glue again, as I said before this will take a fair bit of time.


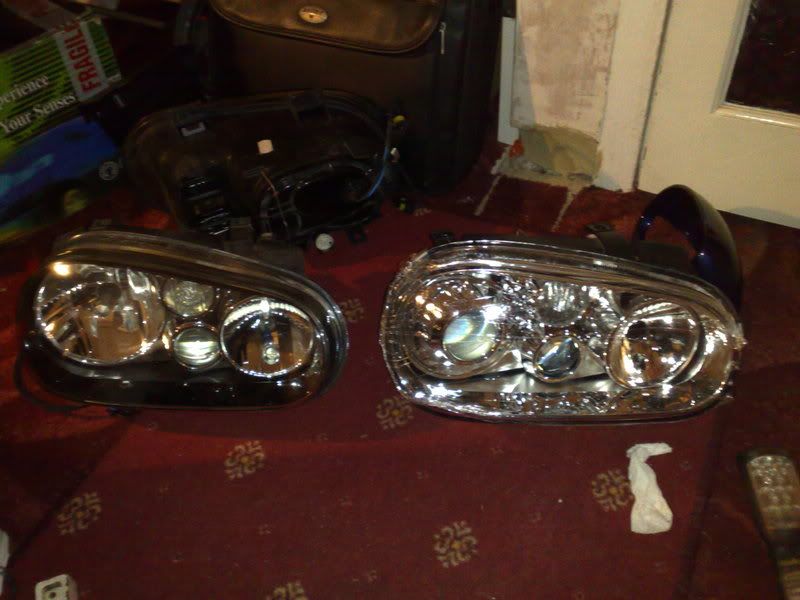
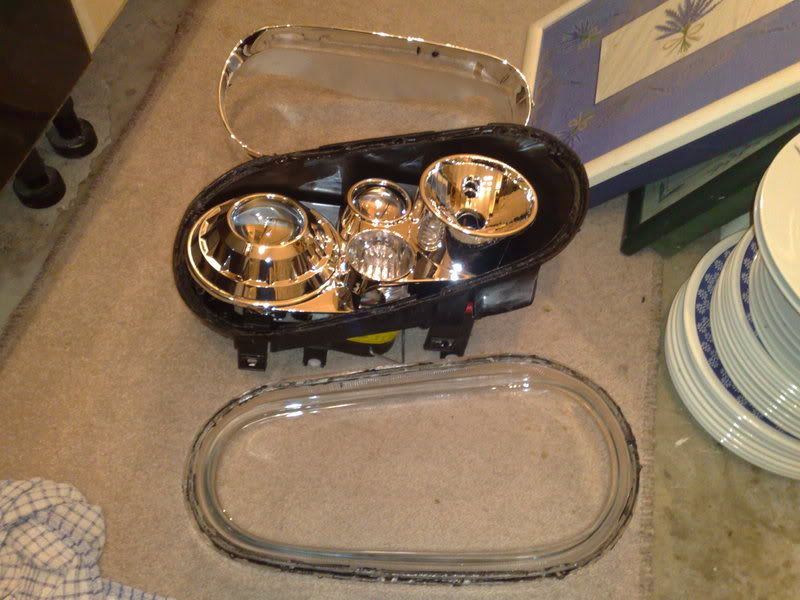
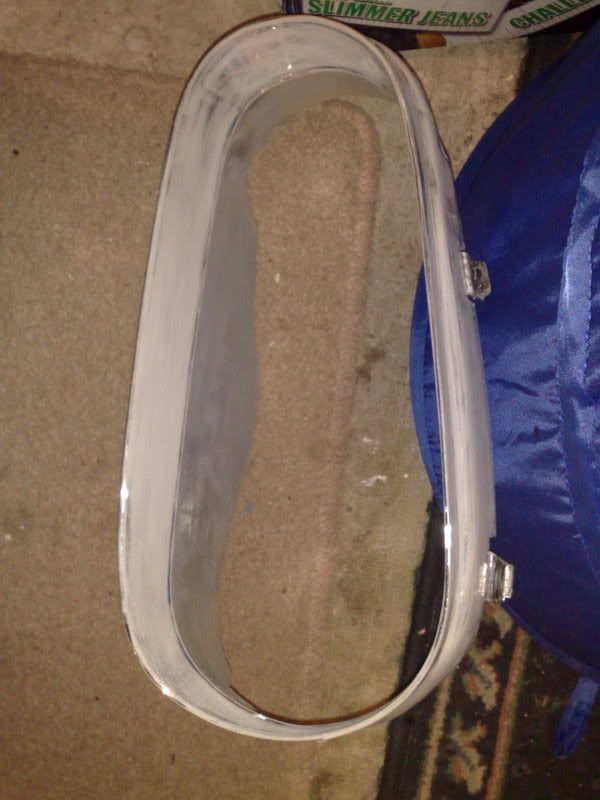
After an hour or so I managed to free the lens from the light unit. Below is a pic of the lens, surround and the rest of the light unit.


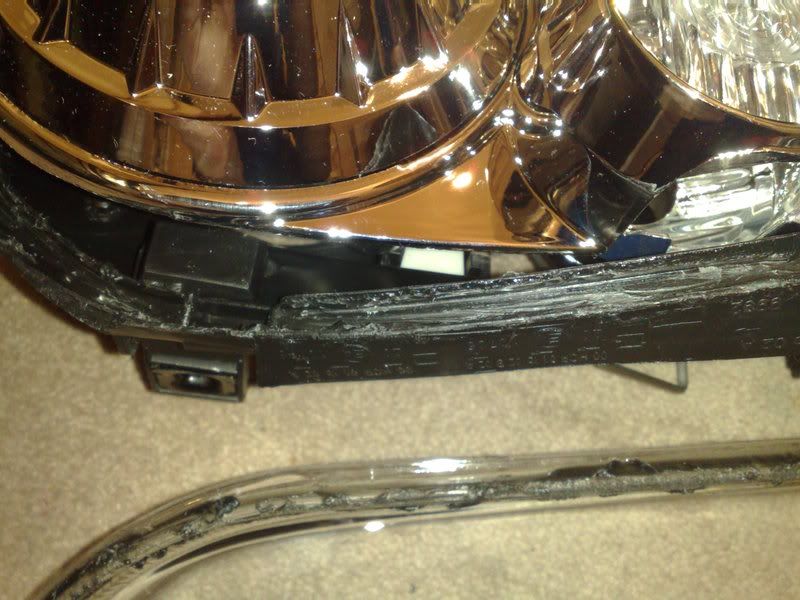
Now you need to clean out the rest of the glue from the groove in the plastic part of the light unit. I found a heat gun and a screwdriver to be really good for this, just don't use the heat gun on full chat or again it will melt something.


and that's it for now with the lgiht unit and glass. Put them somewhere safe so little hands can't get hold of them lol.


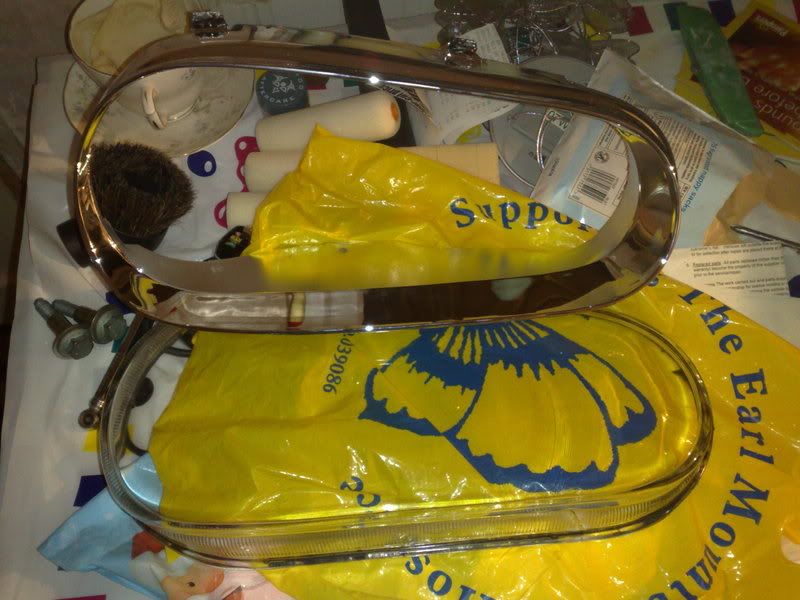
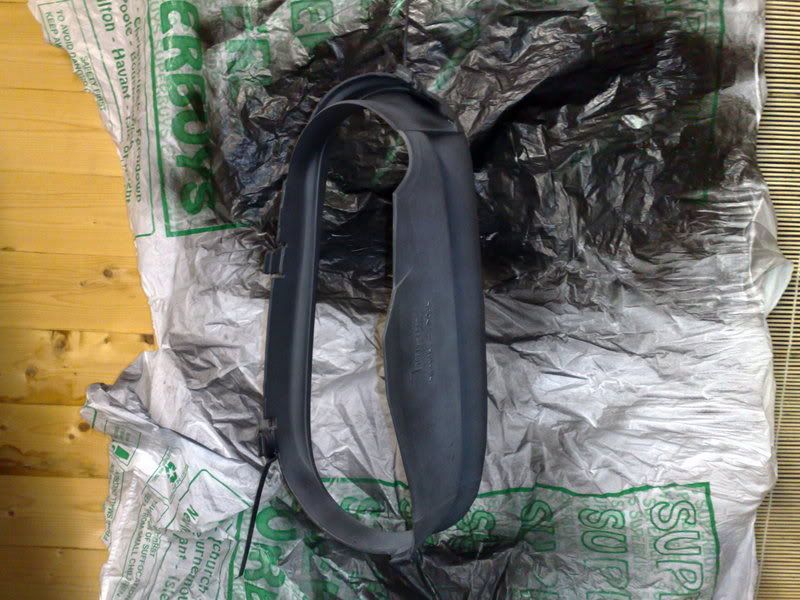
Next up is the surround that makes the lights look tinted. You need to rub them down with some 400 grade wet and dry. Anything more will be too harsh and scratch the surface of them. Once they're done they should look something like this


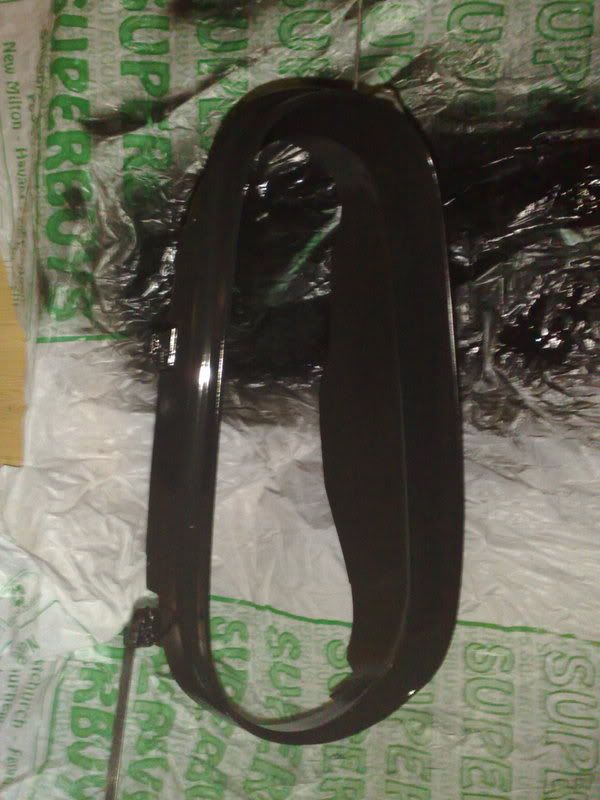
Now hang them up in your choice of spraying location. I recommend Halfords Satin black for them, the gloss will just look too shiny and the matt doesn't have any shine to it at all. The OEM Anni lights look like they are Satin but ultimately the choice is yours.

I sprayed them with 3 coats of paint, leaving a few hours in between each coat. A bit OTT but I wanted to make sure I had good coverage and hadn't missed any.


After you're happy that the surrounds are completely dry it's time to put the lights back together. Slot the surrounds back into the units carefully and make sure everything lines up properly. They have tabs on them that fit into the plastic on the units to aid this.


Next the lens, but first of all clean it. You can't guarantee you din't touch the inside of the lens and you'll kick yourself if there are fingerprints there after it's glued together!

I used some bodykit glue I had kicking about to glue them together again, it's stong stuff and stays slightly flexible rather than being rock solid. Only a fiver off ebay too but again the choice is yours.

Fill the groove of the unit with the glue, then push the lens on firmly. Grab the clips you took off at the start and use them to make sure the lens is all the way home. Scrape off any excess, then leave to dry overnight.


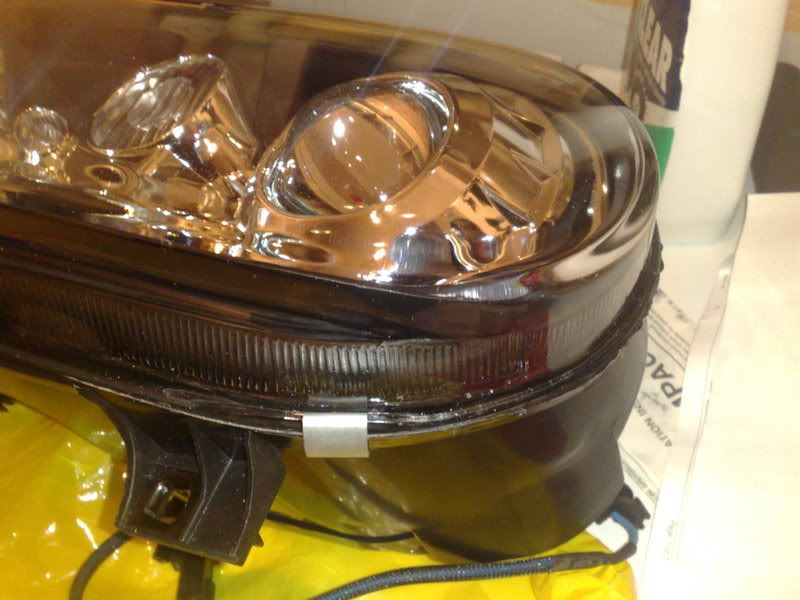
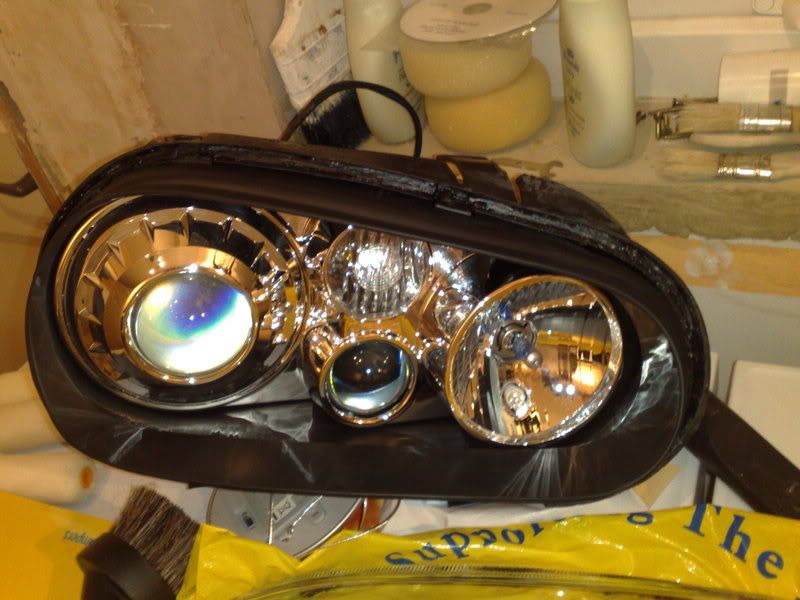
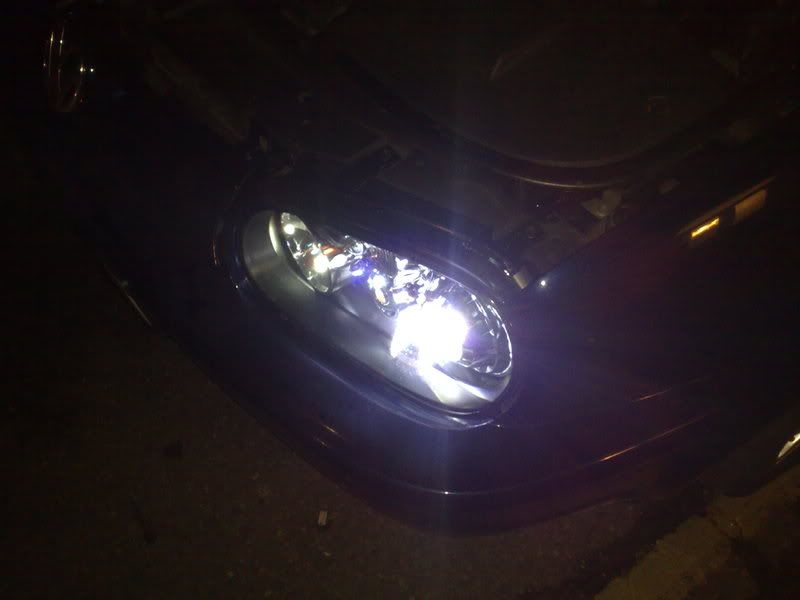
They should look like this when finished


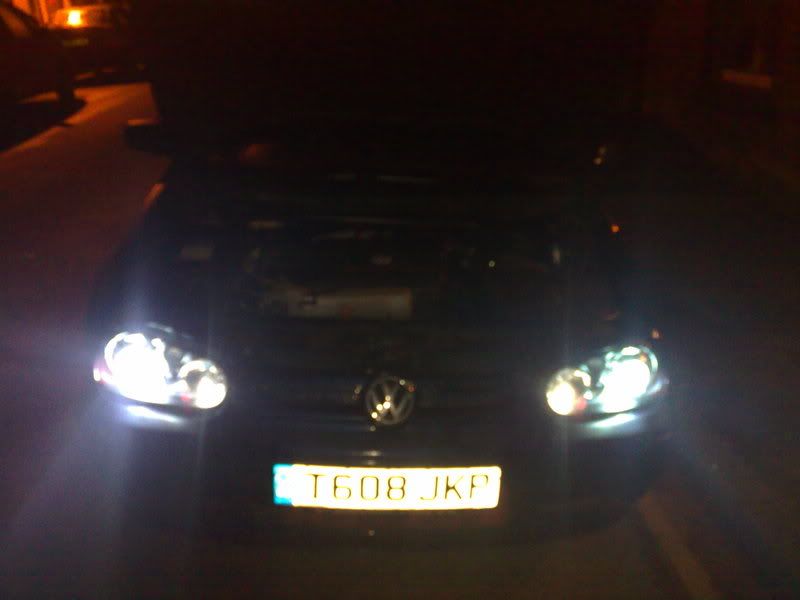
Fit as you would any other light, then stand back and admire the new look!


Any questions please ask away
« Last Edit: February 11, 2009, 22:12 by richw911 » Logged


1999 1.8T: R-Tech remap : K03s : Forge SMIC : Blueflame s/steel exhaust : 2.5" decat : THS PCR pipe : THS FR3 Engine mounts : G60/VR6 clutch : S3 strut braces : Whiteline rear ARB : JOM -40mm springs : Bilstein B4 Sports shocks : 312mm front brakes : 4motion valances : more coming soon... http://www.golfgtiforum.co.uk/index.php?topic=92175
Rhyso
Global Moderator
Sir Postalot
*****
Offline Offline

Posts: 20088

Location: Merthyr Tydfil


« Reply #1 on: February 08, 2009, 19:09 »

nice guide - worthy of entry to the Info & Maintenance section  nerd
Logged

Its Audi Time smiley2
(shakey)
I live here
*****
Offline Offline

Posts: 1226

Location: north wales


IS STILL SICK ABOUT CRASHING ME 1.8T AFTER 2 YEARS


« Reply #2 on: February 08, 2009, 19:50 »

get it in there rhys

thats a hell of a guide will b trying that meself i hav spare headlights here
Logged

2001 silver,2.3 v5,which is std at the min,full recaro leather and winter pack,full vw amp system.
T_J_G
Serious forum addict
*
Online Online

Posts: 7486

Location: Kent


2000 Golf GTi AUM


« Reply #3 on: February 08, 2009, 19:54 »

I'm after a new passenger light as mine steams up :@ but once I've replaced it I'm going to give the old one a go with this guide. Thanks mate.
Logged

Check out my project section here

Quote from: AlanD
I do love you all but would never declare it on here Grin
Rhyso
Global Moderator
Sir Postalot
*****
Offline Offline

Posts: 20088

Location: Merthyr Tydfil


« Reply #4 on: February 08, 2009, 19:57 »

get it in there rhys

thats a hell of a guide will b trying that meself i hav spare headlights here

will be going in shortly - going to leave it up here for a day so more people see it  smiley
Logged

Its Audi Time smiley2
RnP
Here all the time
****
Offline Offline

Posts: 338

Location:


Audi S4 stage 1 map


« Reply #5 on: February 08, 2009, 22:34 »

i need to know where to get those projector lights from if anyone would like to shed some light on it for me
Logged
Steve_PD
Forum addict
*
Online Online

Posts: 5308

Location: Sunny South Wales

MK4 GT TDI 150


« Reply #6 on: February 08, 2009, 22:42 »

Ebay
Logged

2002 Mk4 GT TDI 150 R-Tech 190 evil
Quote from: Diamond Hell
Tuned diesels - kinda like a guy with a huge c0ck and premature ejaculati0n.

Wazzzer
I live here
*****
Offline Offline

Posts: 3795

Location: Isle of Wight


Golf GTI 1.8T AGU


« Reply #7 on: February 08, 2009, 23:04 »

yes mate ebay, mine were from this place

http://cgi.ebay.co.uk/VW-GOLF-MK4-98-03-R32-STYLE-CHROME-HEADLIGHTS_W0QQitemZ220353709574QQcmdZViewItemQQptZUK_CarsParts_Vehicles_CarParts_SM?hash=item220353709574&_trksid=p3286.c0.m14&_trkparms=66%3A4|65%3A1|39%3A1|240%3A1318
Logged


1999 1.8T: R-Tech remap : K03s : Forge SMIC : Blueflame s/steel exhaust : 2.5" decat : THS PCR pipe : THS FR3 Engine mounts : G60/VR6 clutch : S3 strut braces : Whiteline rear ARB : JOM -40mm springs : Bilstein B4 Sports shocks : 312mm front brakes : 4motion valances : more coming soon... http://www.golfgtiforum.co.uk/index.php?topic=92175
Ridg
I live here
*****
Offline Offline

Posts: 2553

Location: Medway, Kent


TDI - Soot Happens!


« Reply #8 on: February 09, 2009, 13:07 »

I'm after a new passenger light as mine steams up

one of the reasons I've got headlight protectors fitted to mine, i saw an R32 the other day with a chipped and steamed up cluster  cry cry

The Joey mod looks good, amazing how big a difference a small amount of paint can make afro
Logged

T_J_G
Serious forum addict
*
Online Online

Posts: 7486

Location: Kent


2000 Golf GTi AUM


« Reply #9 on: February 09, 2009, 13:15 »

I'm after a new passenger light as mine steams up

one of the reasons I've got headlight protectors fitted to mine, i saw an R32 the other day with a chipped and steamed up cluster  cry cry

The Joey mod looks good, amazing how big a difference a small amount of paint can make afro

Genuine lights gp for about £50 on ebay. shocked
Logged

Check out my project section here

Quote from: AlanD
I do love you all but would never declare it on here Grin
Pages: [1] 2 3
Print
Jump to:  

Page created in 0.206 seconds with 20 queries.