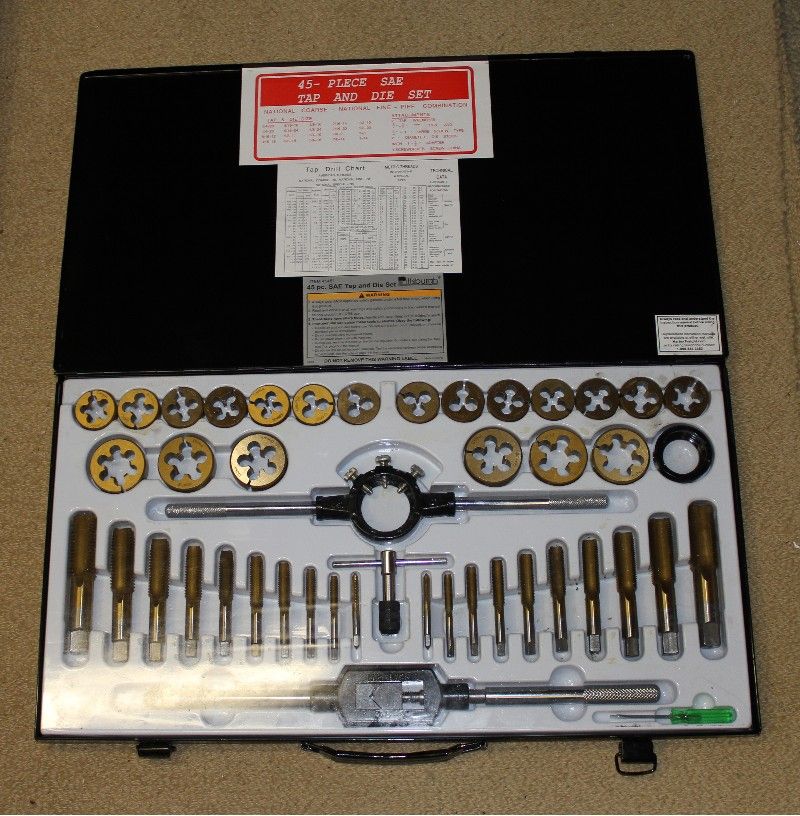
Securing tank brackets togetherOne of items that I have left for a while was securing both the tanks together via the EXO rings. You can see the setup I have in picture below, but I need to adapter the rings to secure them.
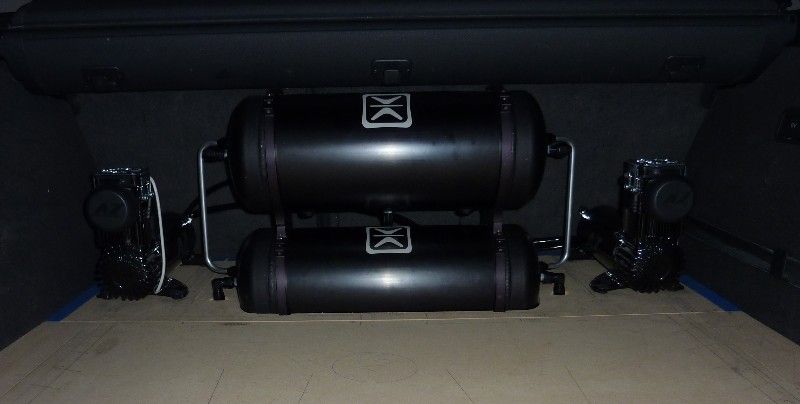
I took the top tank off and then disconnected the Exo Rings
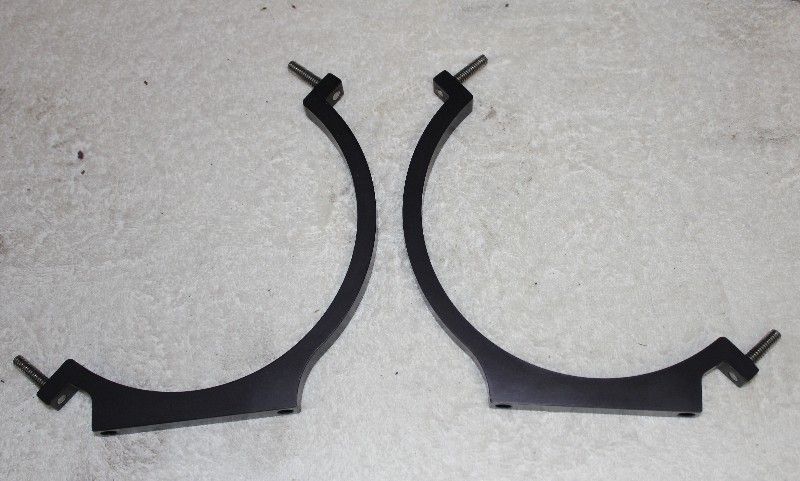
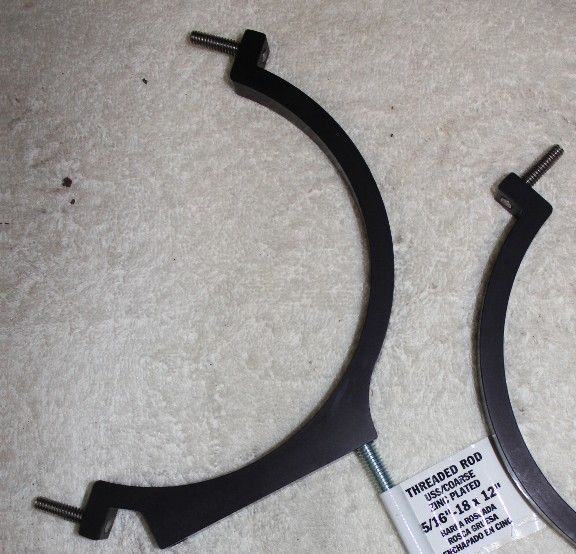
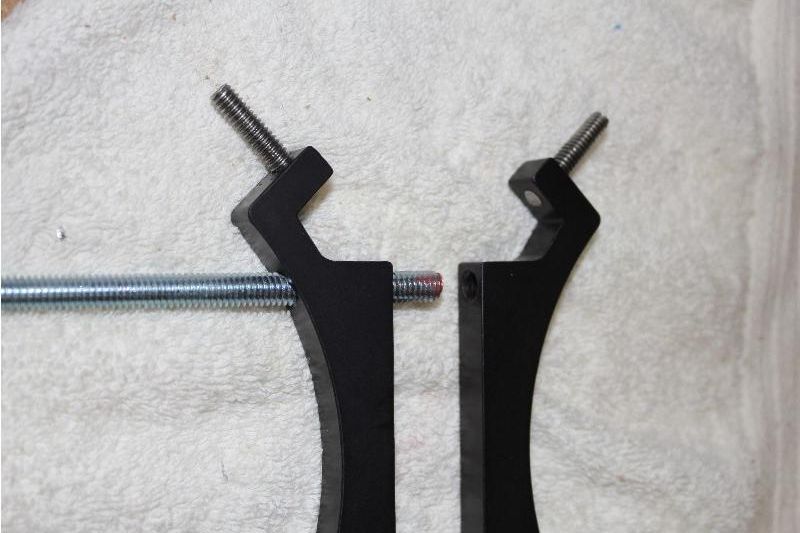
Here is how I need the rings to secure together, there are threads at the bottom of each Ring to secure to a floor
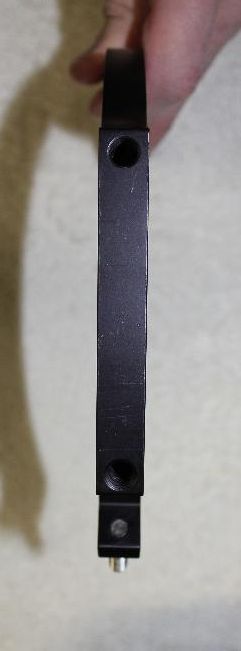
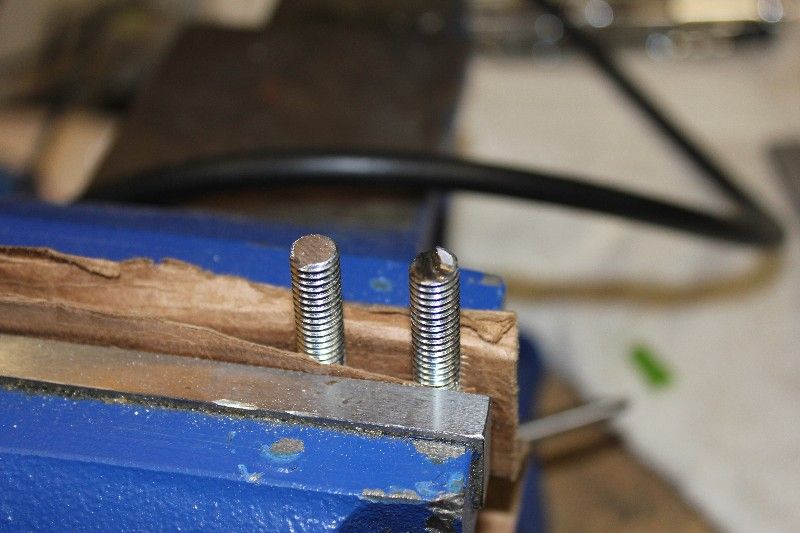
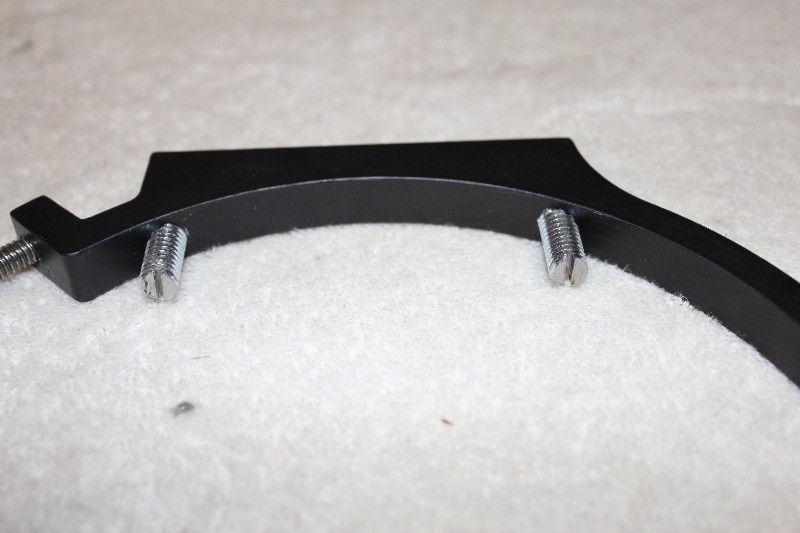
Measure the threads on rings, they are 5/16'', so I got a Thread ROD, which to make up my custom threads to secure them together.
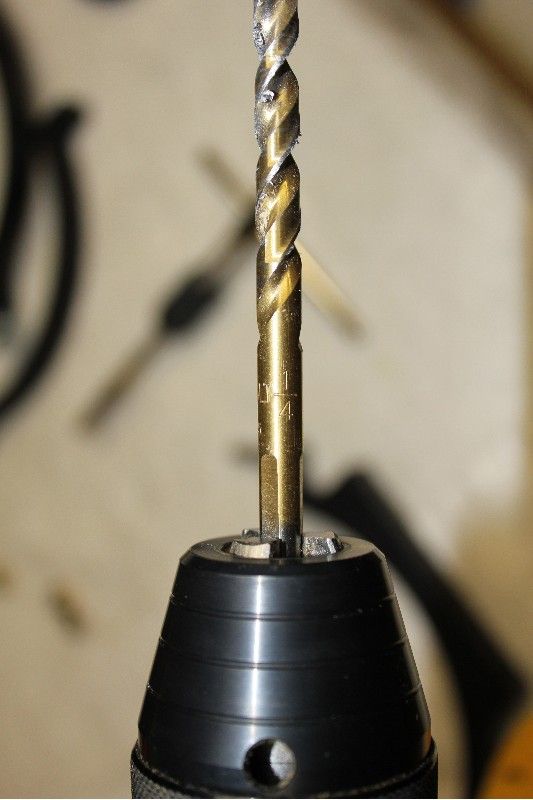
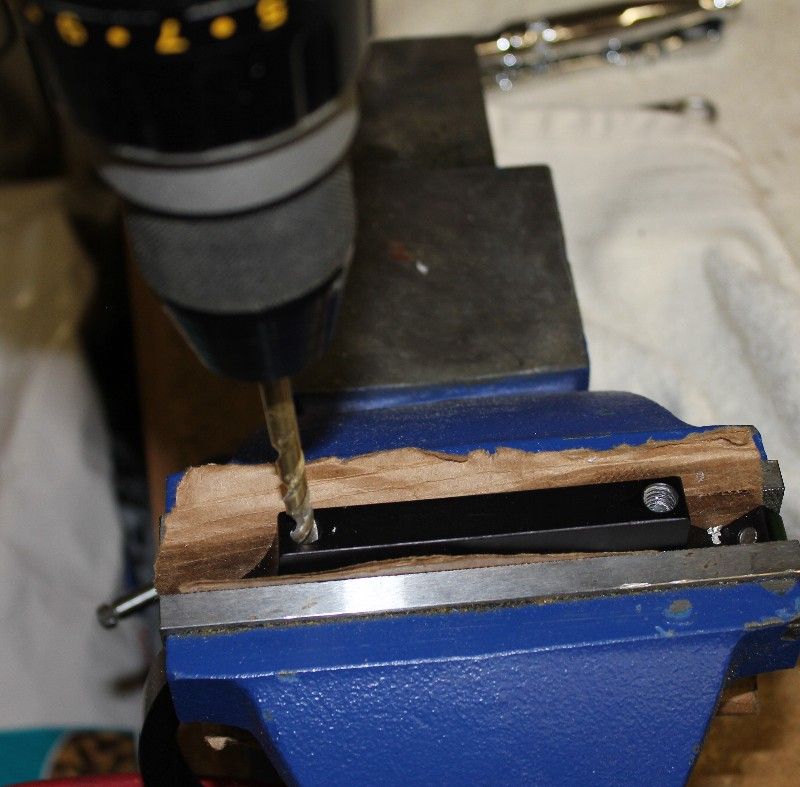
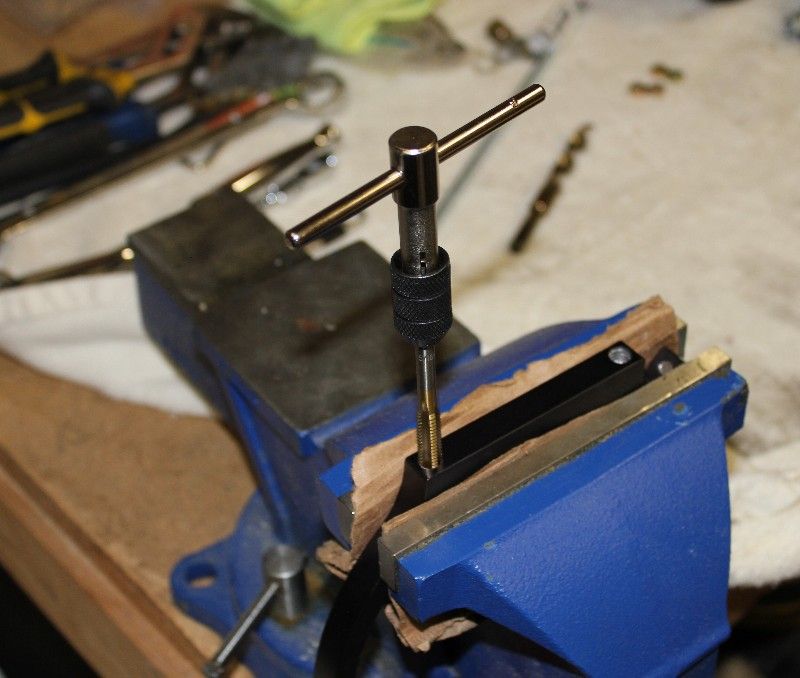
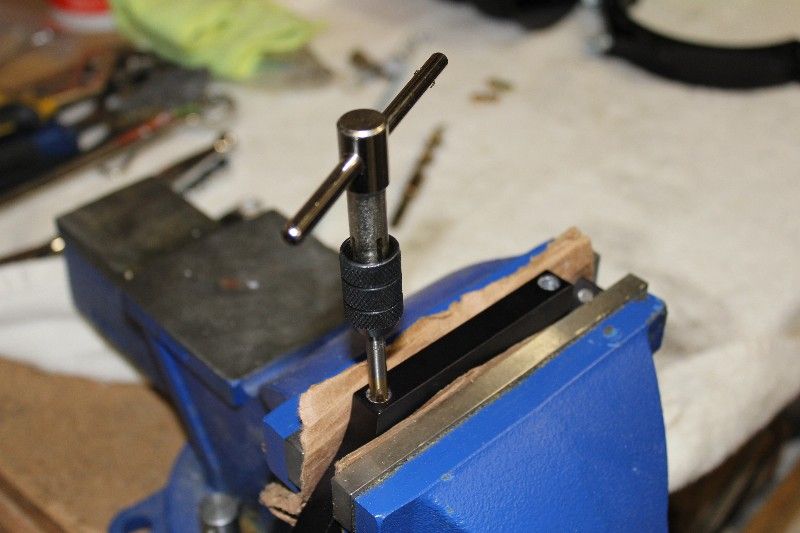
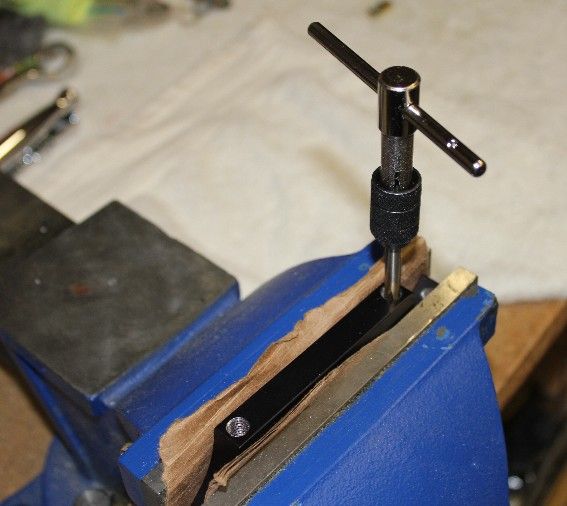
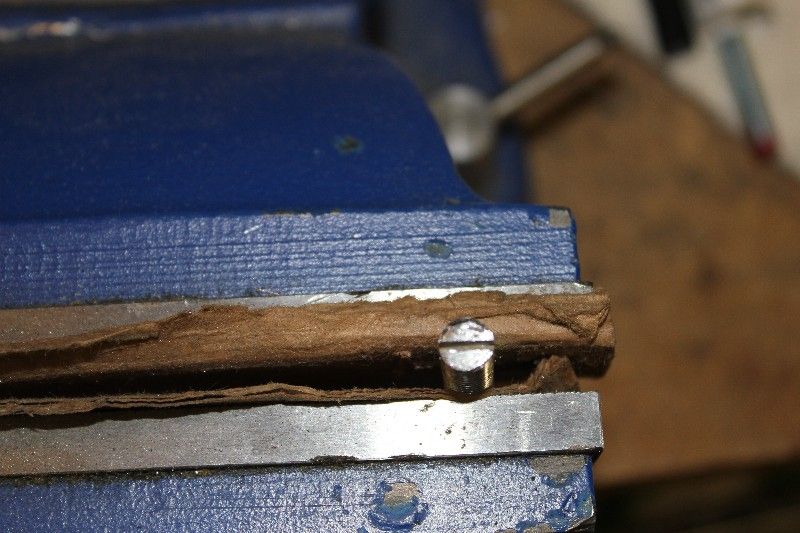
So Securing ring in Vise, using a 1/4'' drill I drilled out through the ring. Ideally you want to use a secure drill, instead of hand drill, but I've done this loads, so just took my time.
First hole
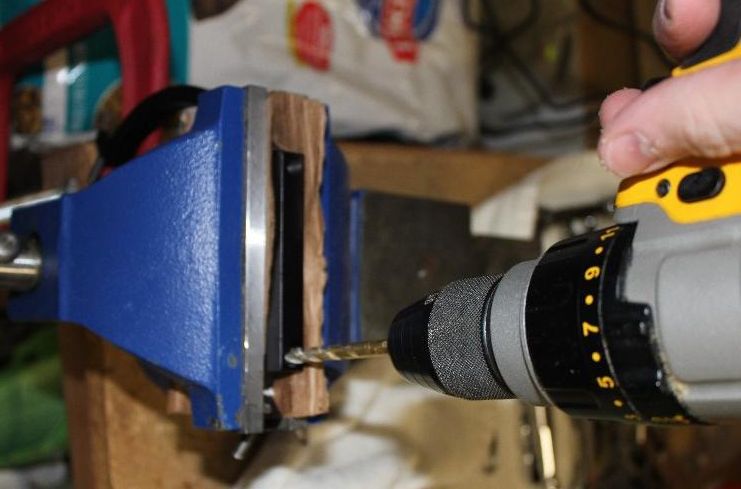
Second hole
Now using my Tap and die set, generate the right 5/16'' thread in new hole.
The 5/16'' tool
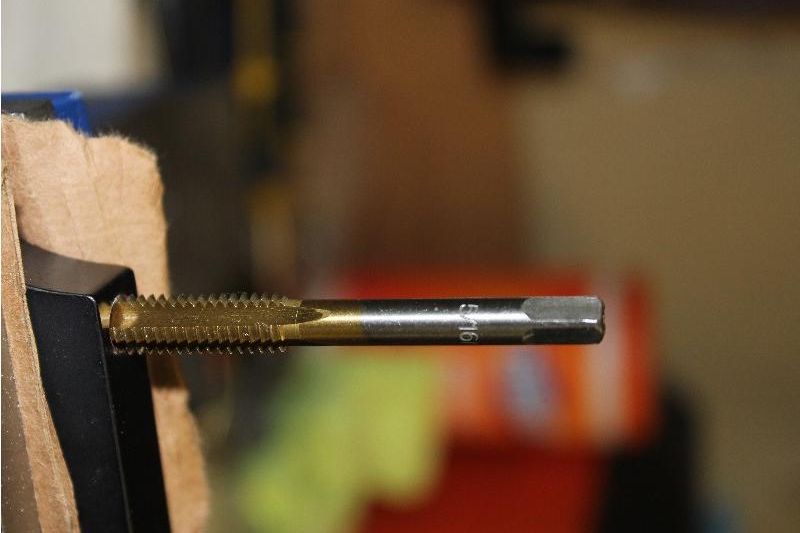
You should take your time when doing this, I also use both hands when doing this kind of work, so I don't pull the tool to any side and get clean threads in the whole.
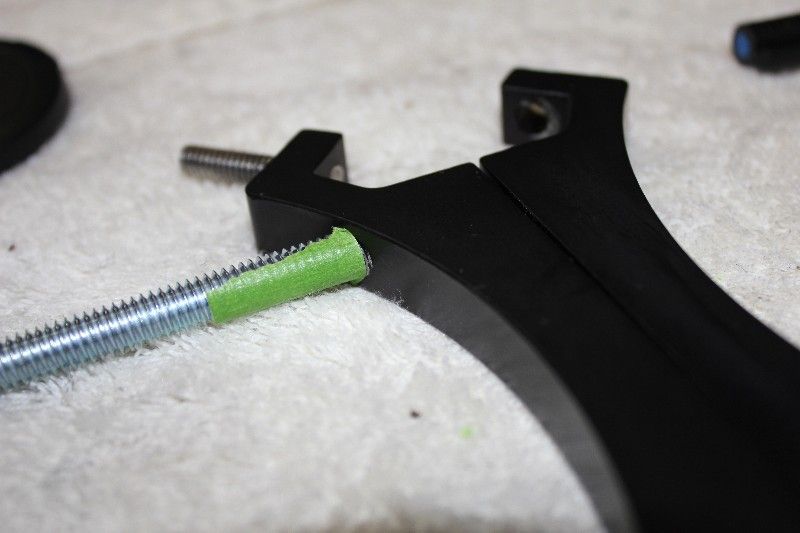
Here is the Thread ROD all the way through the Exo ring

You can see here how the thread goes through and will secure into the next Exo ring
I then repeated the drilling and tapping for both Exo rings parts
Test thread rod securing two Exo rings, works perfectly. You see a gap between the rings in the pictures, this is due too I didn't tighten up the thread, that will disappear once I cut the thread rod to the required lengths.
So tapped the thread where I require to cut it.
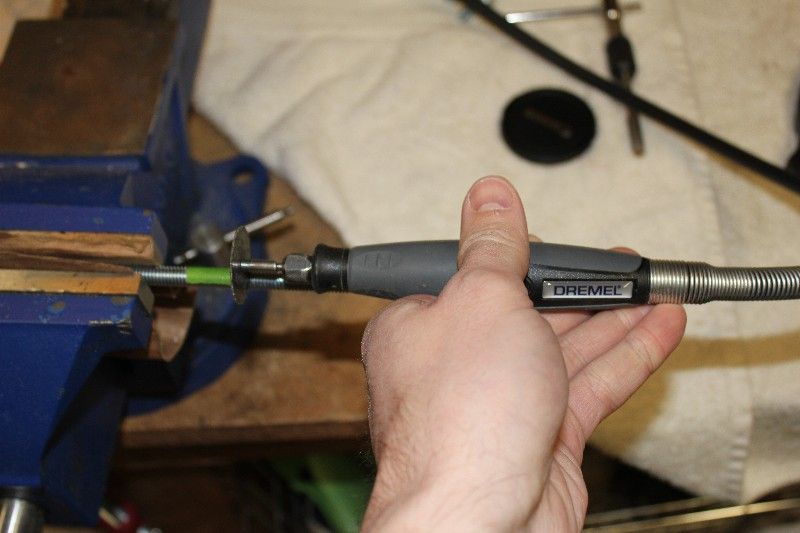
Now securing thread rod in Vise and using Dremel tool cut the thread rod
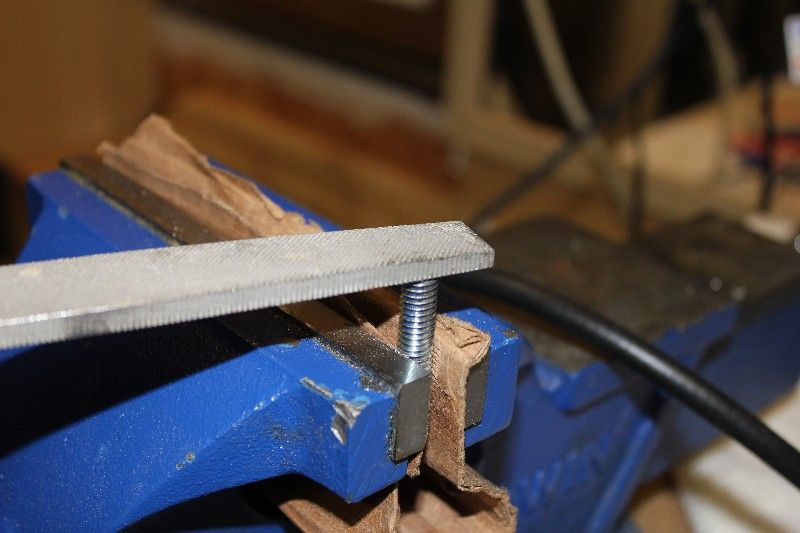
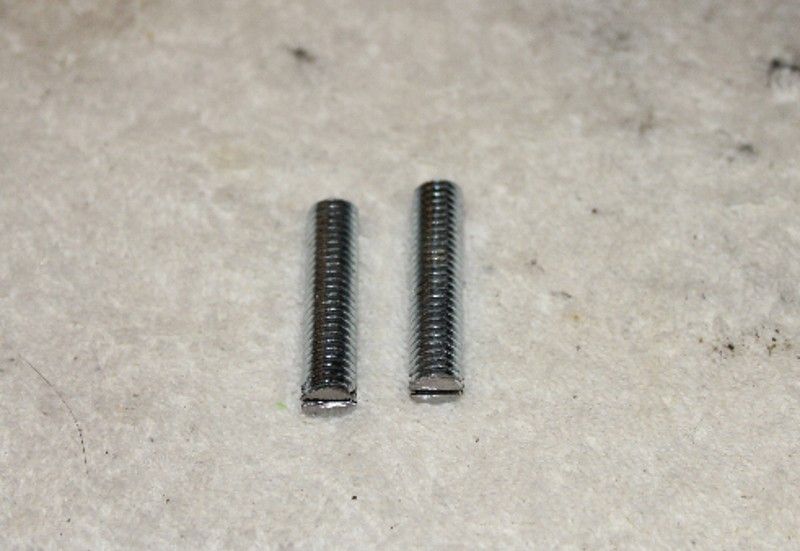
Time to clean up the ends of the Thread rod piece with file.
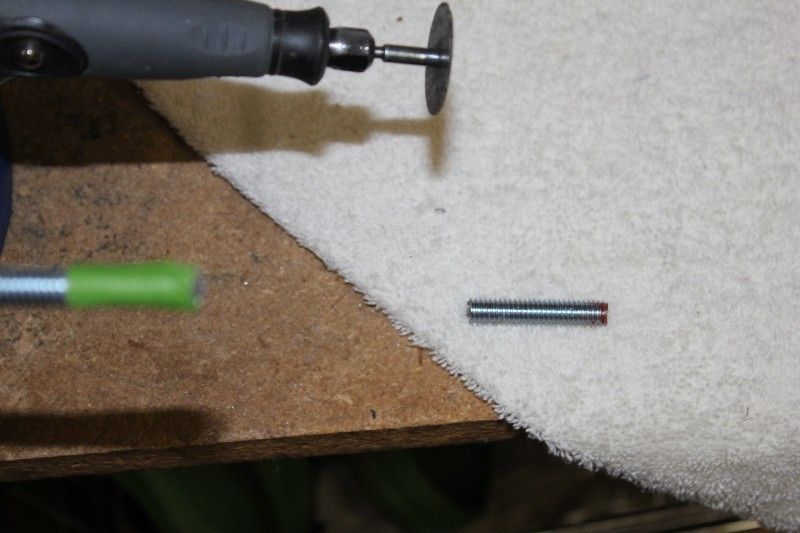
Here you can see thread rods one filed down (left) and one from just being cut (right). Key to get these nice and straight and then using die/tap tool make sure threads are as needed.
Only thing left to do now, is cut straight line at the end of the each thread so I can use screwdriver to screw then in. Used Dremel to create these.
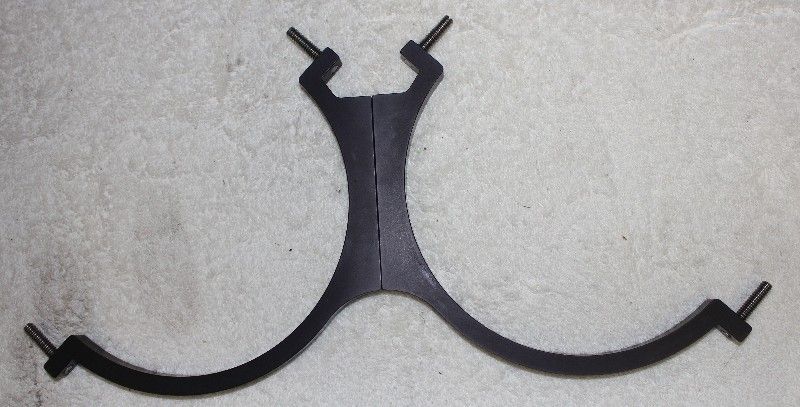
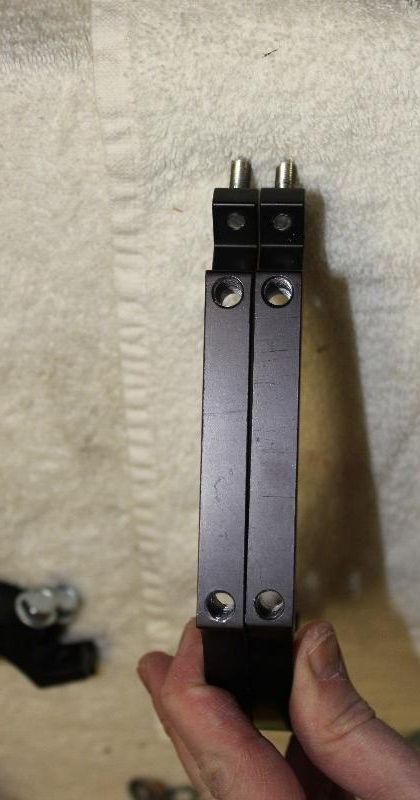
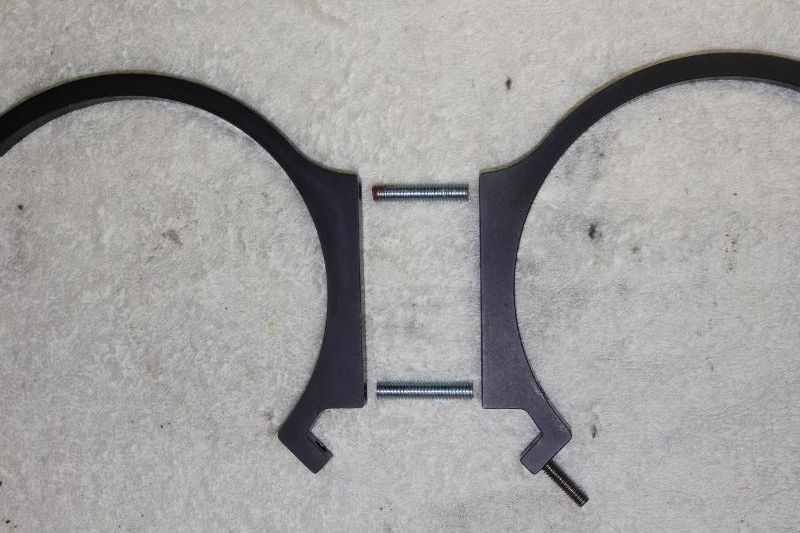
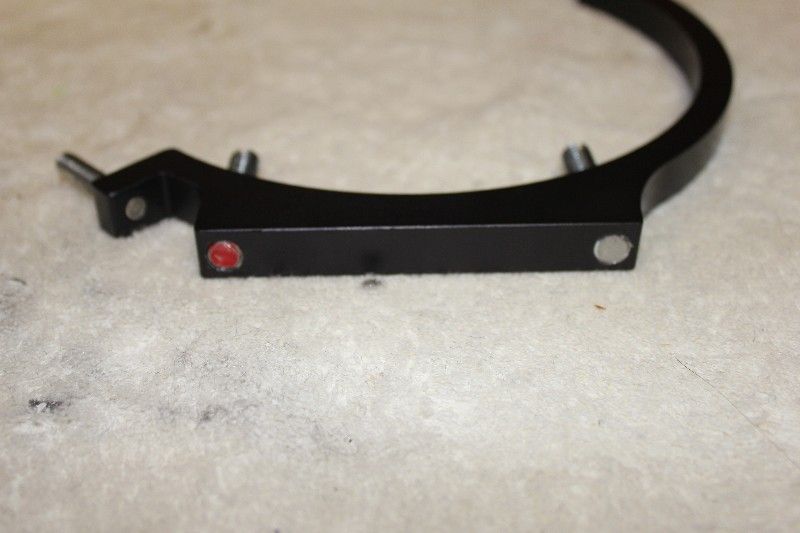
One set of rings complete, see how they will install.
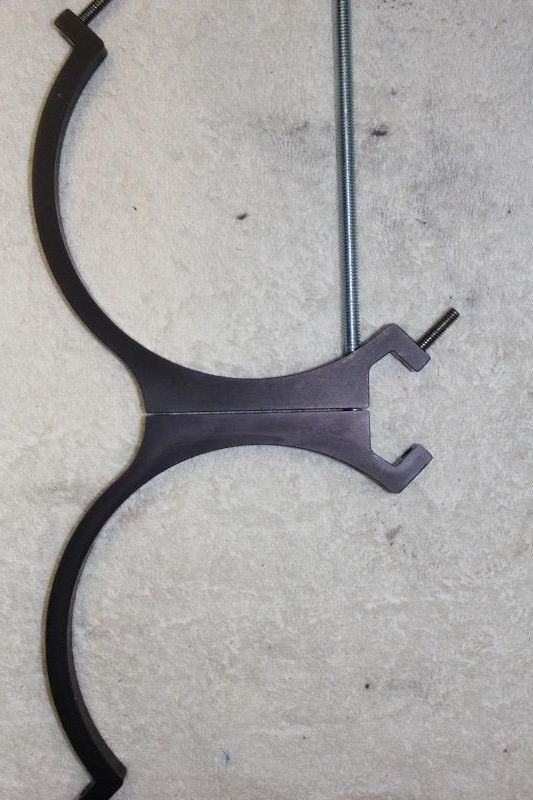
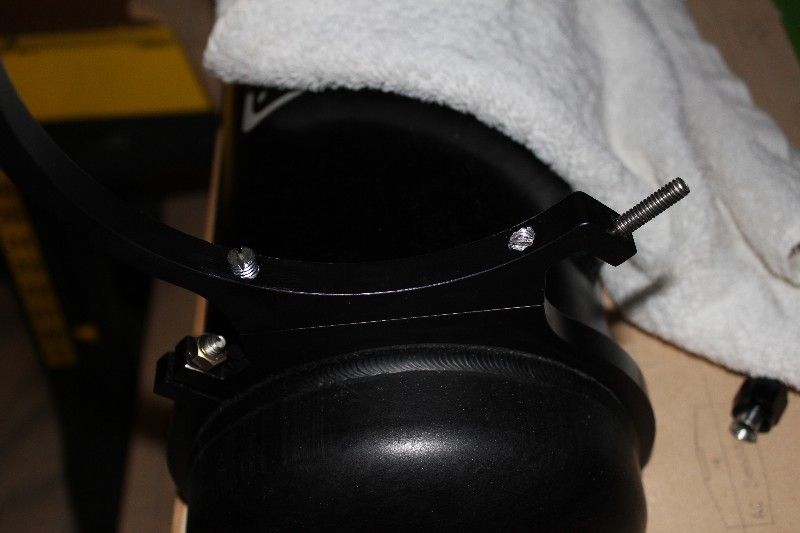
Threads install in top rings, top side
Bottom side of rings
Ring installed, you can see thread on left half way threaded in and one on the right completely in.
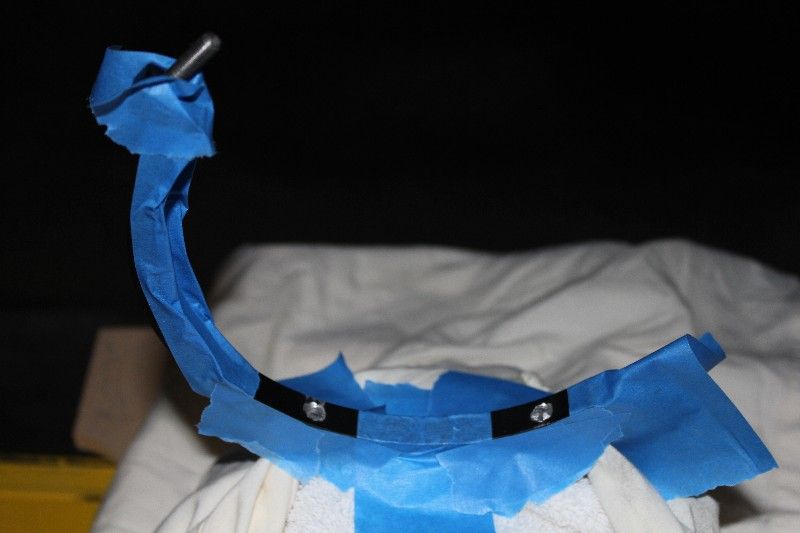
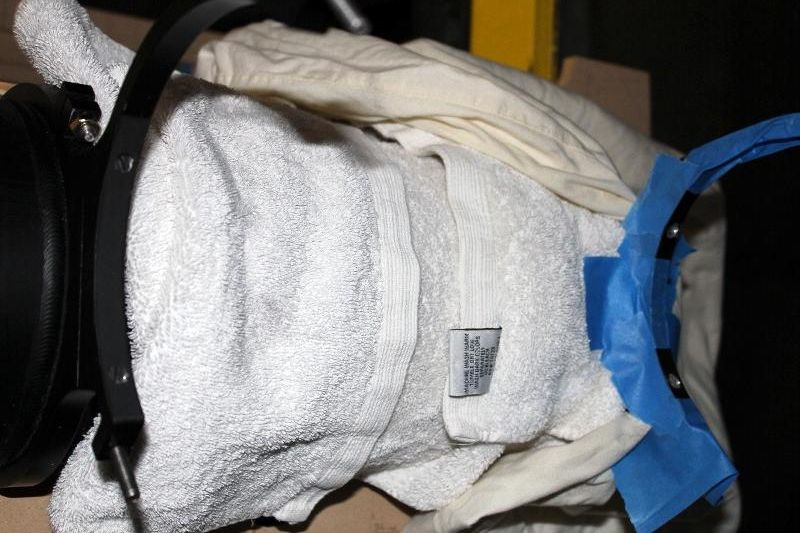
With the first Exo ring installed, now need to tape up and paint tops of screws, even though they won't be seen, its my OCD...!!
Here is the end result, with both rings installed, one painted.
and the other one painted. Another to do item completed.


