I thought this would be better suited in this section

Right, I have recently purchased a GTTDI with a full cream leather interior. It is nice, but all that cream made me feel a bit

so I decided something needed to be done about it! That's when I had the idea of swapping the material panel sections off of the doorcards from my gti!

Whilst doing this mod, I took several photos so that I could do this 'how to', which will hopefully help others planning on doing the same thing, or give you an idea of what it looks like
If you don't like the end result, that's fine, you don't have to do this to your car!!

To start off with, you need to remove the door panels. If you know how to do this then skip the next couple of steps, if not enjoy the photography
I did them in pairs (fronts and then rears) as it does take up space and time.
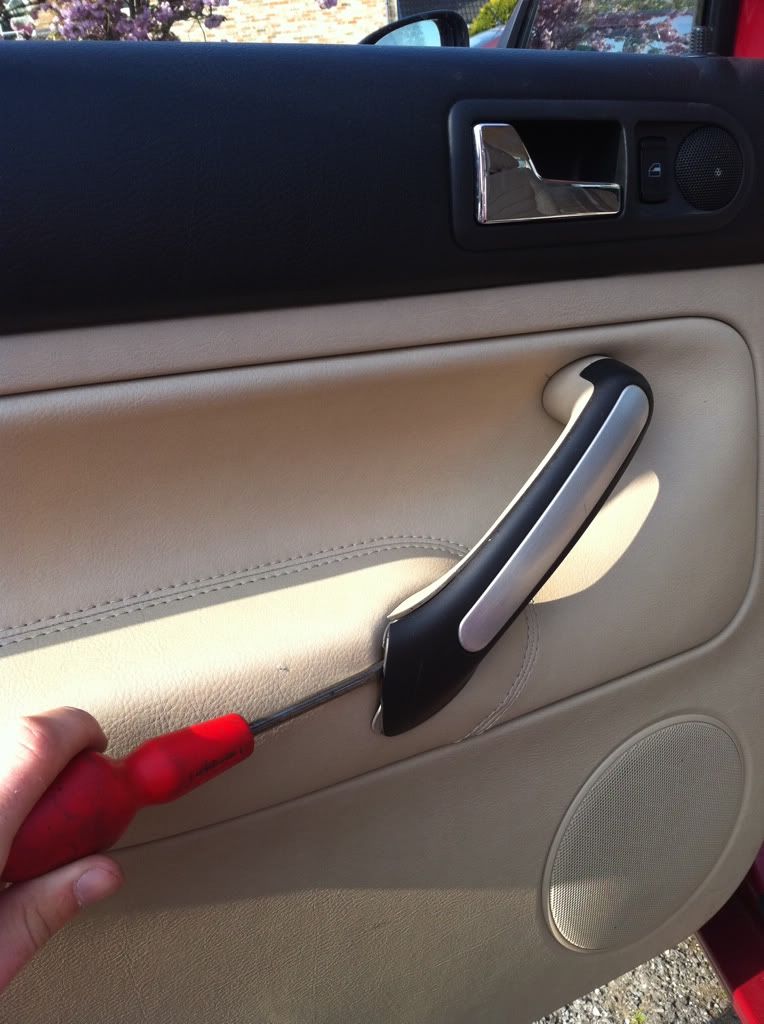
You will need to remove the grab handles. I used a flat headed screwdriver as you can see in the pic.
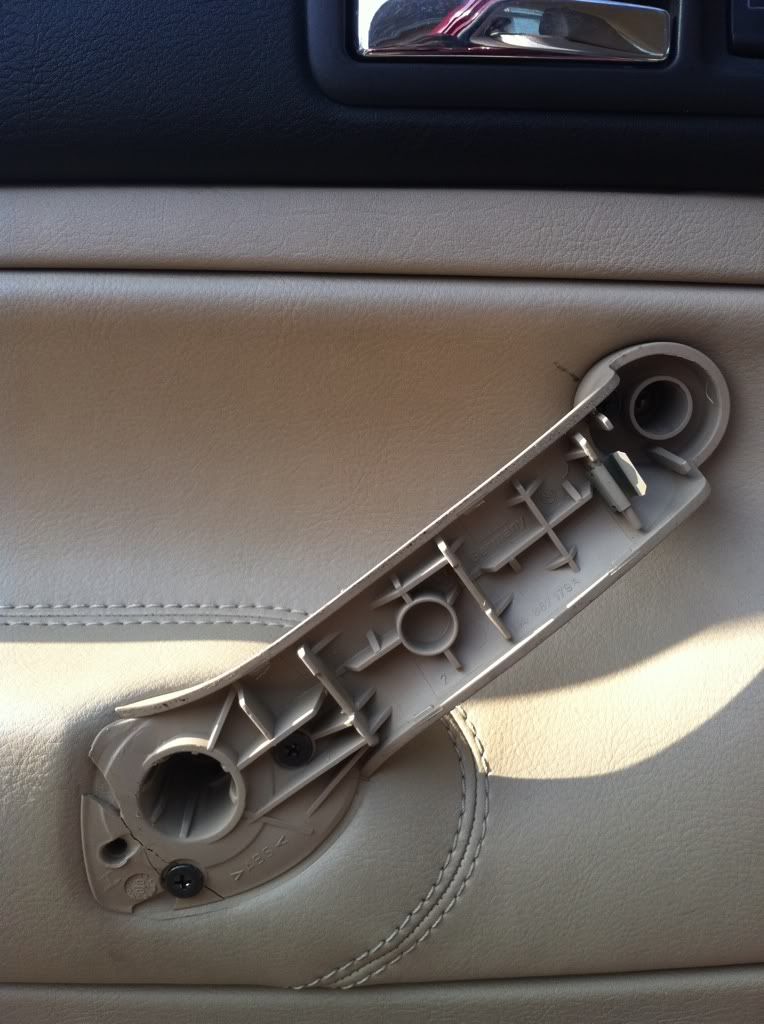
This will leave you with this...
Now, you need to unscrew the two gold screws, you don't have to remove the three small blacks ones! Once you've done that, you will need to remove the torque screws at the very bottom of the doorcard.
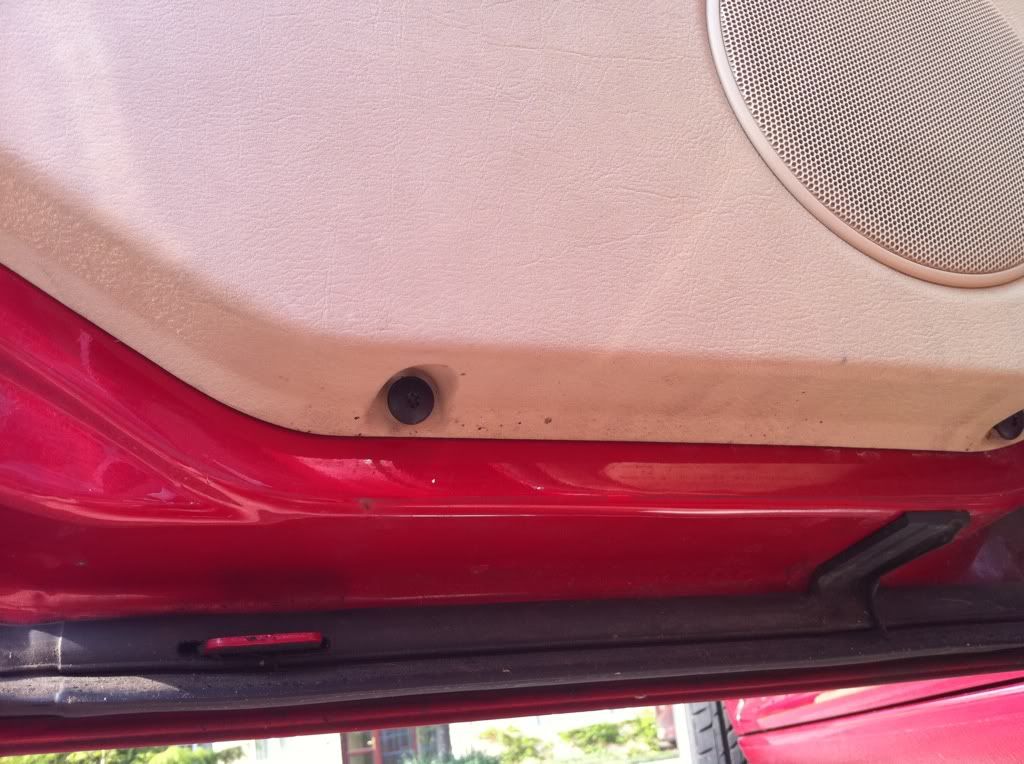
With these now removed, the doorcard needs to be lifted up, as it sits on a ridge at the top. Don't just yank it off as it's still connected by the tweeter speaker, the electric window switch and the door cable. This is what you should be able to see...
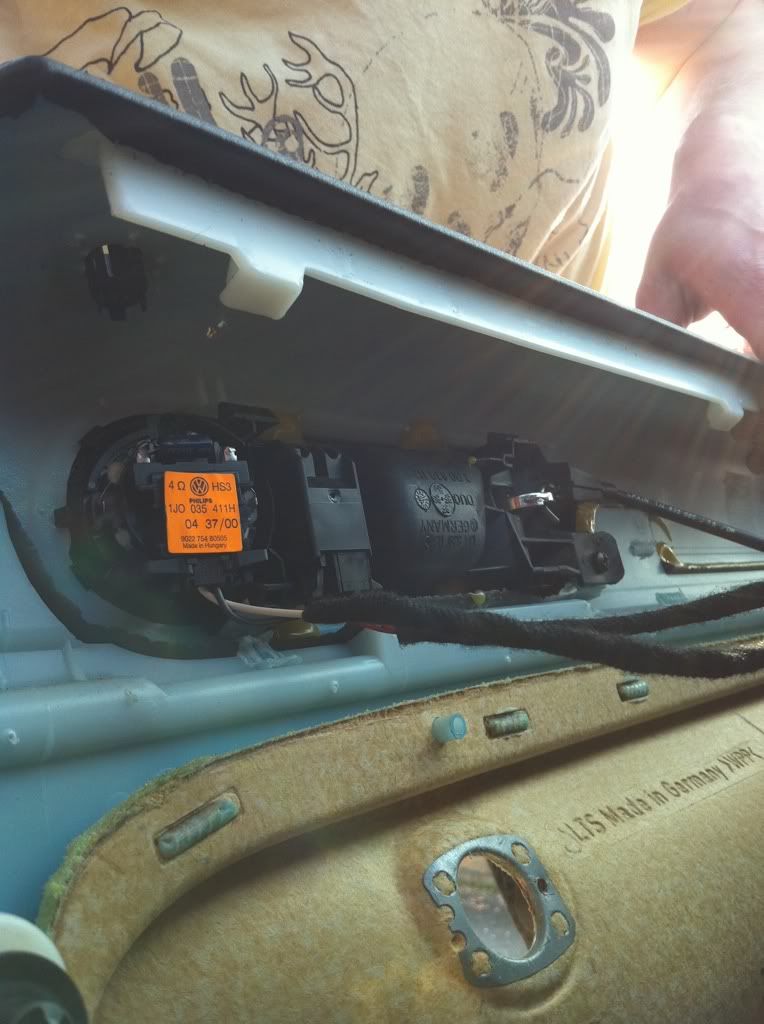
Once these are disconnected, you will be able to safely remove doorcard from the door. Once you've got the doorcards removed (do it in pairs) you can continue the work away from the car.
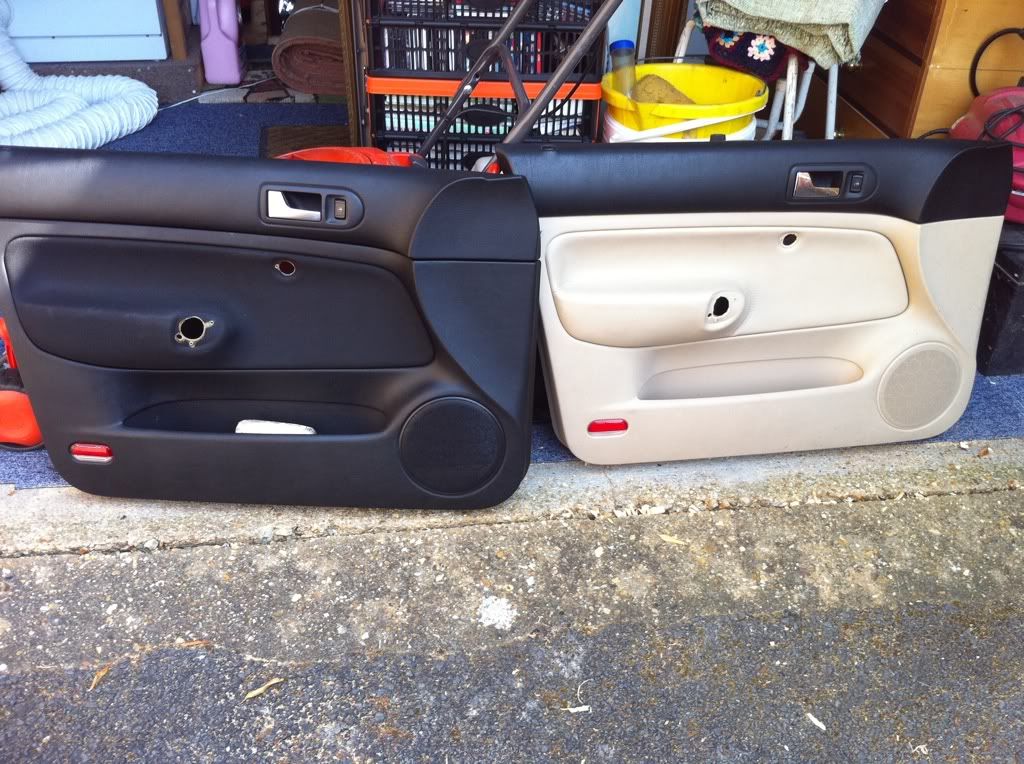
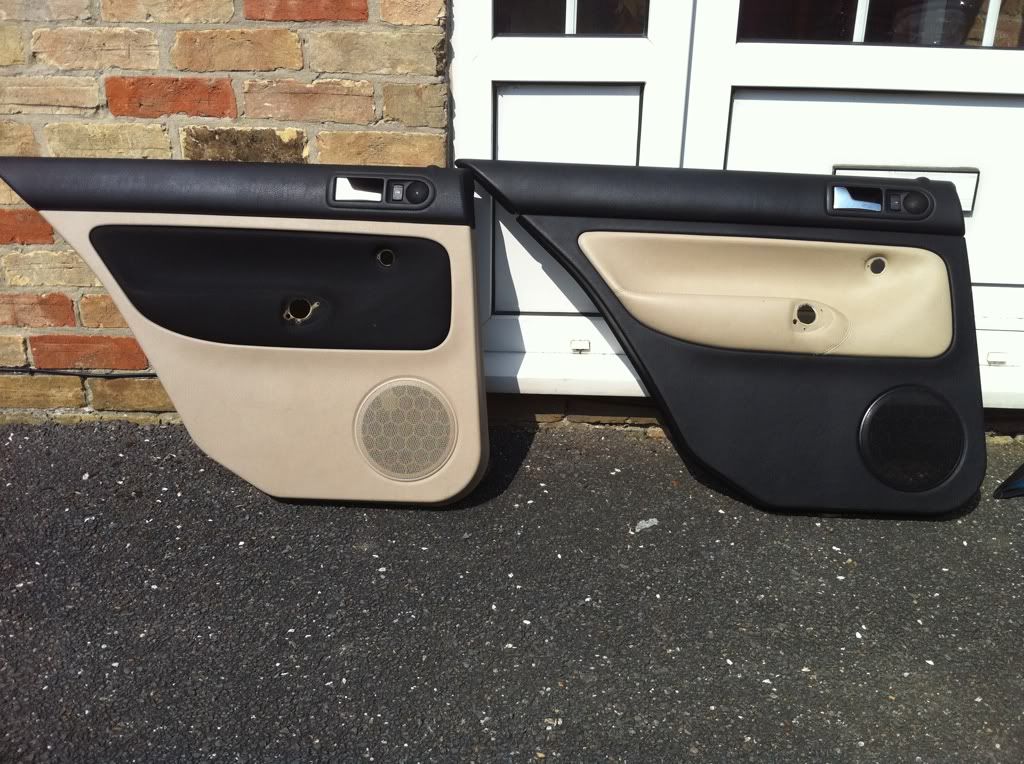
These are the two doorcards that I will switch the material section over. As you can see, I did remove the entire grab handle, but save time, you don't need to!!

If you turn the doorcard around, you will see this...
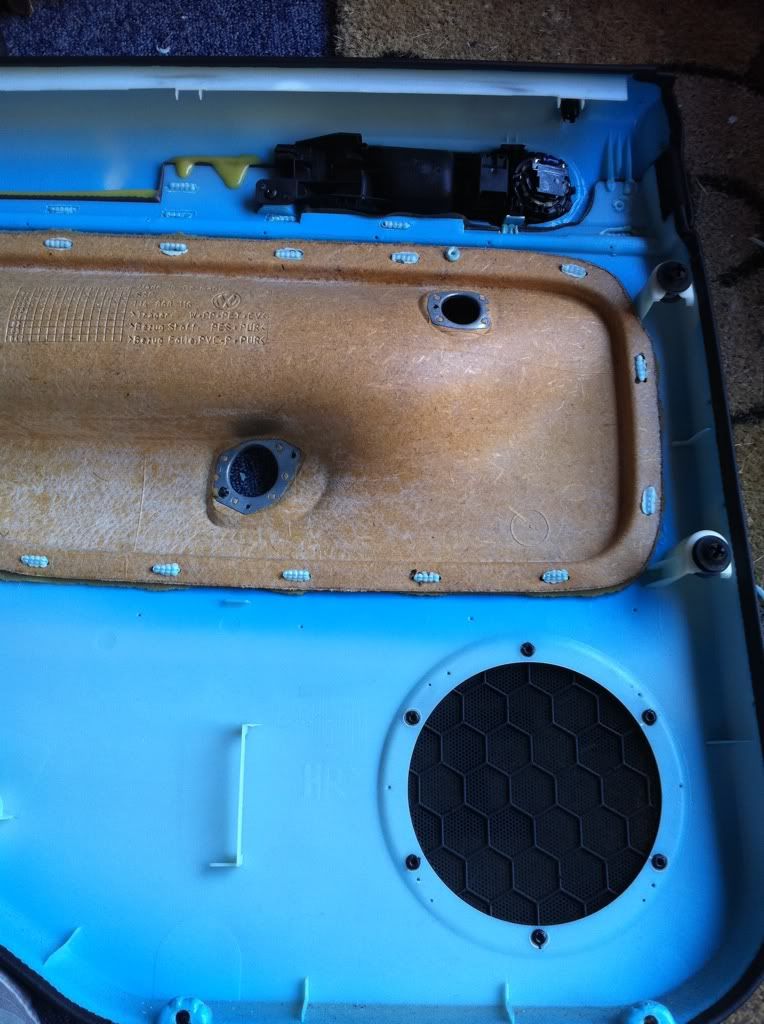
It is these tiny blue strips that you need to work on.
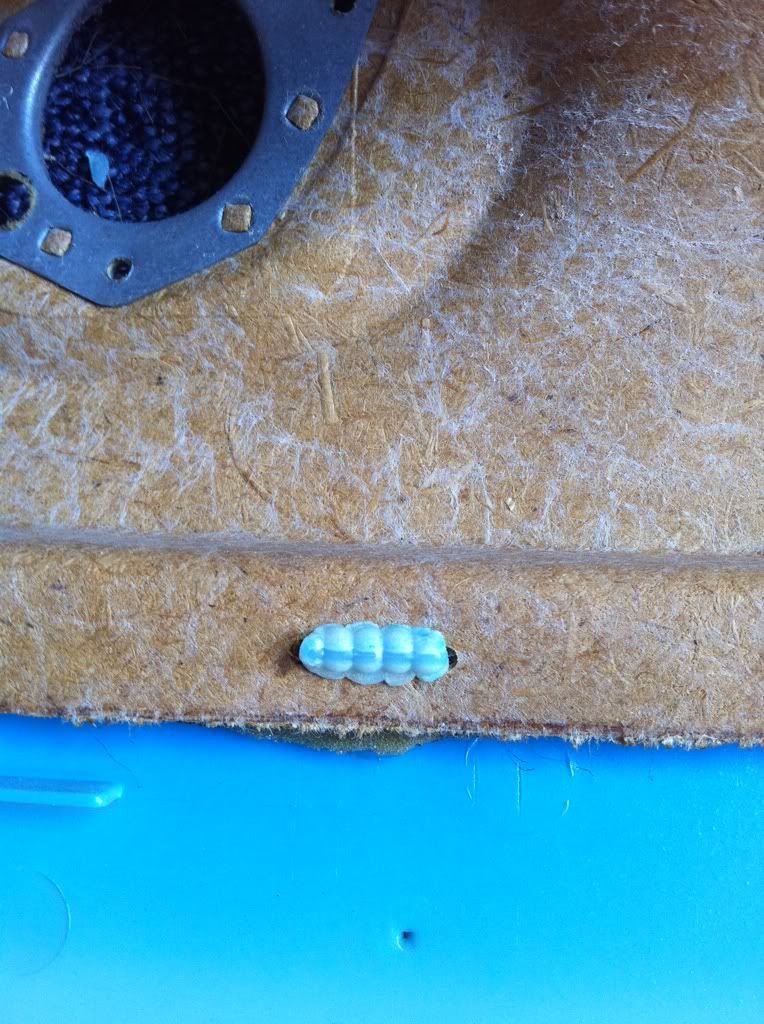
With a Stanley knife, cut along the top and bottom of the blue strip
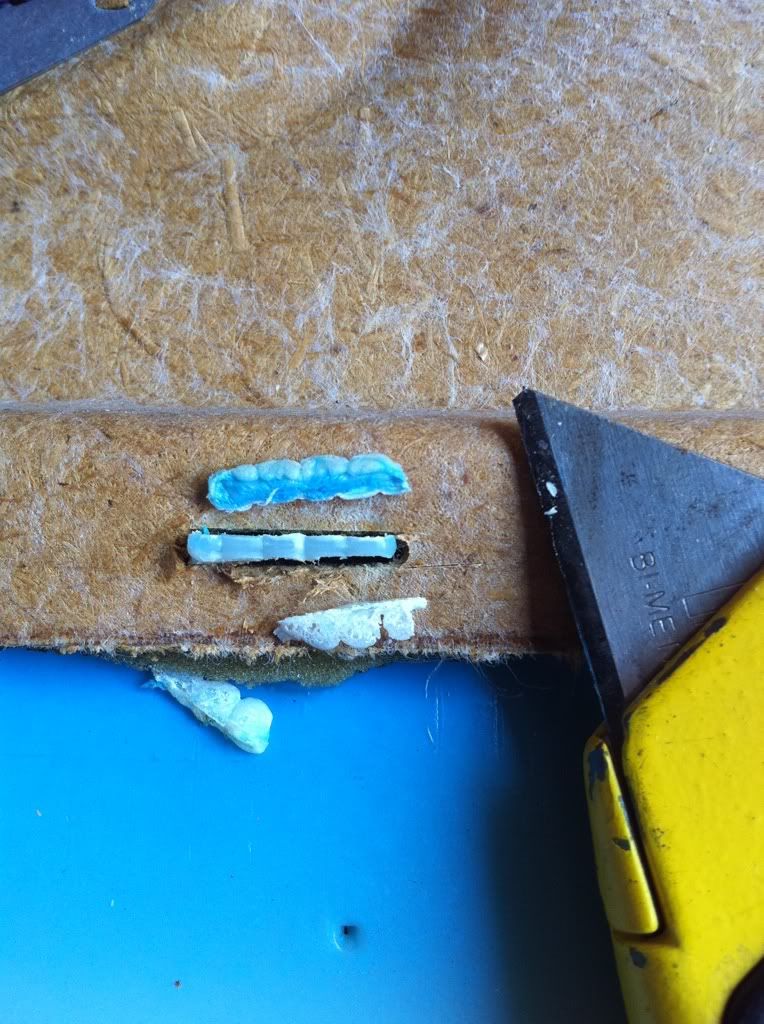
Repeat this process the whole way round the section. You will know when you're ready, as with a little bit of pressure, it will pop away from the rest of the doorcard. Leaving you with this...
All you need to do is pop the 'new' panel into place. It should fit perfectly, as the fitment points are in the same places. If it doesn't quite pop in fully, trim the blue strips (as seen in other pic) accordingly!
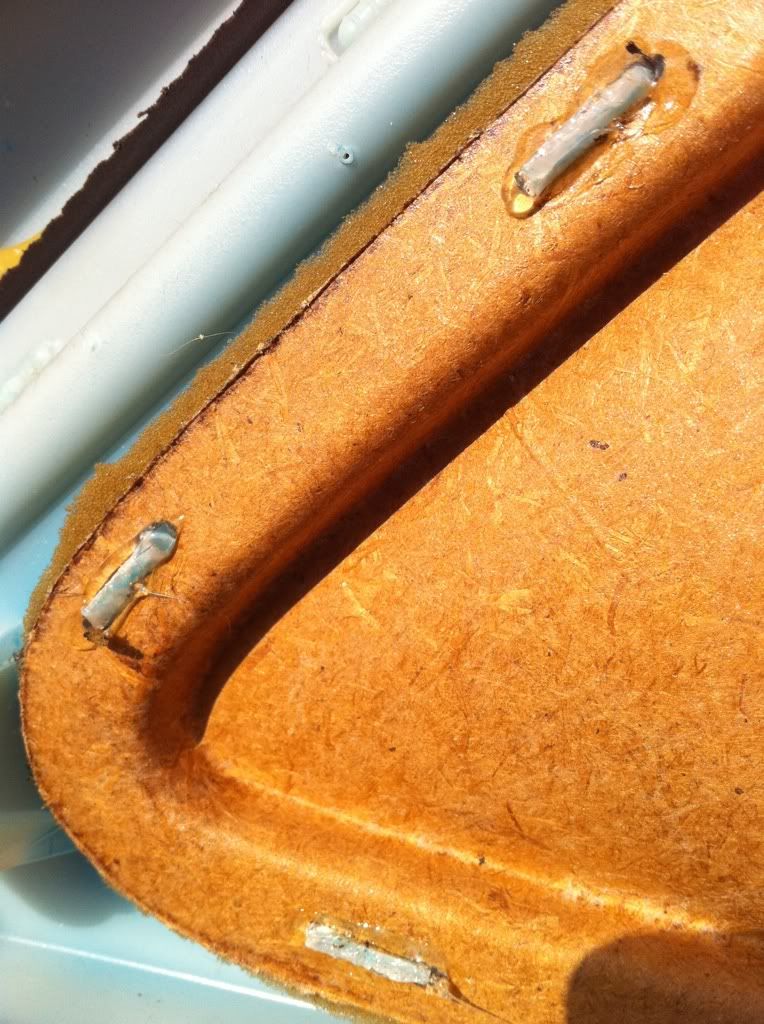
When you are happy that the new panel is in place, use glue/adhesive and go over every strip that you have trimmed with the Stanley knife. This is so important, if not your elbow will pop the panel out of place!!
Allow to dry in the sun (if possible
) whilst you work on the next pair of doorcards.
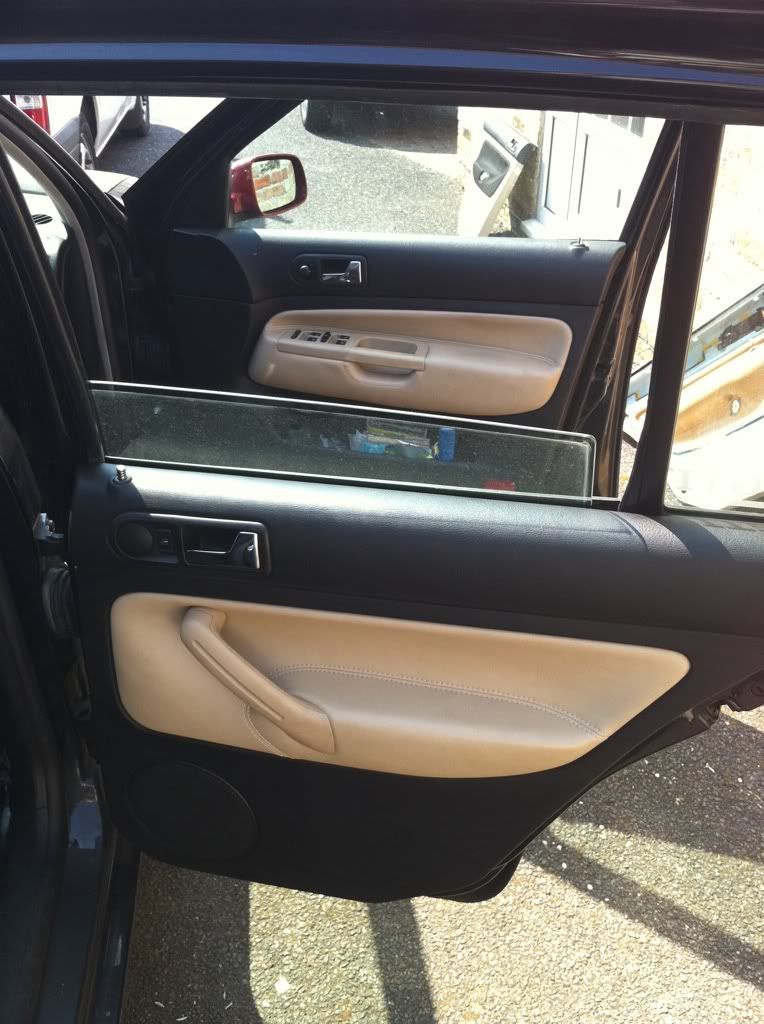
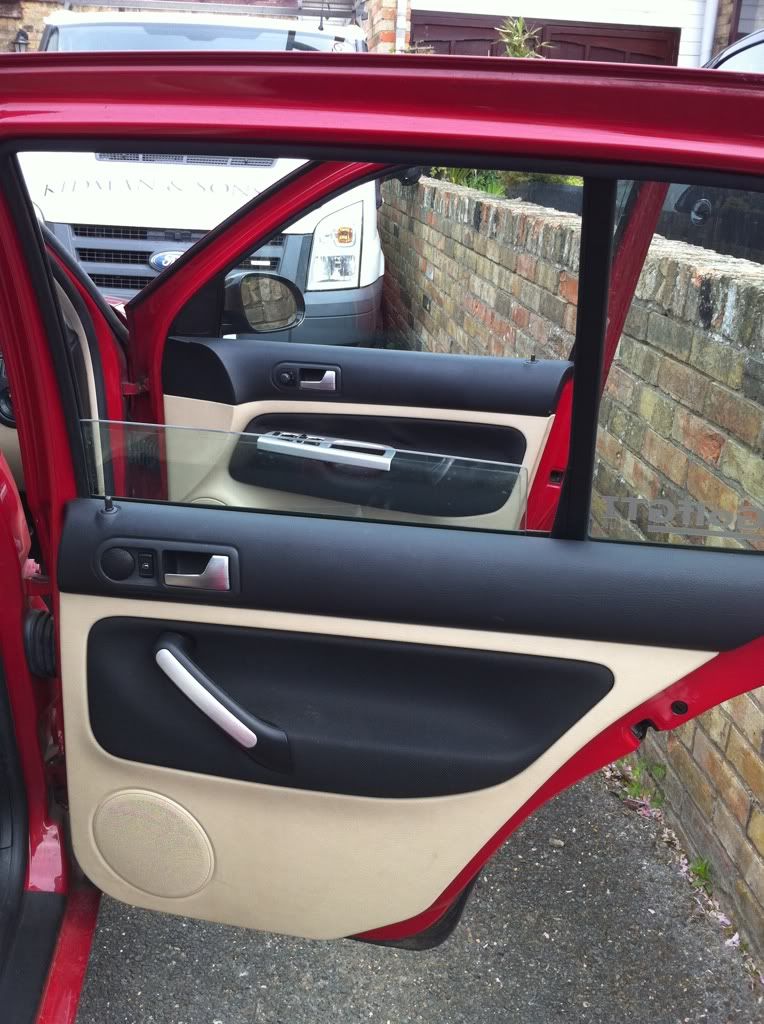
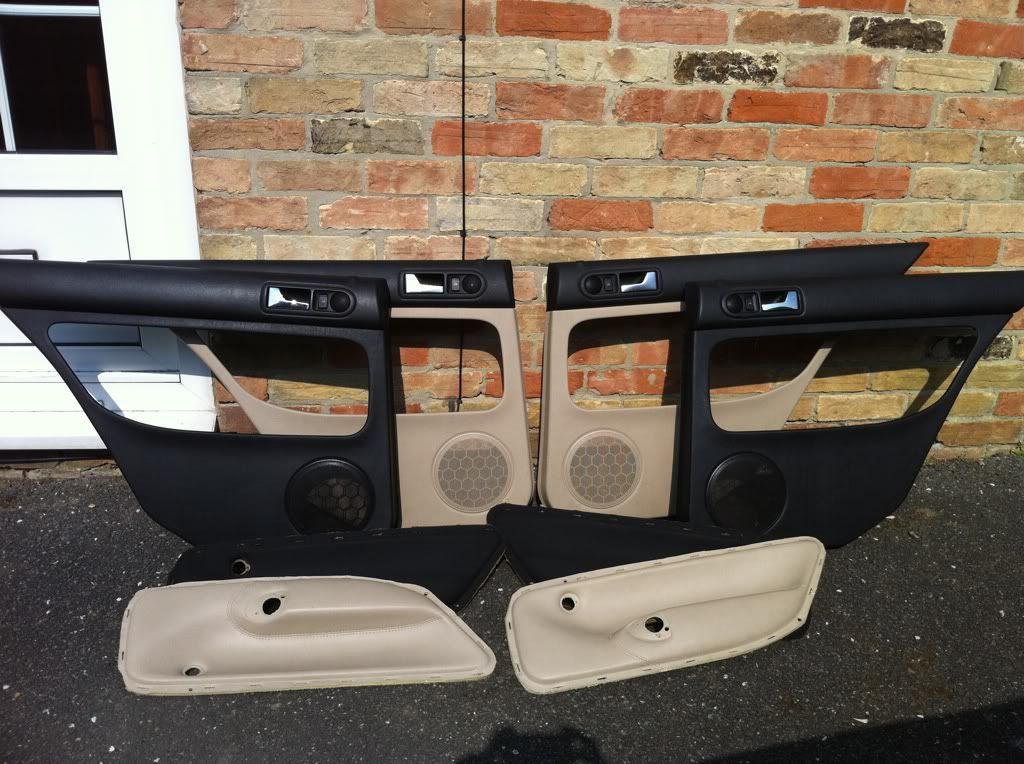
Once finished, you'll be left with something like this...
Which in the car, look like this!!