Well after saying I would create tutorials for a long time, I will kick it off with a simple lowering tutorial for users who need some help getting started.
Ok, so you obviously need Photoshop to follow this tutorial, other tools such as gimp and paint.net can be used but I dislike their functionality as do most, so this is why I have used Photoshop.
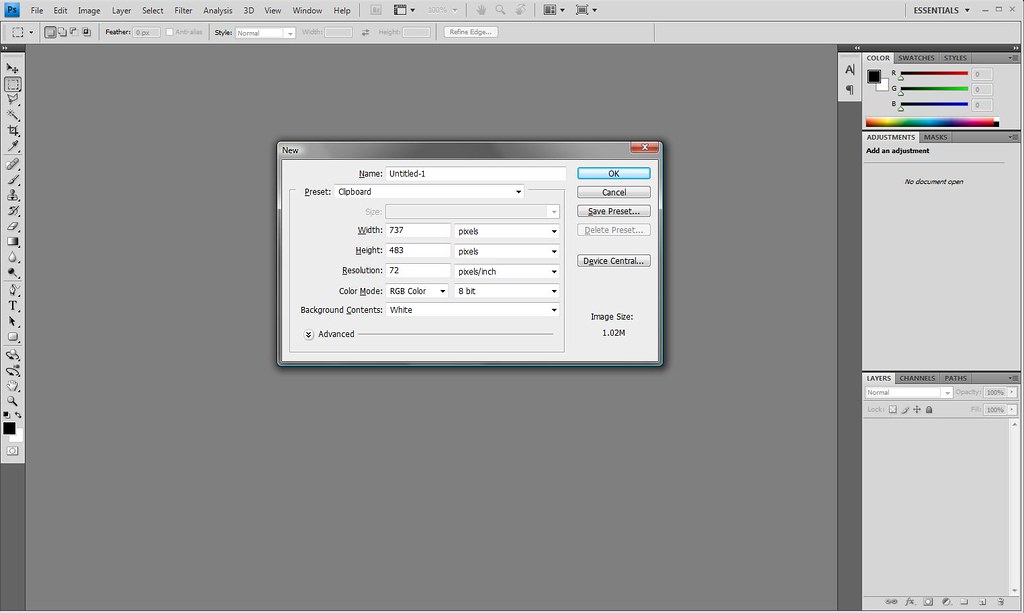
Photoshop LoweringOpen a suitable image [file > open] or copy an image to the clipboard before creating a new document and then in Photoshop create a new document [file > new] the size set in this should match the size of the image on the clipboard.
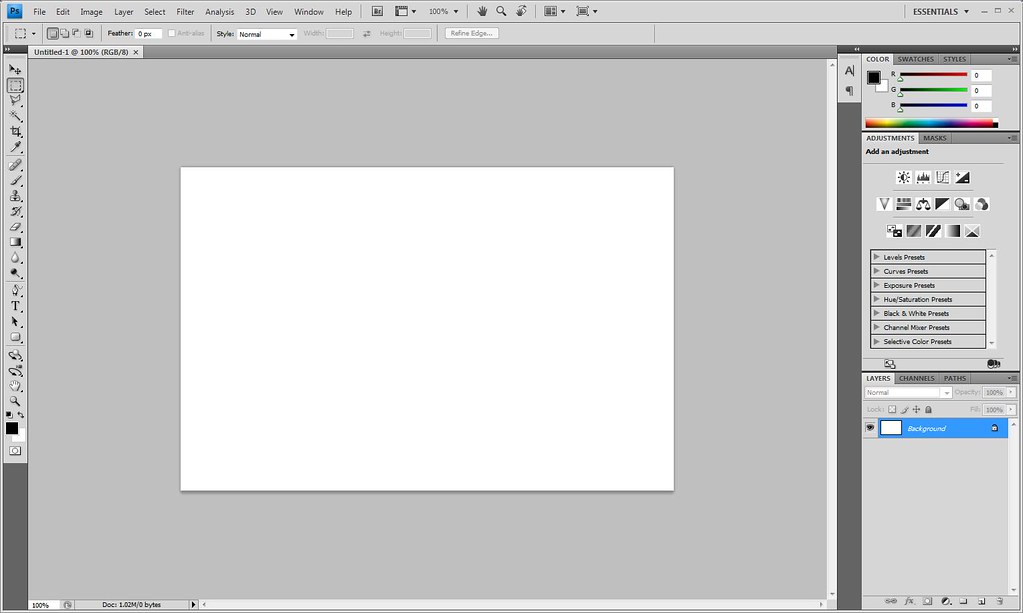
Once opened, paste the car [ctrl + v or edit > paste].

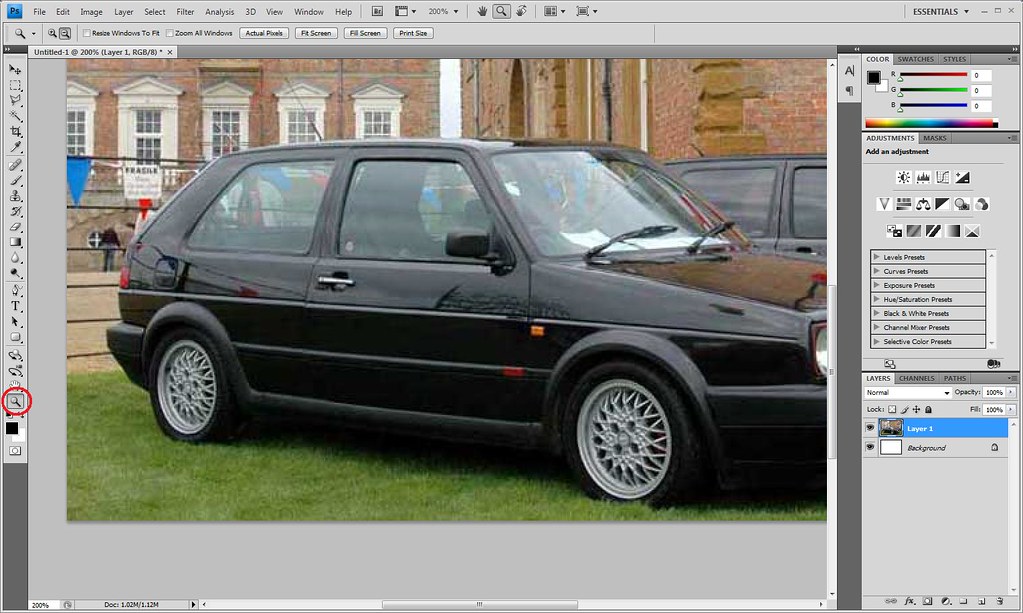
You now need to go round the outline of either the top part of the image or the bottom section so that you can move the whole image down to give the effect of lowering the car. For this I use the polygon lasso tool which you can see highlighted, if yours doesn’t look like this, then right click on the button that is there and change the tool to the polygon lasso tool.

Zoom in a bit more to allow you to draw an accurate line, if you want to zoom out you can hold alt and click with the magnifying glass and it will zoom out instead of in.
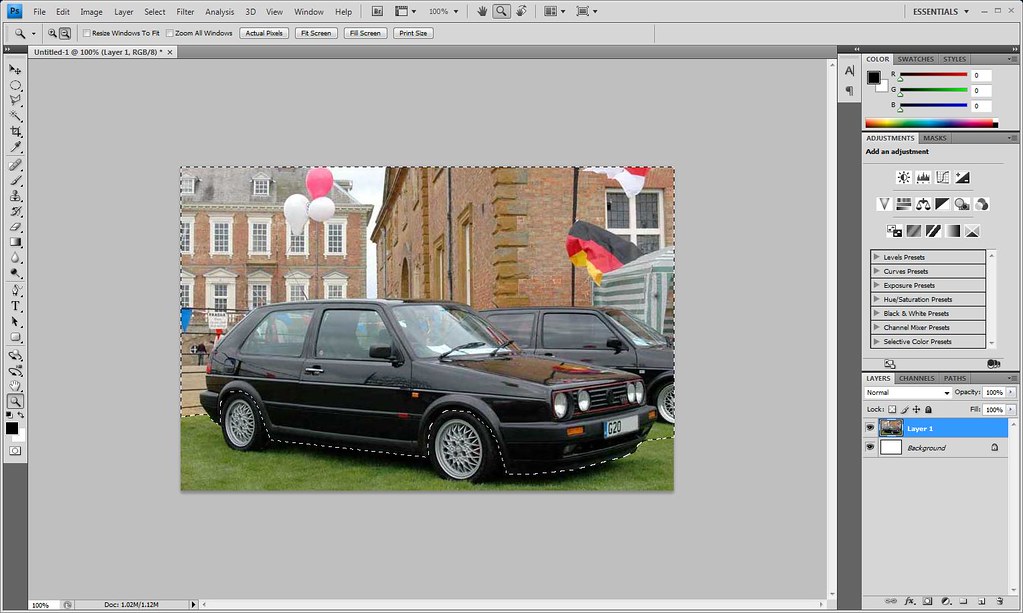
So start to round the outline of the car minus the wheels, start from going from the side of the image then do all the car and then include the rest of the top image [we can’t just include the car as then the background image won’t move either and there will be a black or white gap.
To end the selecting you need to connect the line to the point of which you originally started, the area should then be highlighted like as follows.
You can then press down on your keyboard a few times to get the lowered effect.
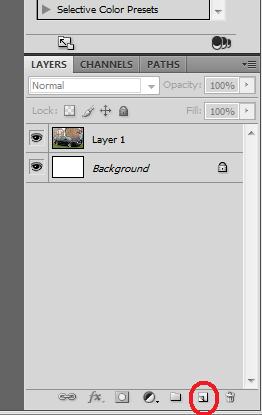
If you want a more advanced technique you can cut the selection [when its selected press ctrl + x on the keyboard] and then paste it into a new layer, you can then paste the cut image [ctrl+v], then you can use the eraser tool [the rubber on the left hand side] to delete some of the inner wheel arch.
New layer
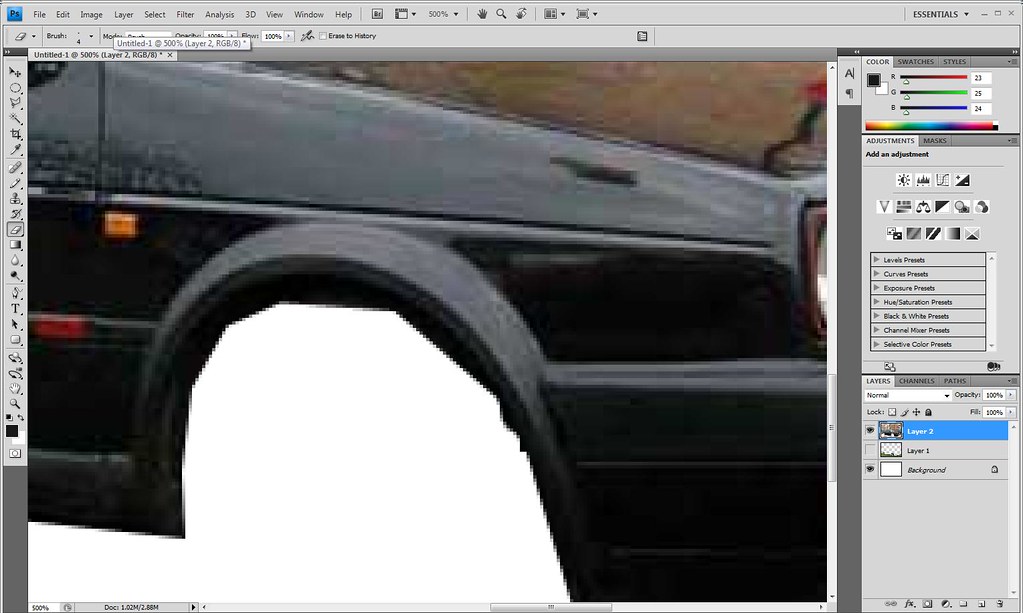
Before Eraser
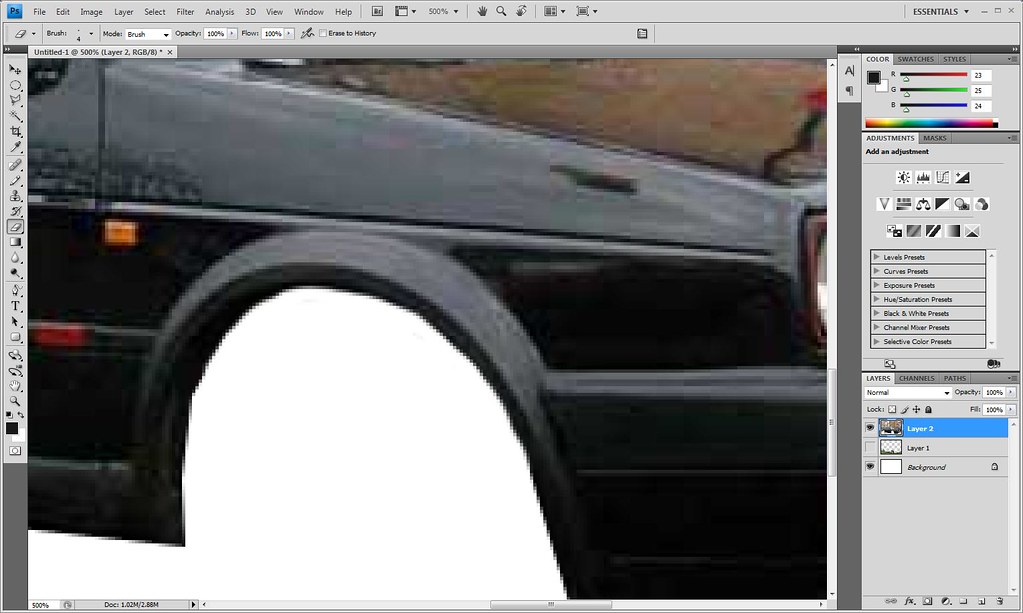
After Eraser
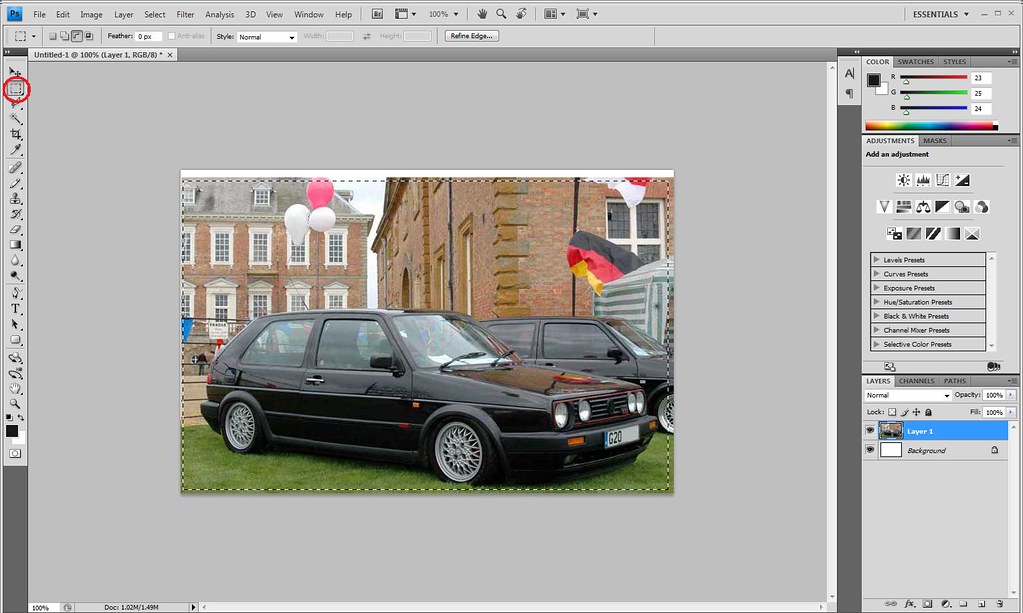
You can then merge the two layers into one [ctrl + e] and use the square selection tool on the left hand side.
Select the image again so you don’t include any of the white sections etc.
Copy the selection [ctrl+c].
Open a new document [file > new or ctrl + n].
Once opened you can paste your selected image in here is a before and after.

There is probably a million other ways this can be done and more carefully than I demonstrated, this is just a quick way that i know how to do it

.
