Appologies in adv for any dodgy pics, if I miss something out, or something quite doesn't make sense. Also, I'm not sure if this will work if you have electric windows, or central locking, it may its just I don't have either so can't say for definate. So first thing first, I got some of this
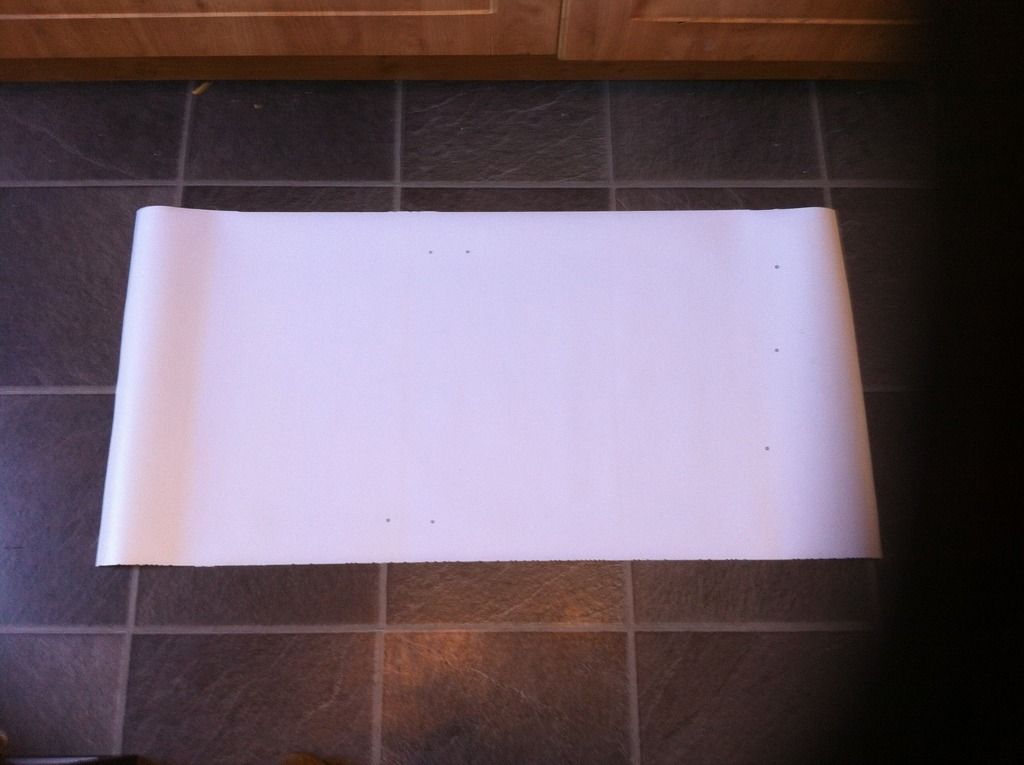
Its a sheet of what I can only describe as PVC vinyl. It's the stuff they use to make banners from. Its strong and more importantly, flexible. I got some off cuts from a local printer company for, naff all! Free stuff is brilliant!! I took some measurements for yours benefit, as it took a few attempts for me to get this near enough cock on!
LENTH
WIDTH
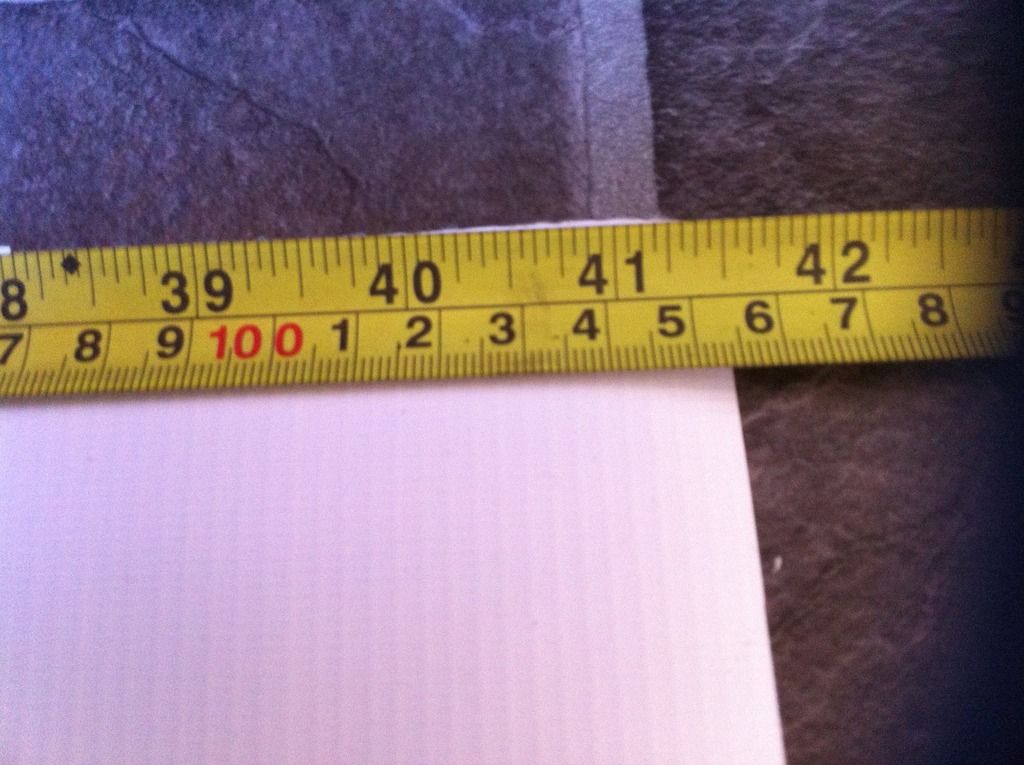
....from the edge that will be closest to the hinge measure (22inch ish from edge)...
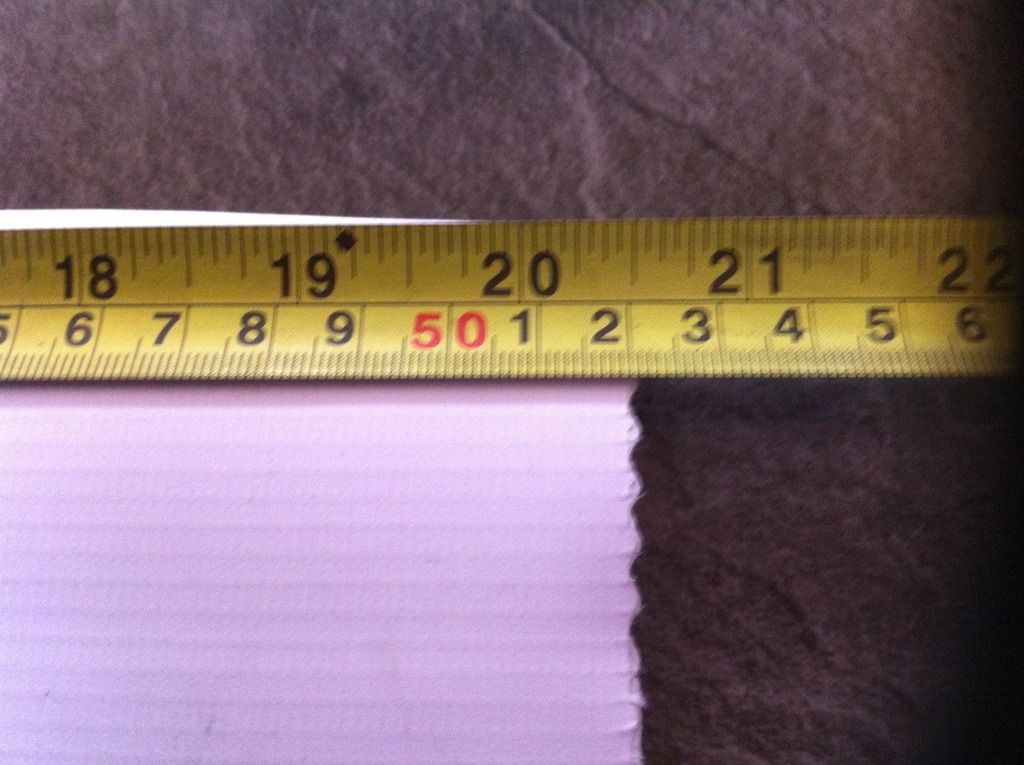
At a depth of (from what will be the from the top of the door)
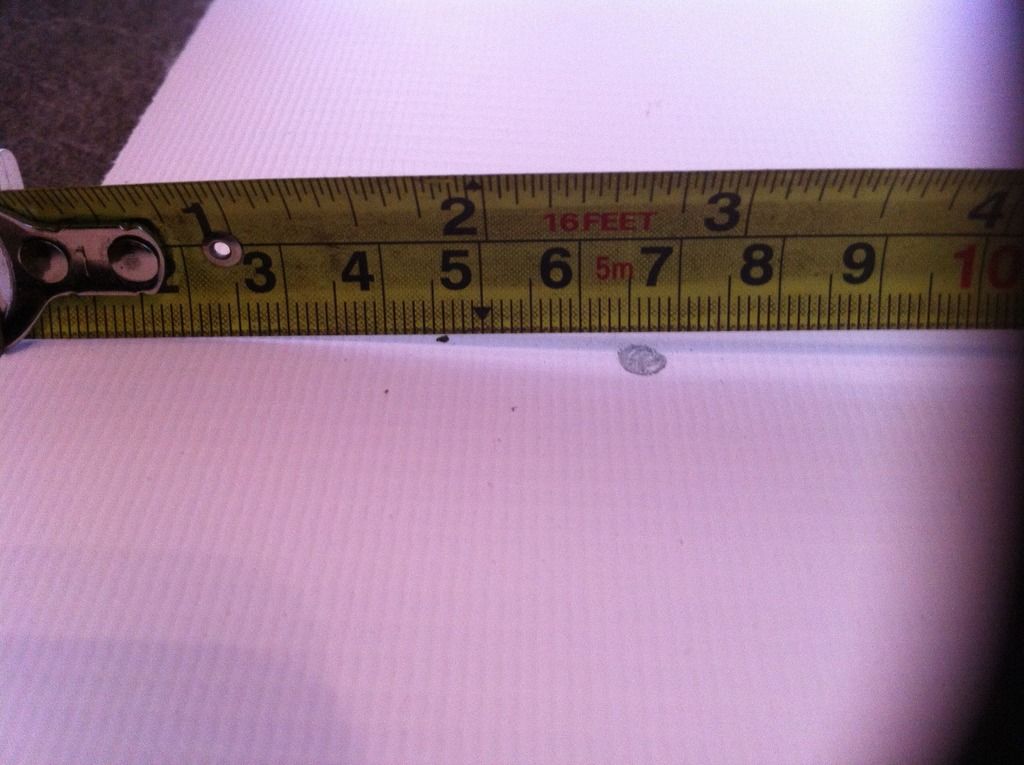
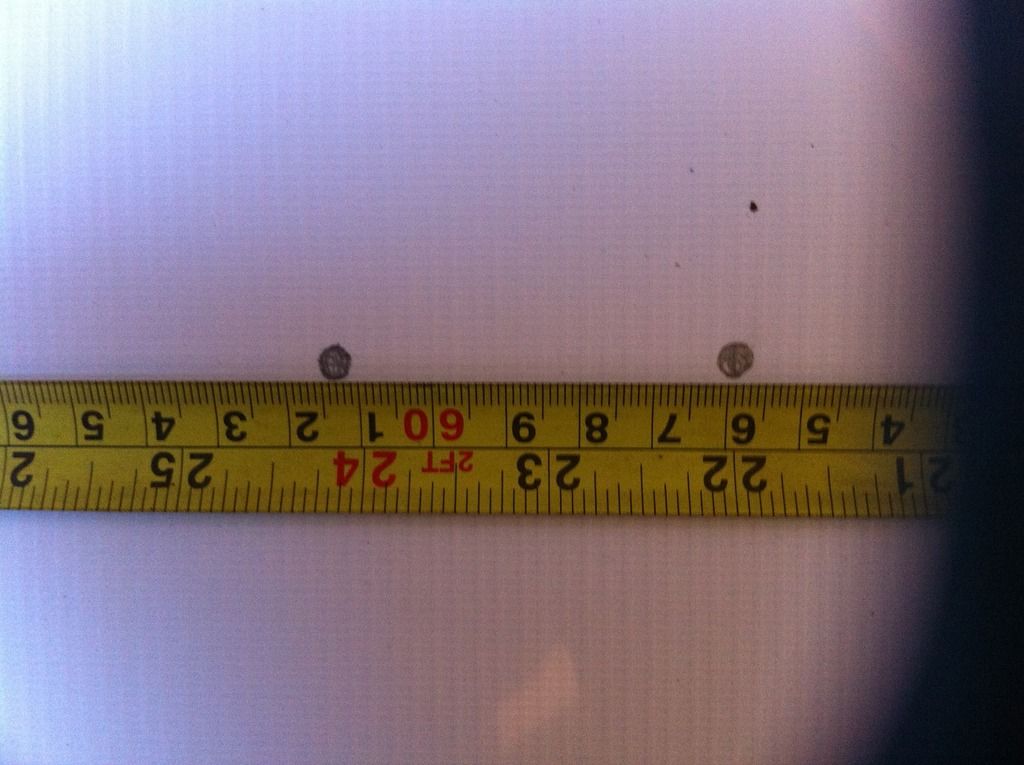
The two points you have marked out, punch some holes in, using a pen, screwdriver ect ect.
Now to the car door.
Remove the INNER WINDOW SCRAPER! Be carefull its only plastic!!
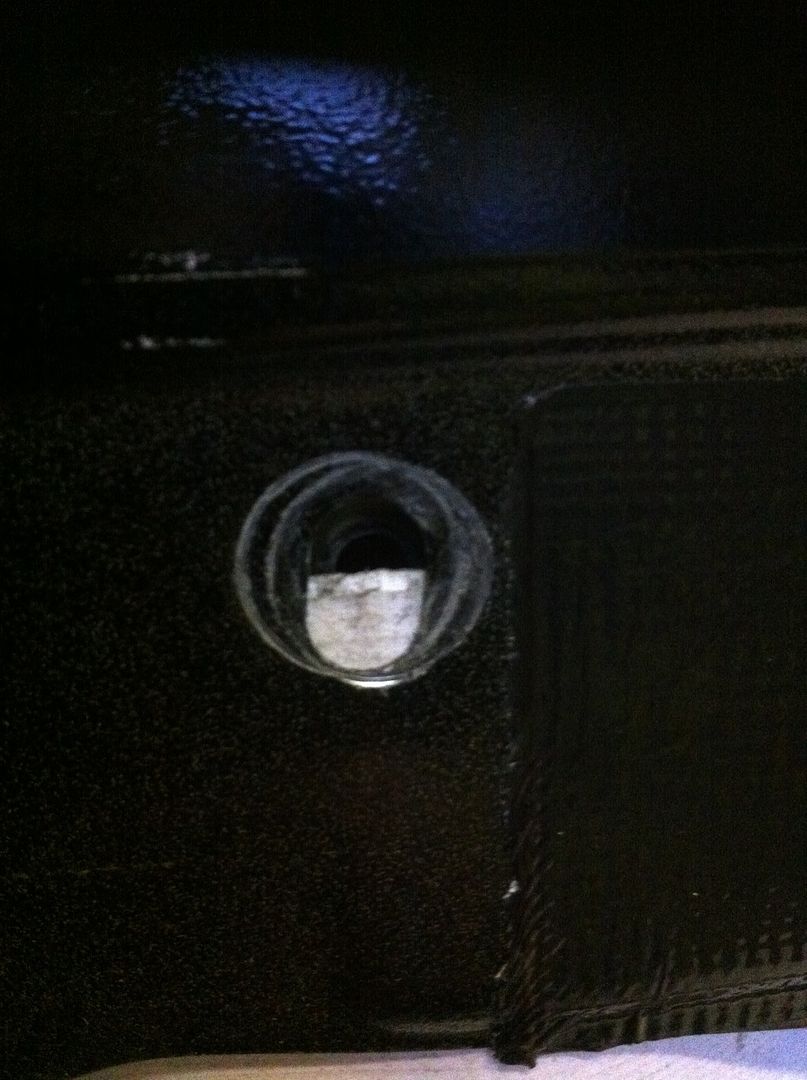
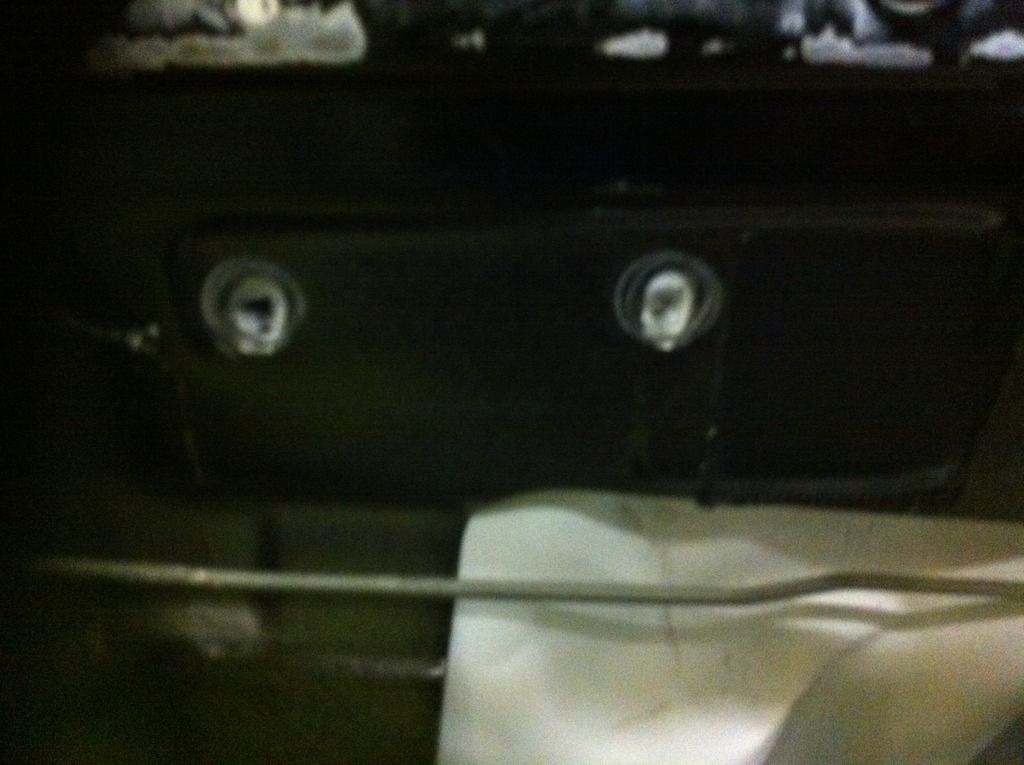
Remove the two bolts at the top of the door that hold the window mech to the door
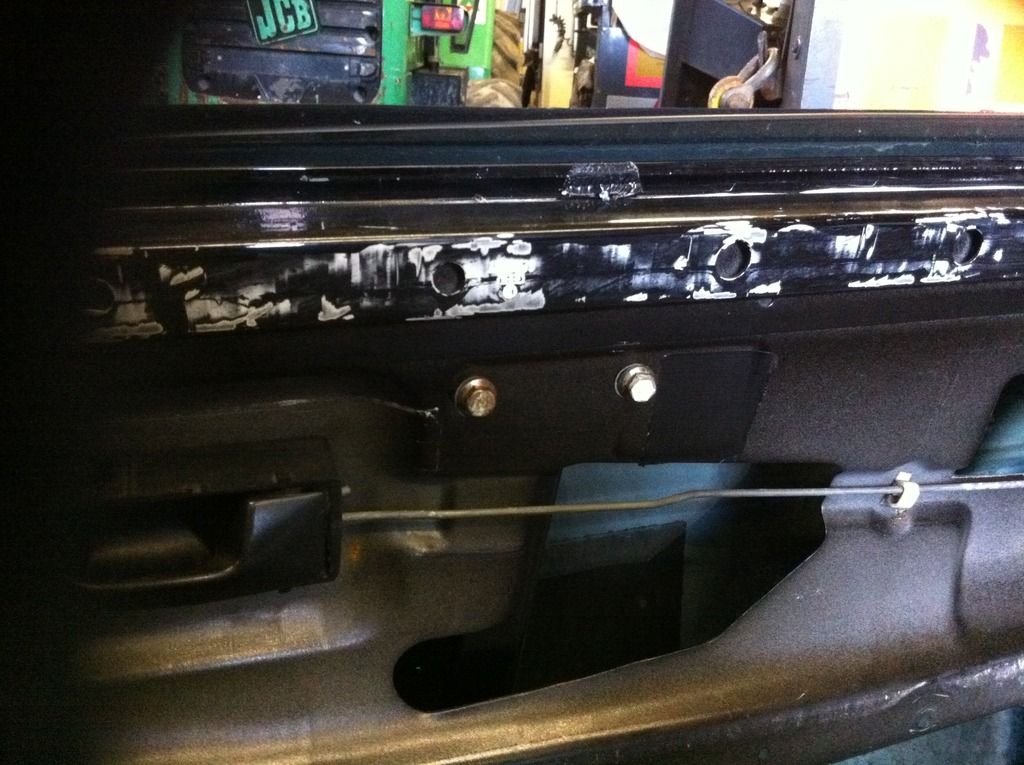
Remove the two nuts that hold the window guide, and remove the guide from inside the door
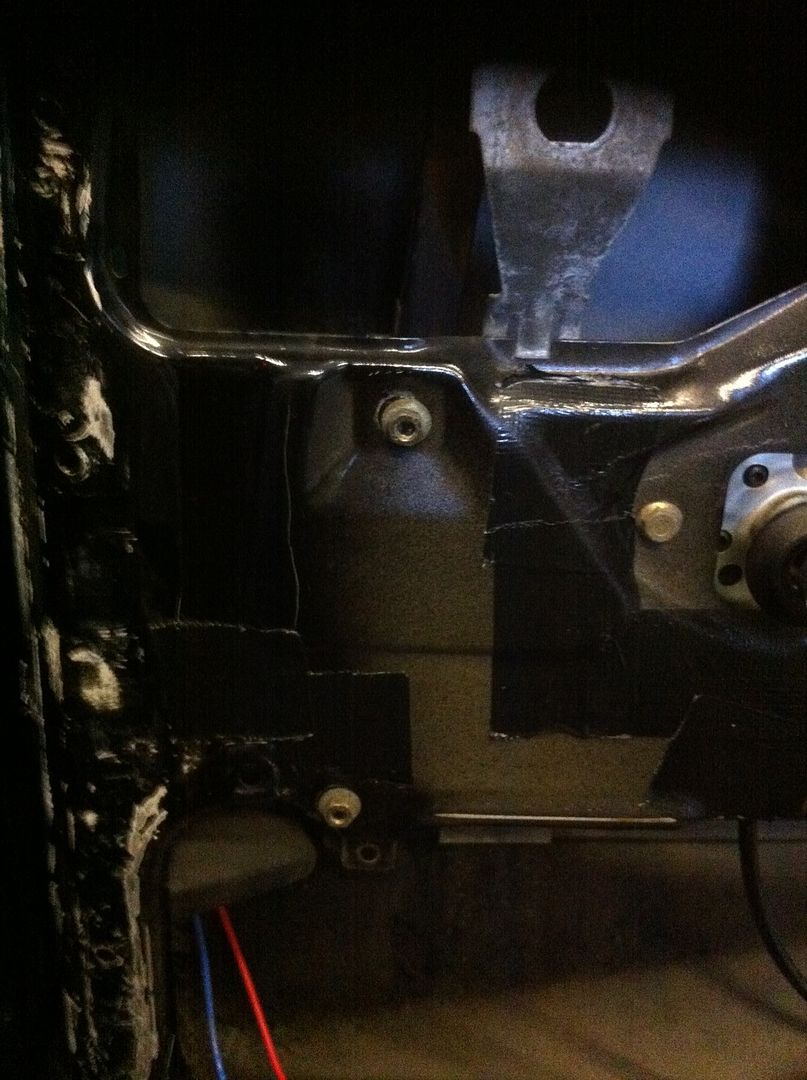
Align the two holes you punched in the viynl with the two holes you removed the bolts from, just to make sure you have the viynl the right way round! Fold the viynl in half and insert into the door thru the bottom corner

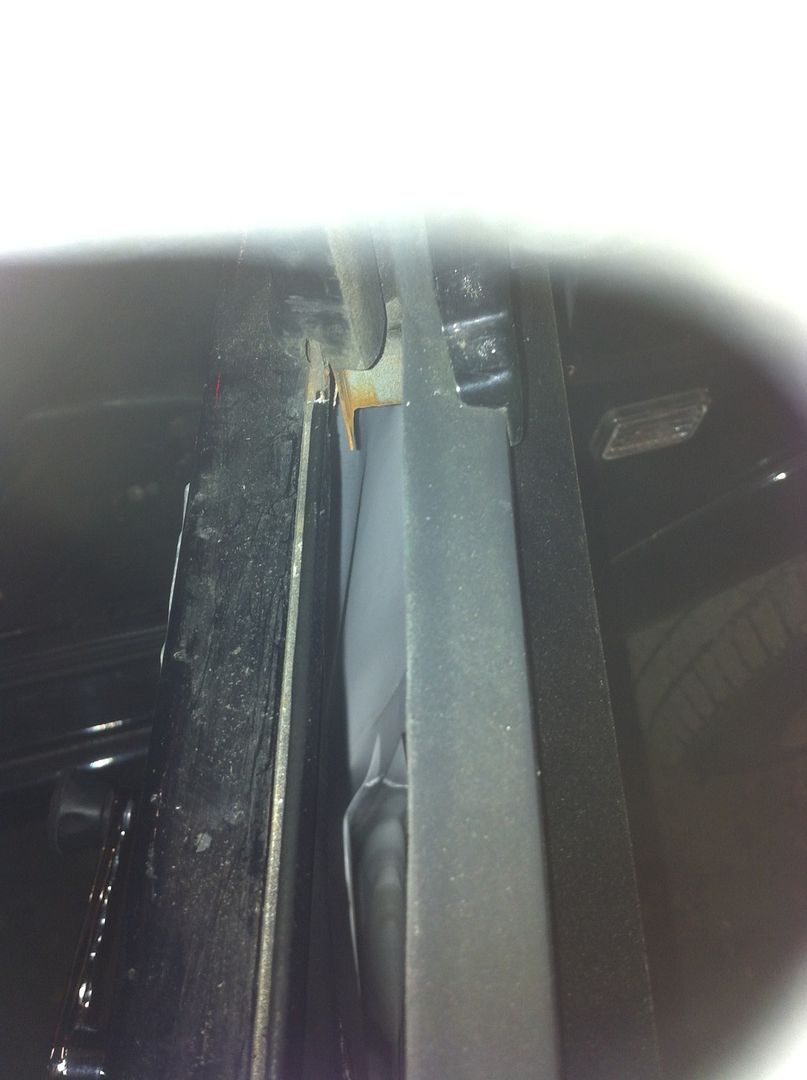
IMPORTAINT!!!! Make sure it slides between THE INNER DOOR SKIN AND THE WINDOW MECH!!
(Sorry for poor pic but if you do this fix hopefully you will be able to see what I'm trying to explain here)
This next bit can be a rite pain in the ends of you fingers... you now need to align the two holes you previously punched in the viynl with the two bolt holes (this bit is quite tricky but also the IMPORTAINT bit as every thing else falls into place after)
SLIDE BETWEEN THE INNER DOOR SKIN AND THE TOP OF THE WINDOW MECH BRACKET
and line up....
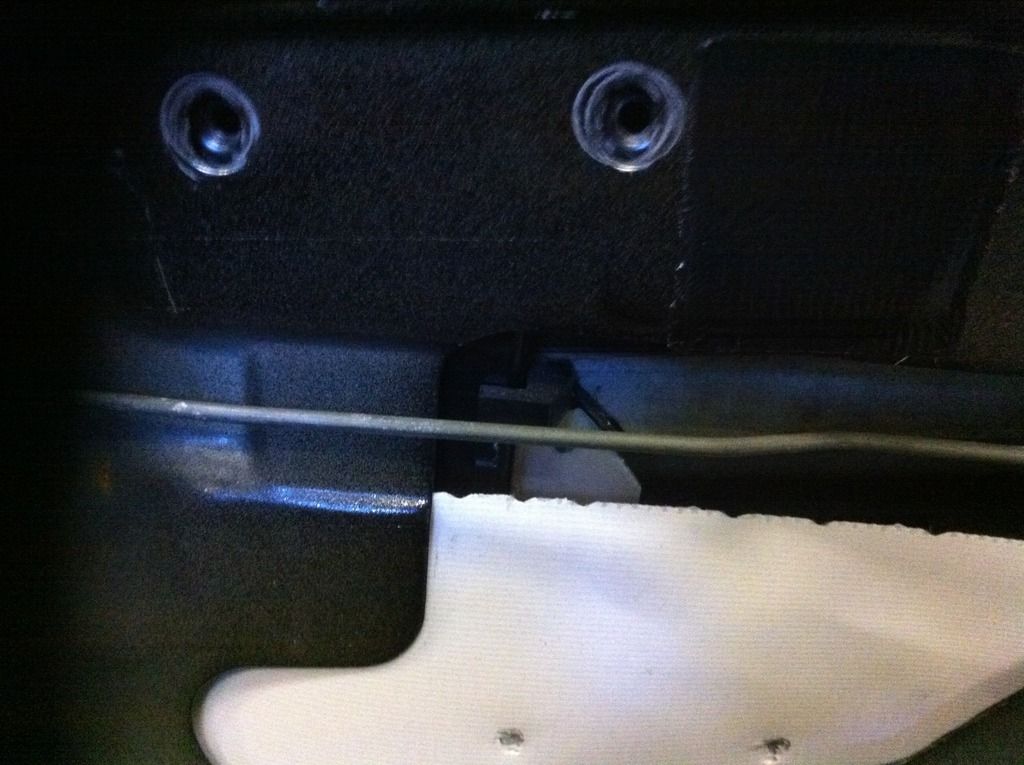
Now stick the bolts back in, tighten, and the viynl should now be held in place.
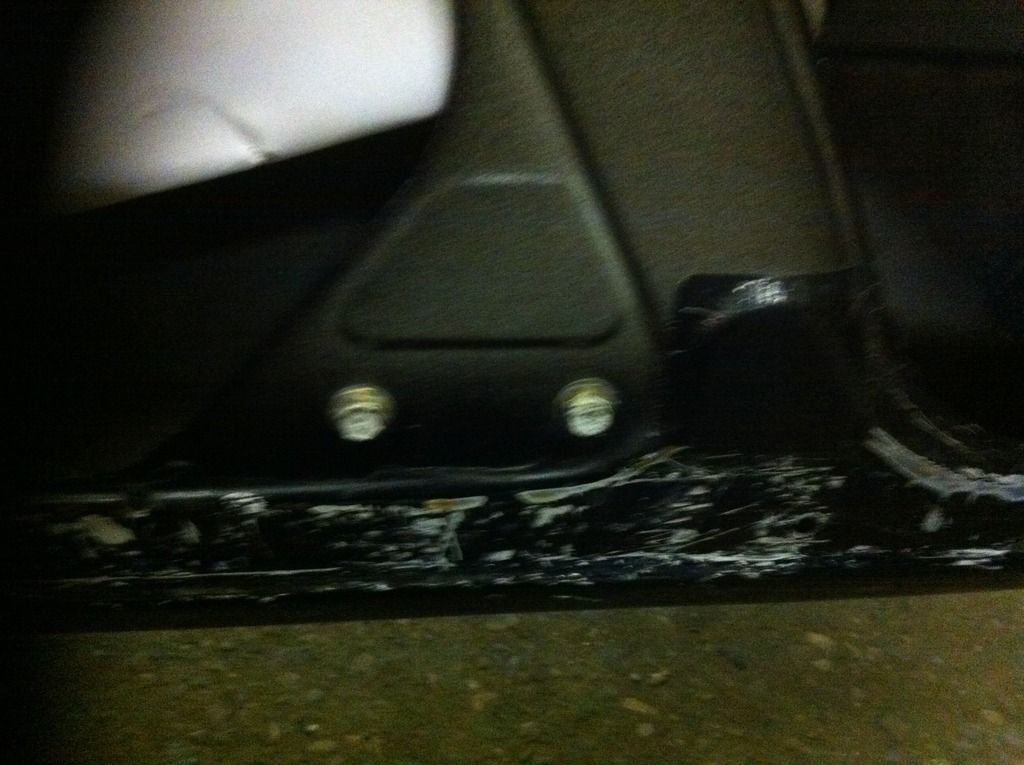
Next remove the two lower bolts of the window mech
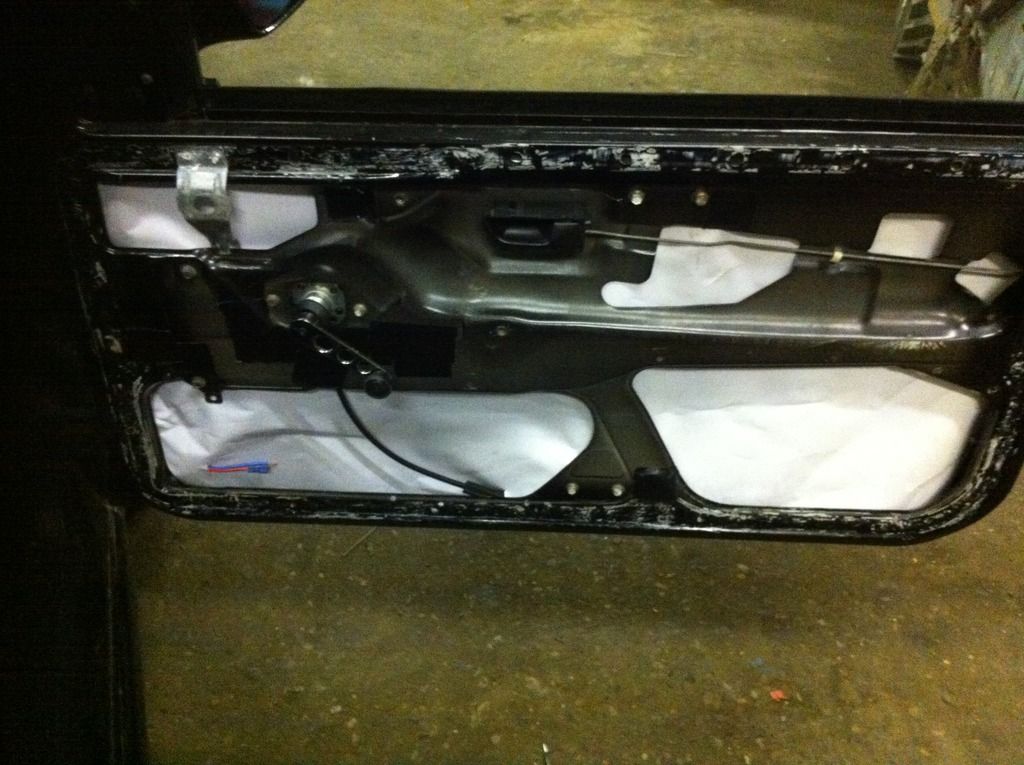
You should now be able to fold out the viynl within the door.
The rest of the job should be self explanatory. A brief rundown. Punch some holes in the bottom of the viynl to put the bolts back into the bottom of the window mech. Punch some holes in the viynl where the window guide sits, and refit the window guide (pig of a job as your working blind, but you can get your arm up behind the viynl to manuver into position). Punch a hole where you want your speaker wire to come thru.
You should end up with something like this
** Also!!!.... Nearly forgot, this job may involve winding the window up and down several times. When you've near enough done, wind the window down and looking down into the door make sure the viynl goes around the window guide (bad pic but its hard to take a good one of this)
It's just so you don't get any water down the wrong side!! You'll need to do this on both sides of the window, I used a long flat head screwdriver to poke down the window and position. And there you have it!! Just another note. It absolutly pi**ed it down the other day and not a single drop of water in my footwells the morning after!!! If you do it right it works a treat. No sealant involved, no money involved (if your lucky) and should take about an hour per door! If you feel I may have missed something out or if you have any questions fire away. Otherwise, happy DRY motoring!!!
